Journal
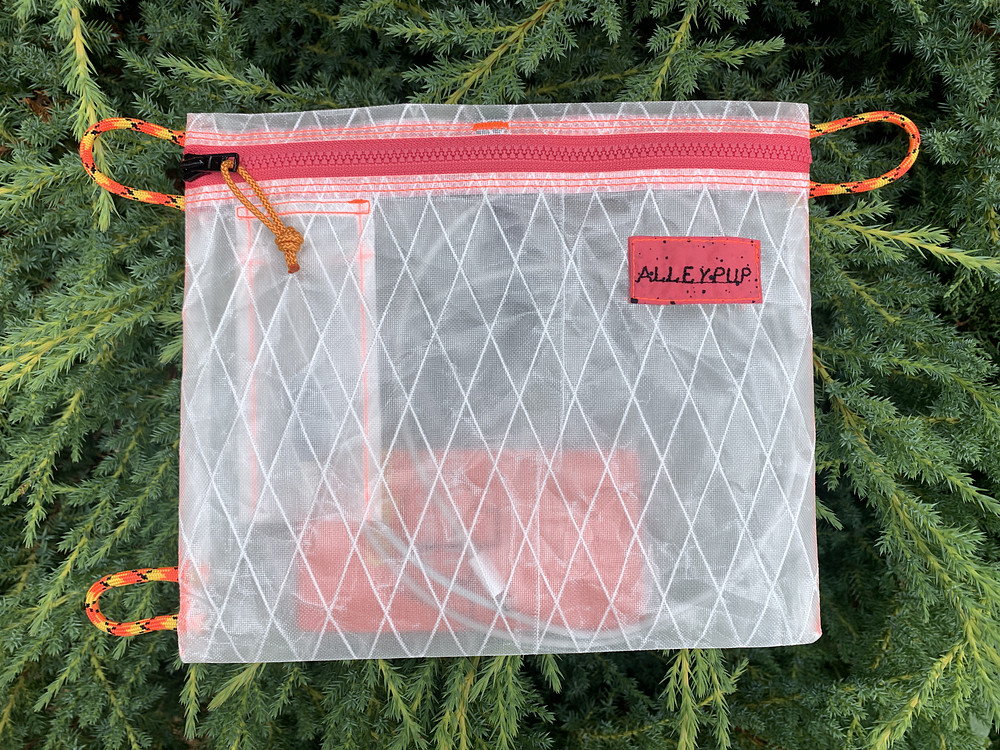
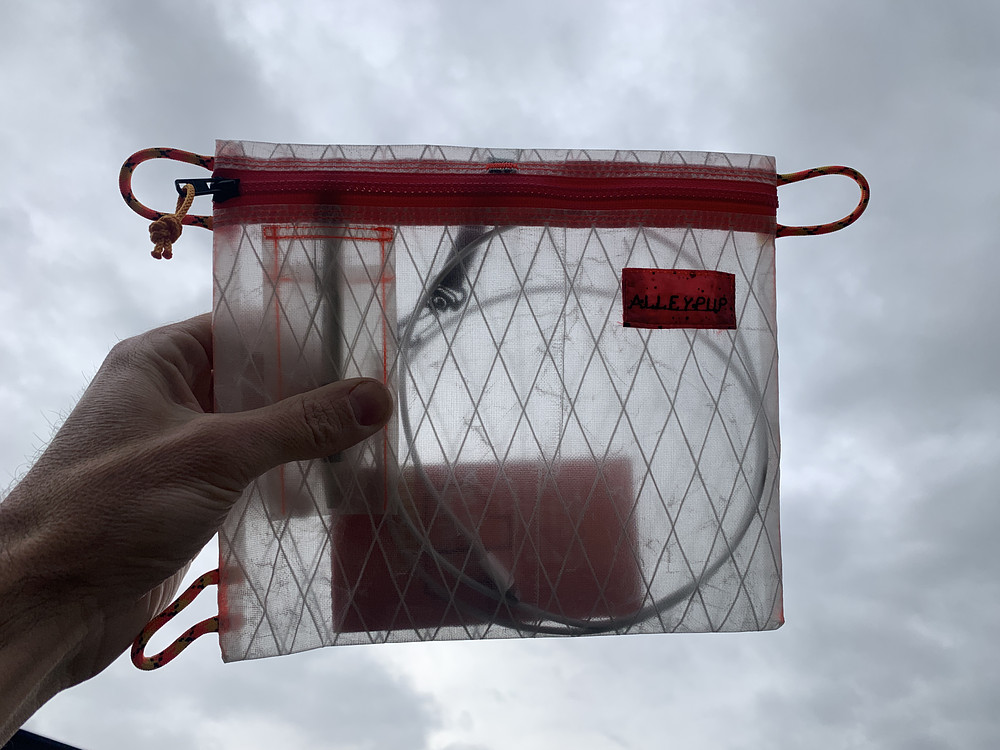
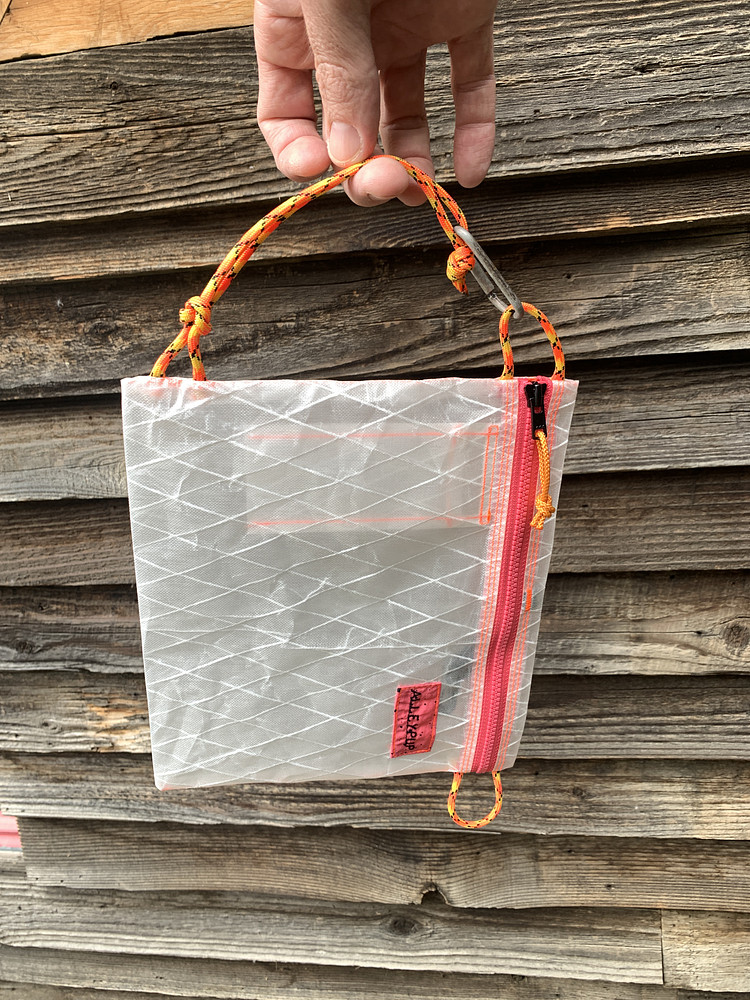
Made a quick zipper bag from some X-Pac UX10 fabric, and I'm happy with how it turned out. Has an inner pocket to hold pens or thread snips.
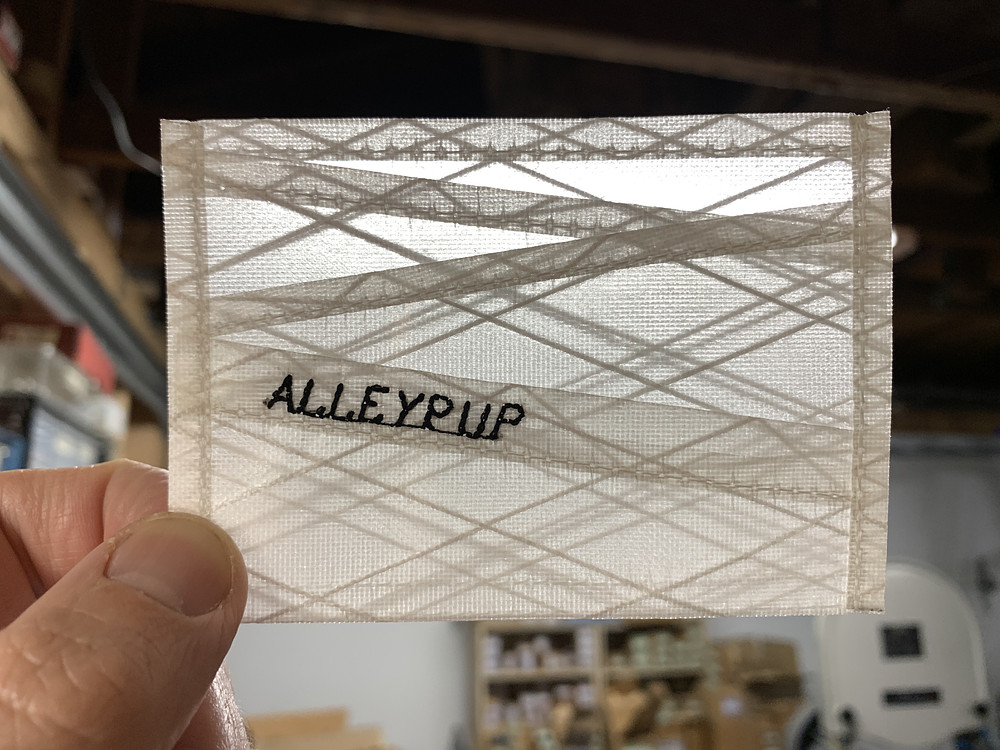
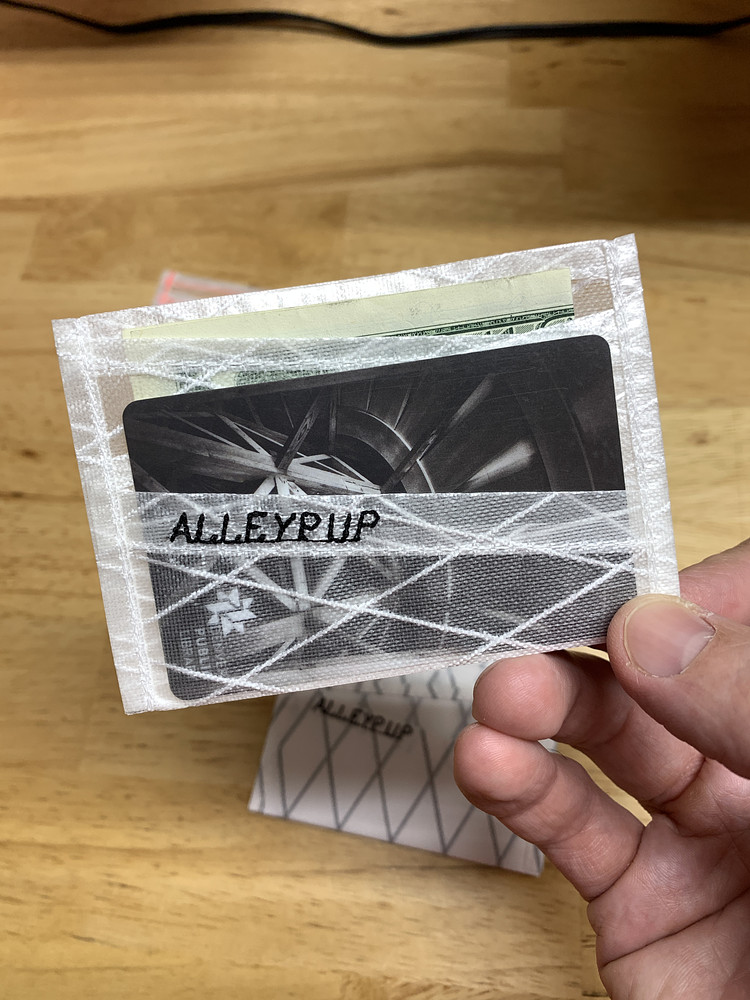
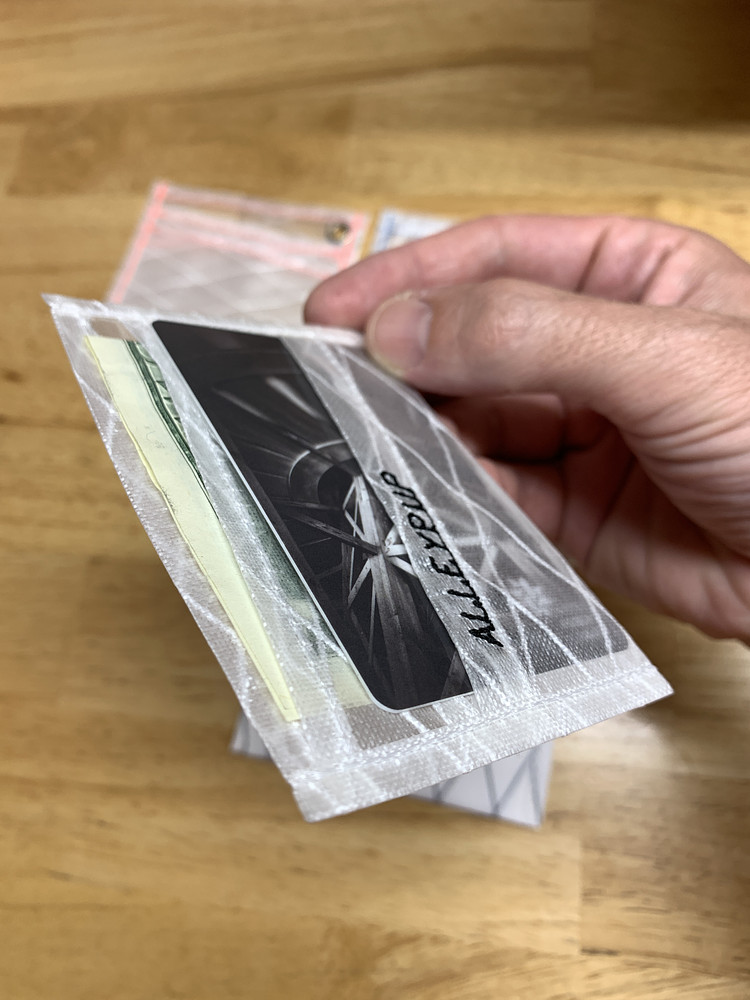
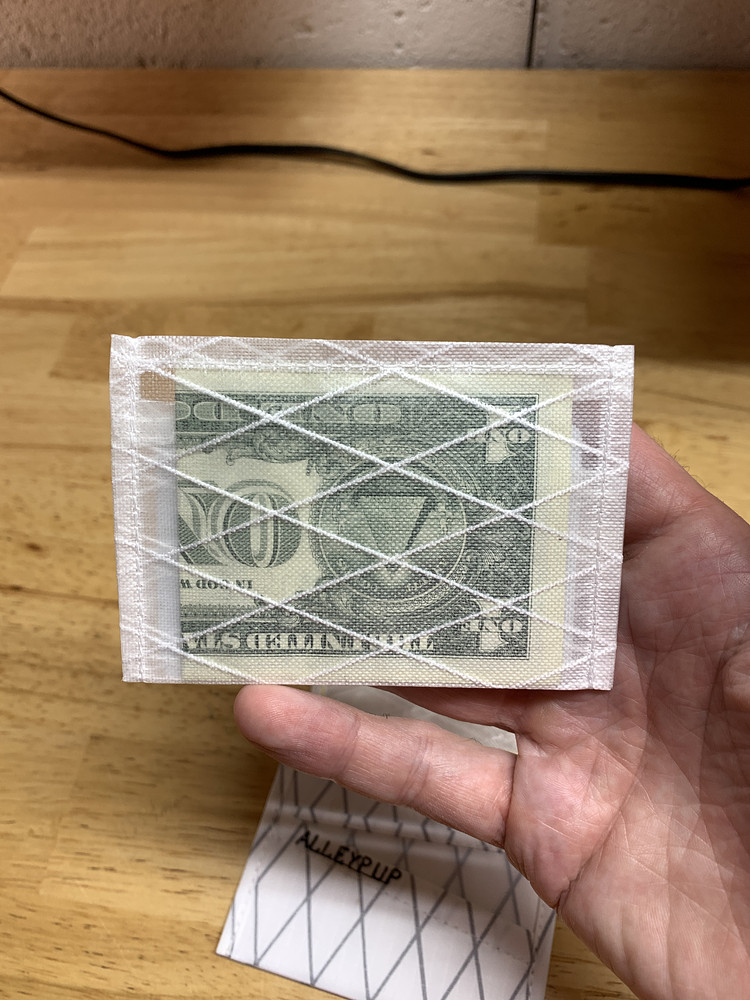
New wallet: 8 mins cutting time total. Didn't time the rest, but Alleypup embroidery through the X-Pac UX10 fabric worked just fine. White thread blends in well with the white/clear fabric. Turned out well, will be my personal wallet unless it sells.
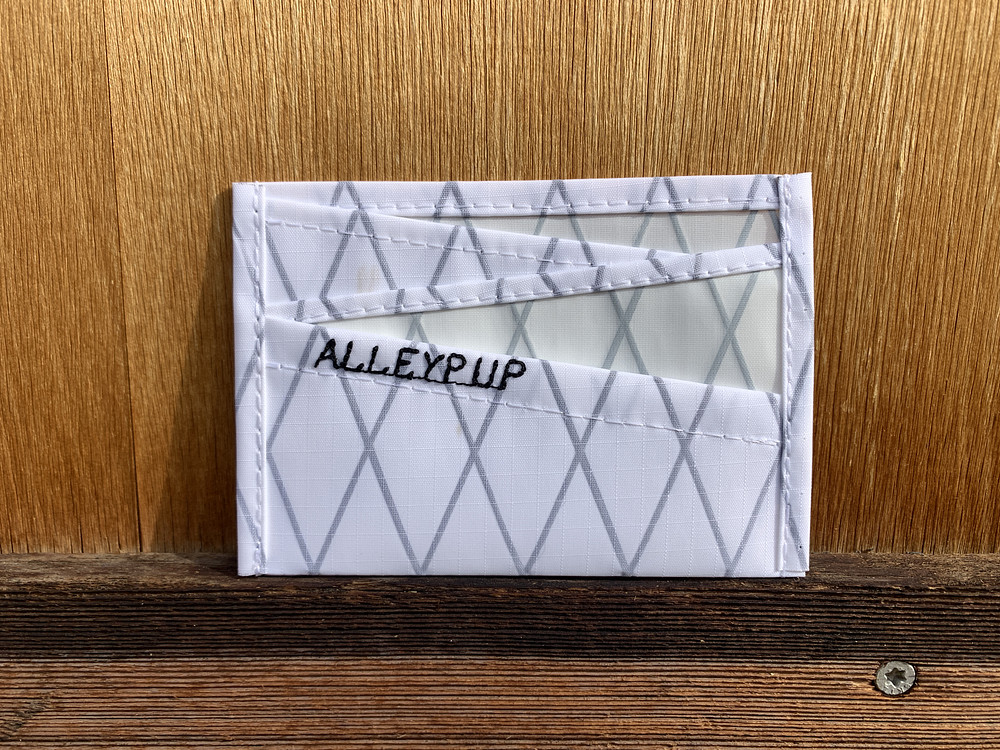
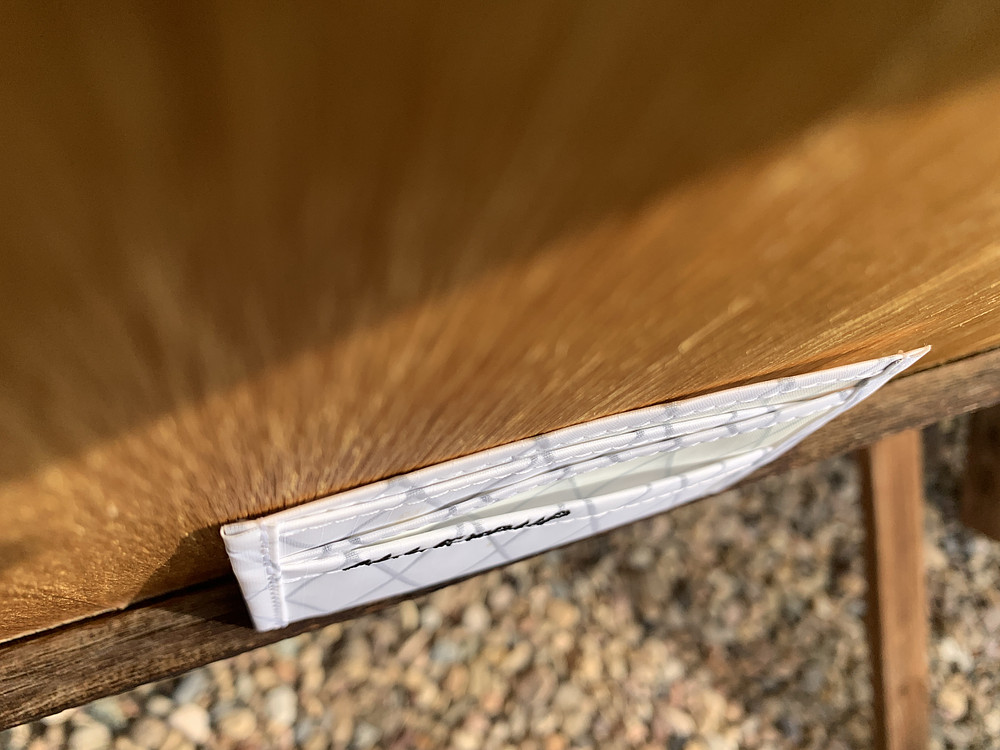
Just finished up another lightweight X-Pac wallet, this one in white VX07.
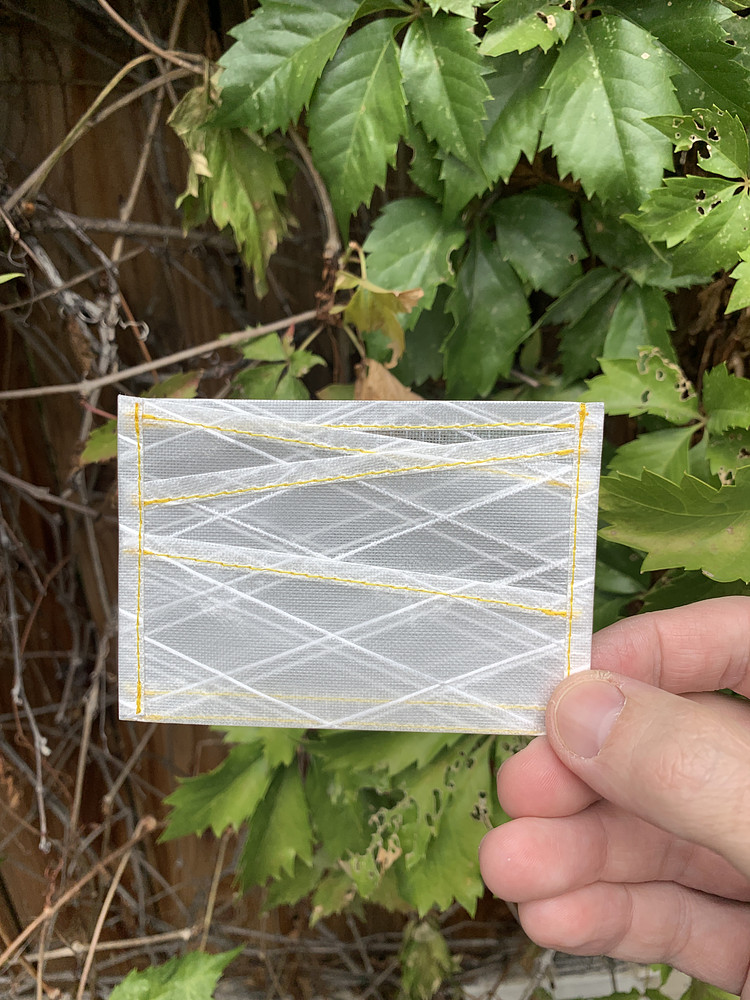
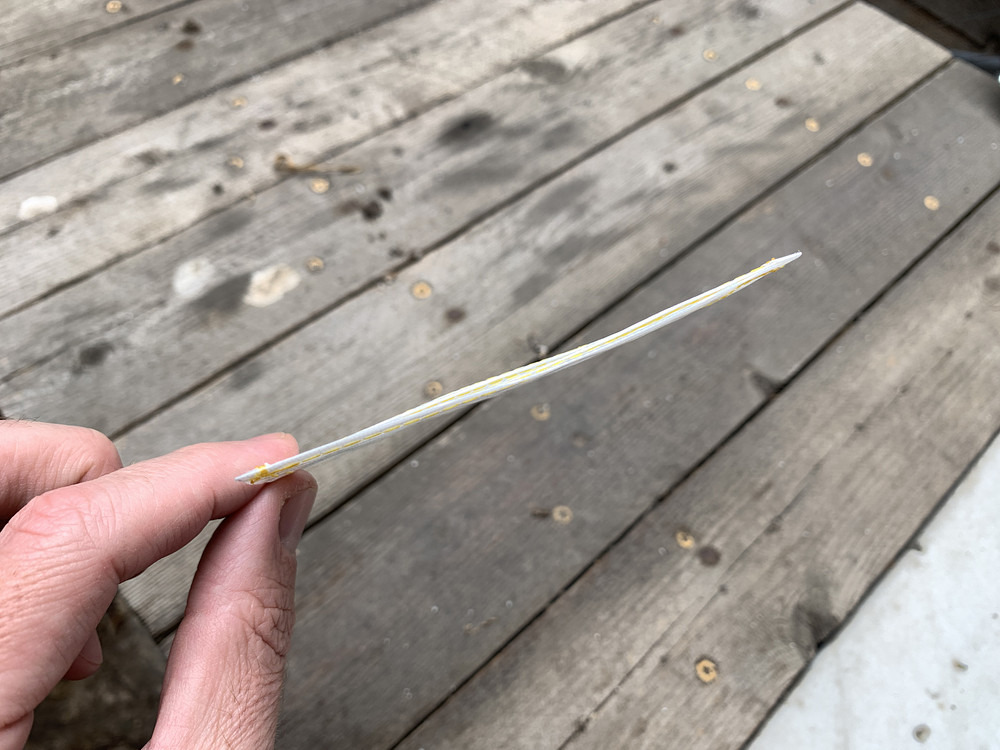
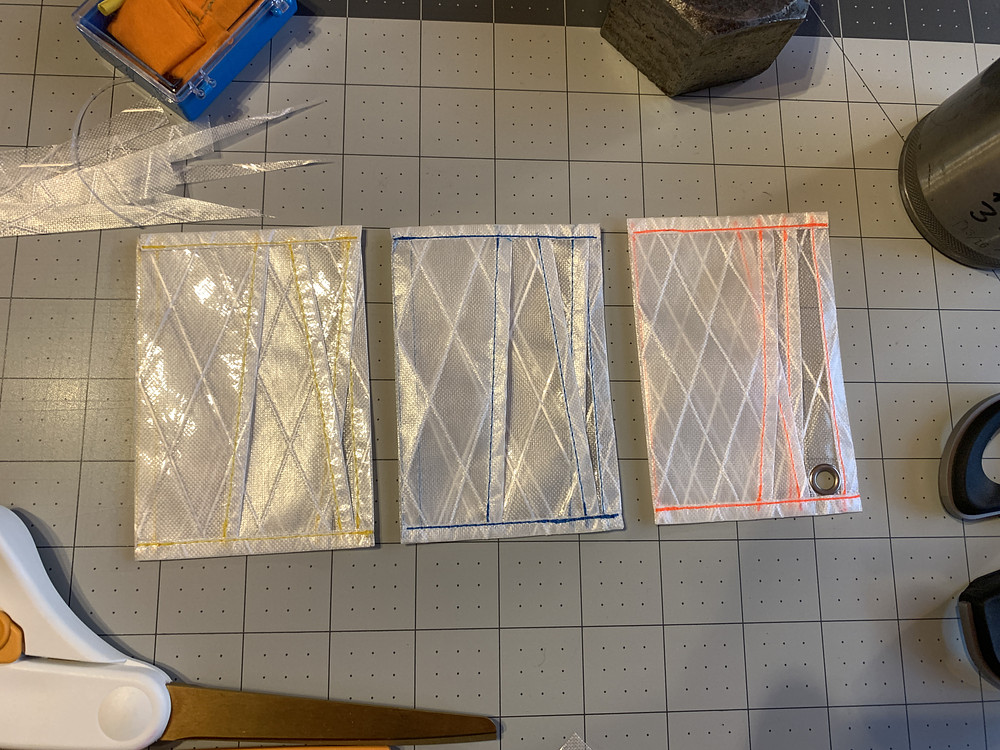
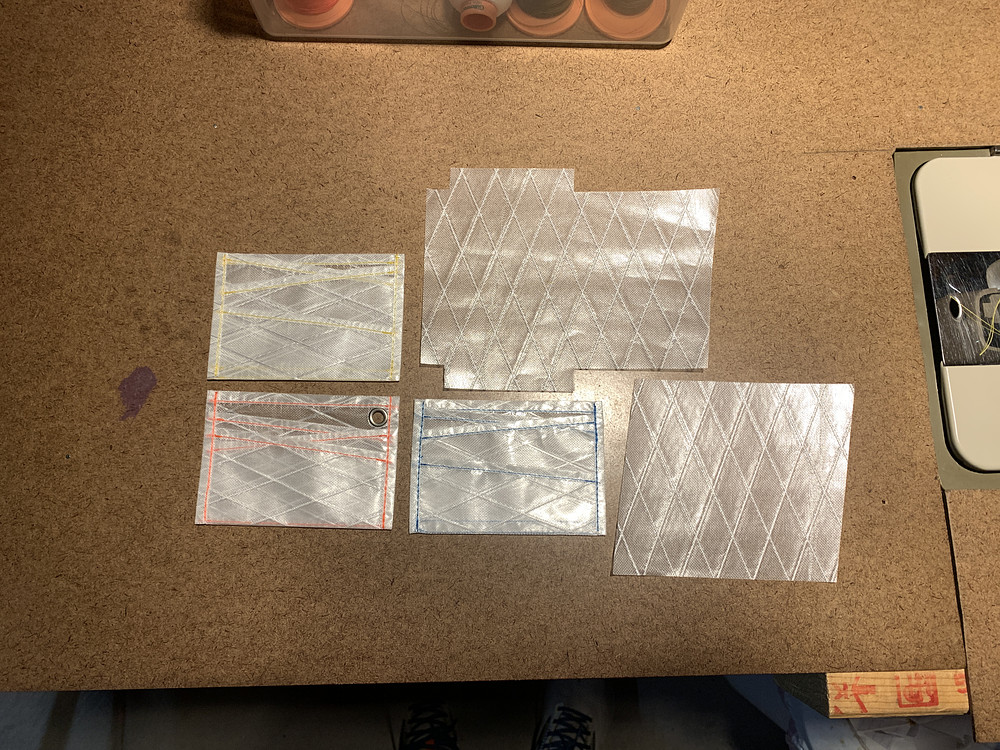
Have been making lightweight wallets lately out of X-Pac UX10. The first one weighed just 2g before adding a metal grommet.
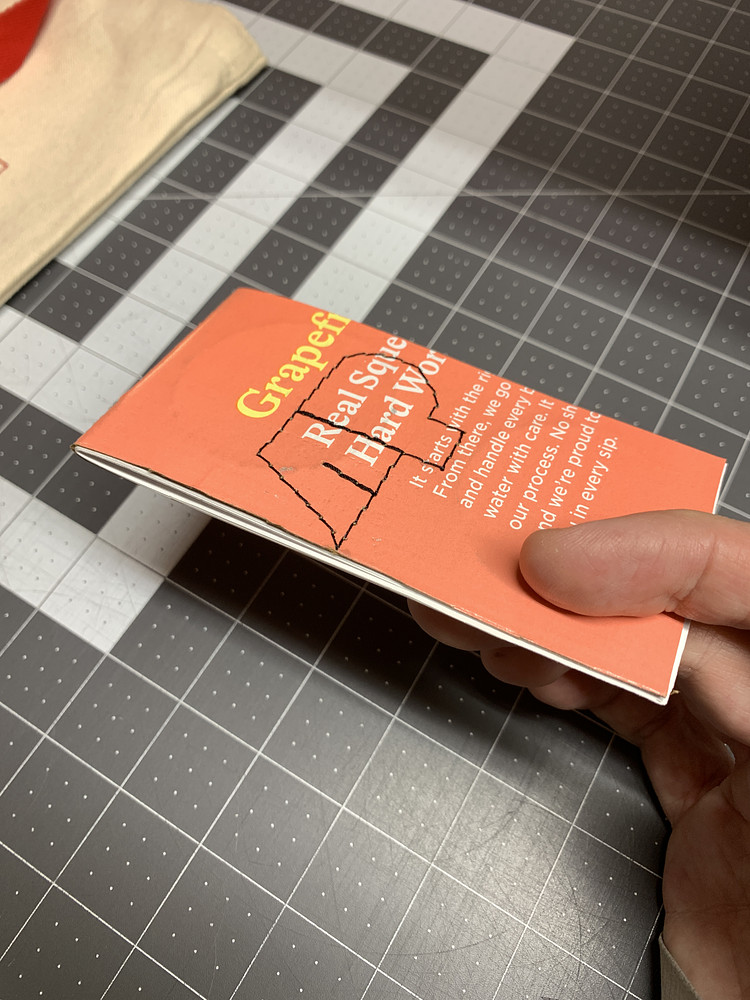
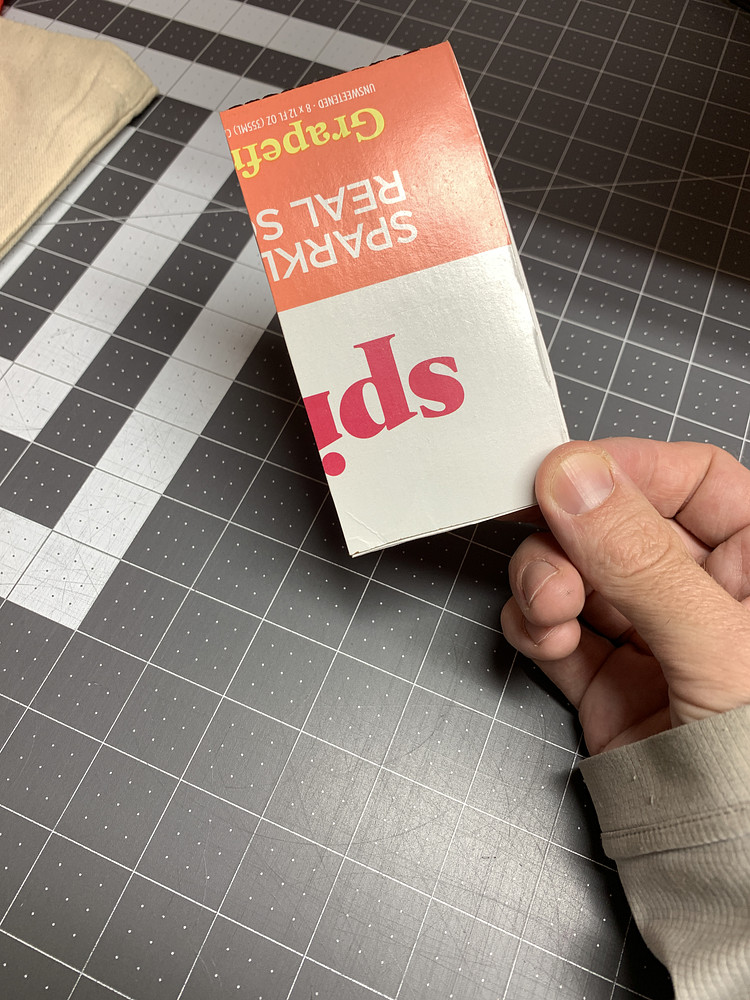
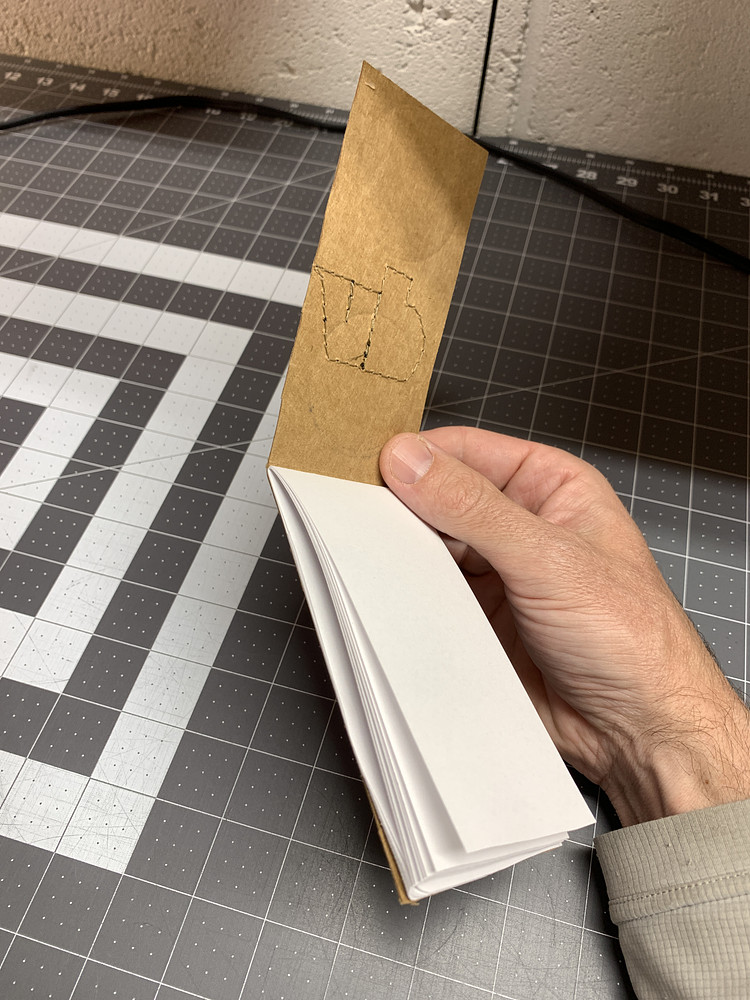
Just sewed up a quick notebook, cop style that flips at the top.
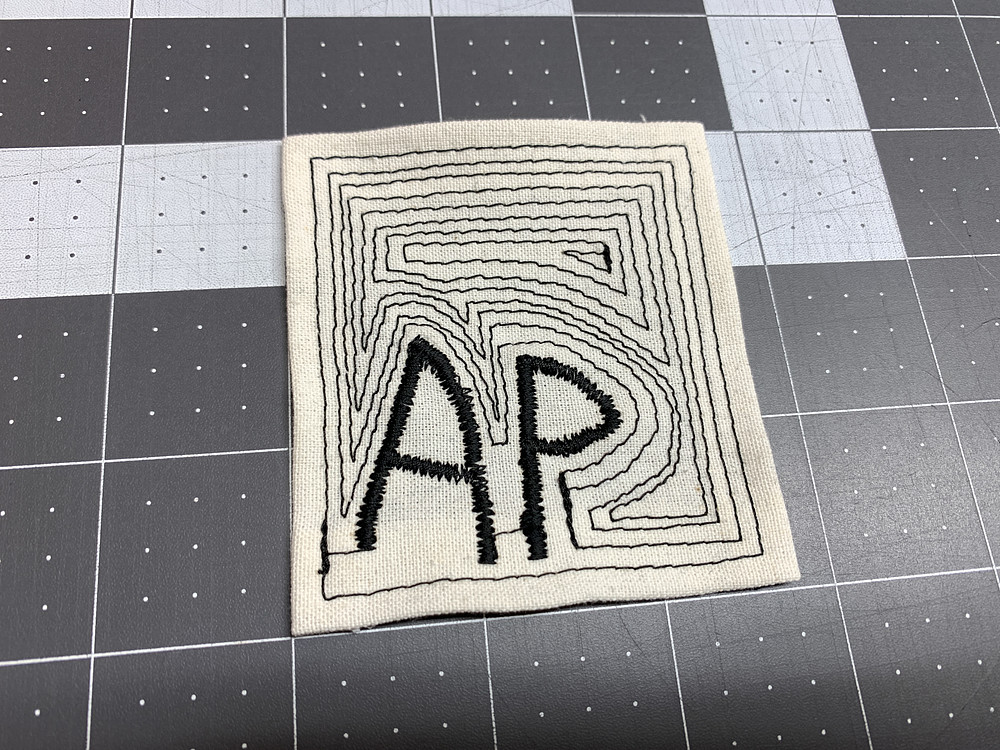
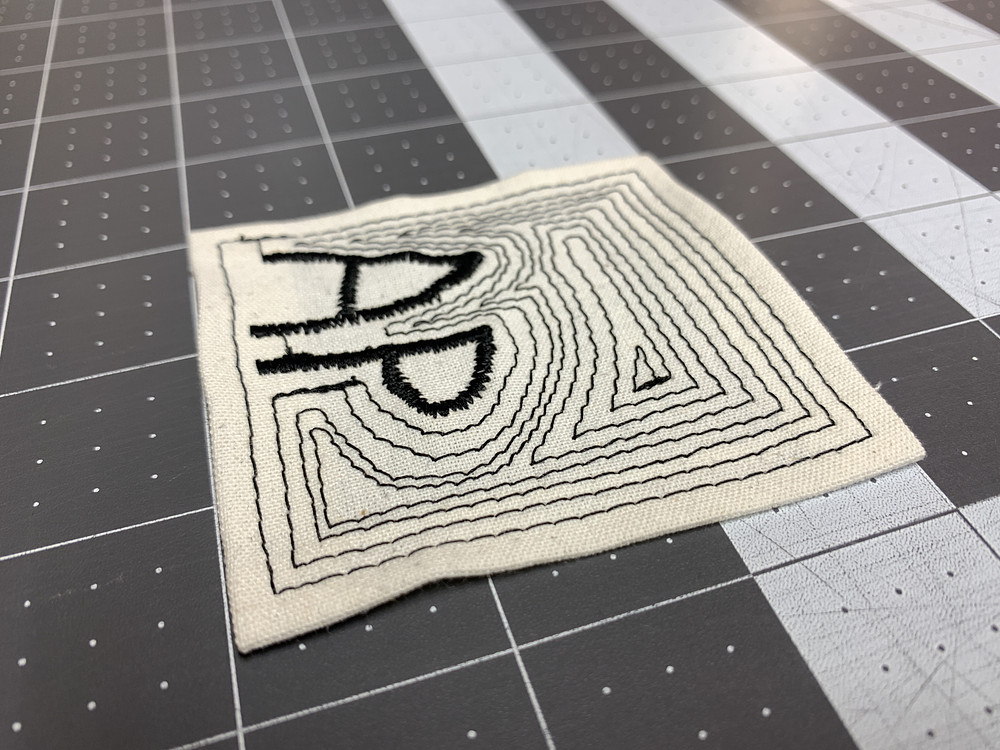
Whipped up a quick rough patch while I was on a phone call.
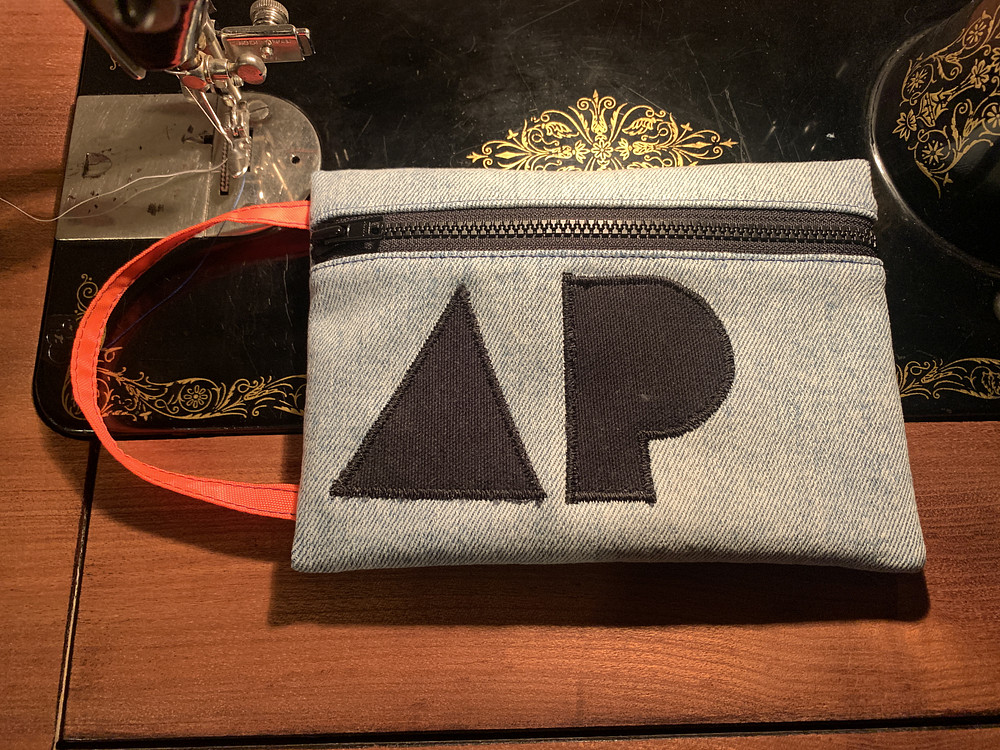
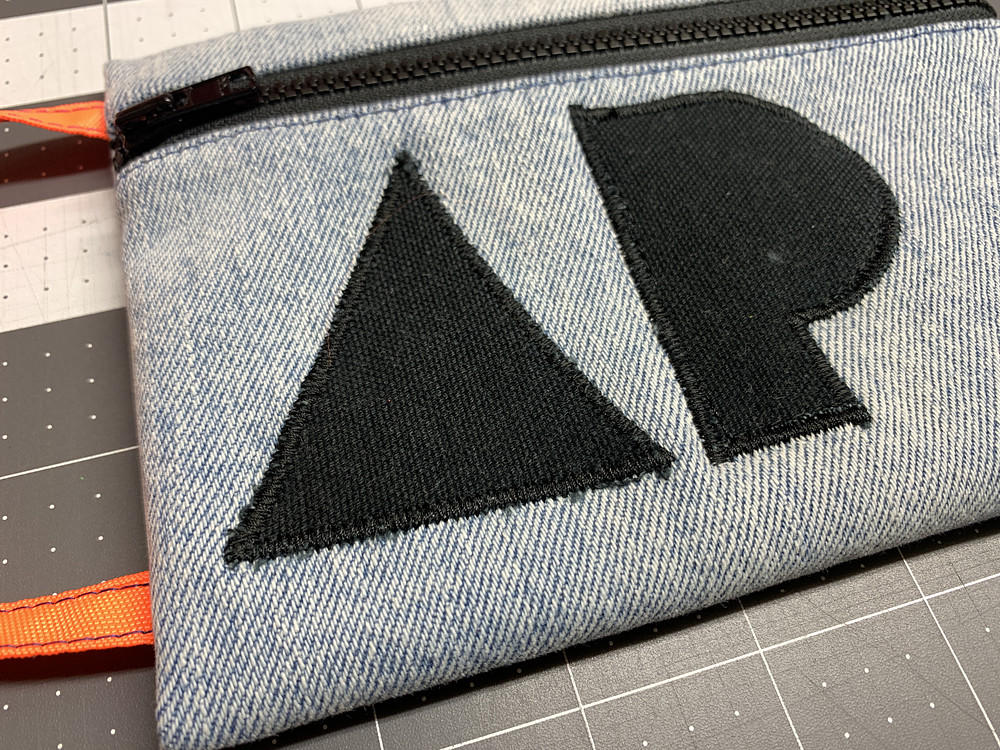
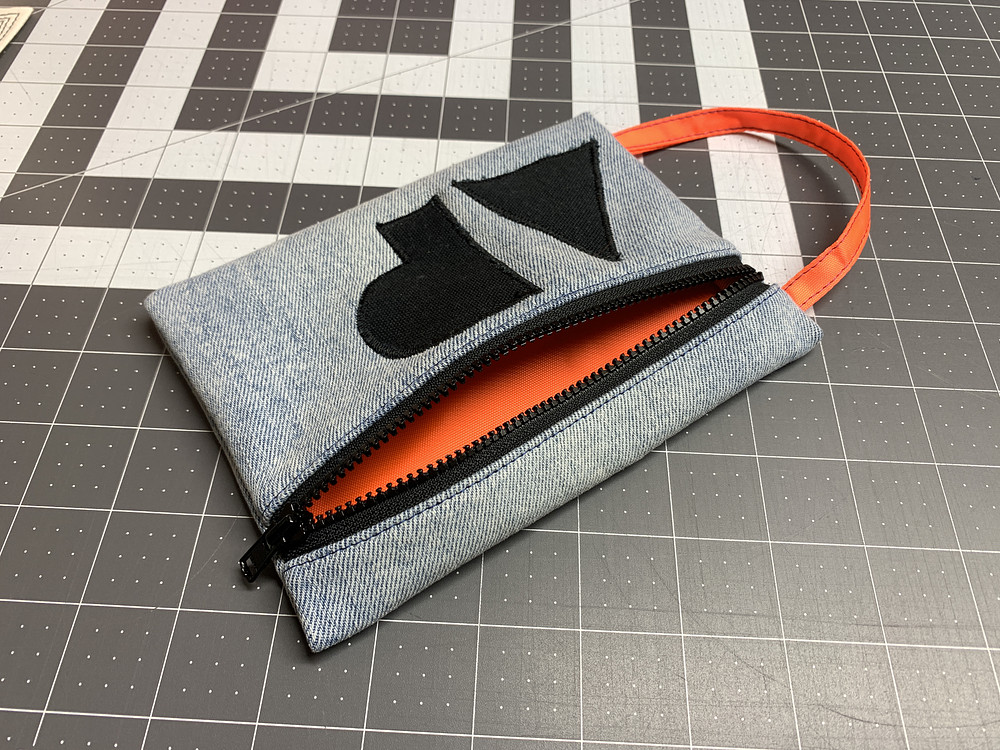
First bag sewn on my new-to-me 1947 Singer 66. Denim zipper bag with orange nylon liner.
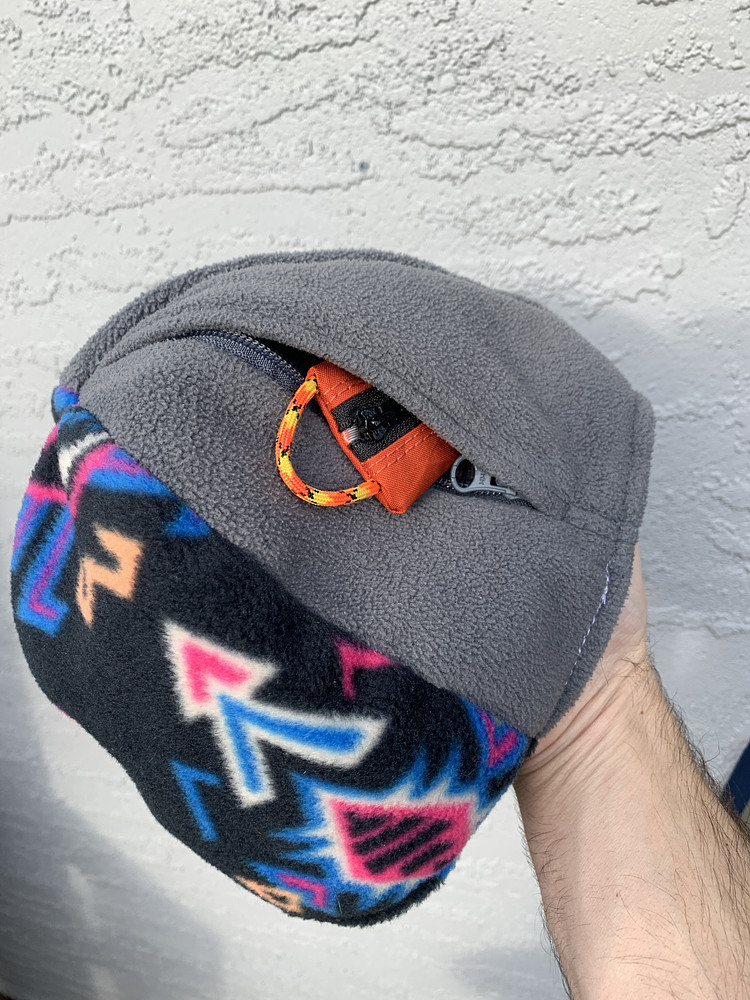
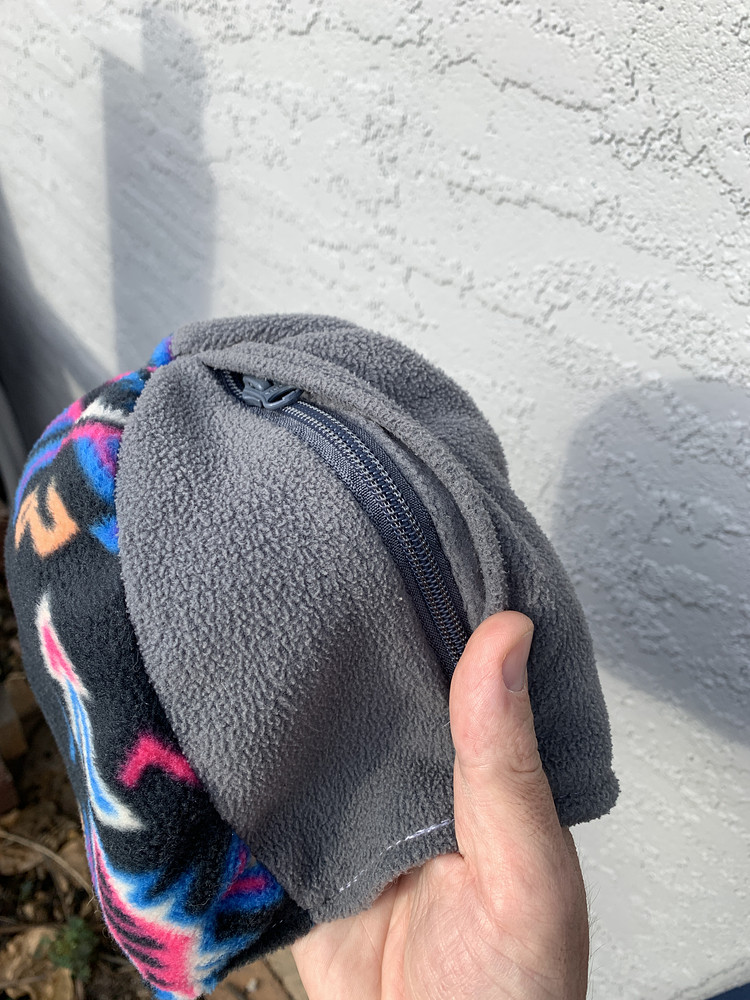
Sewed up a quick beanie with a zipper pocket on the Sailrite LS-1 and it went pretty well. Impressive the range of materials that this machine will sew. This is two different weights of fleece from two different Columbia jackets.
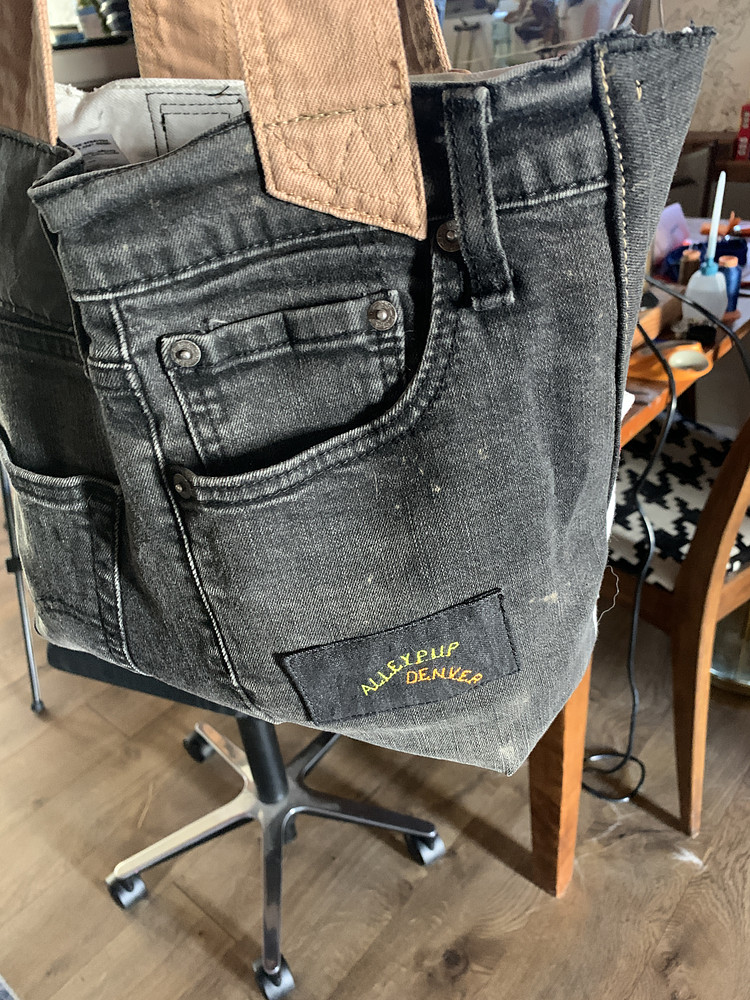
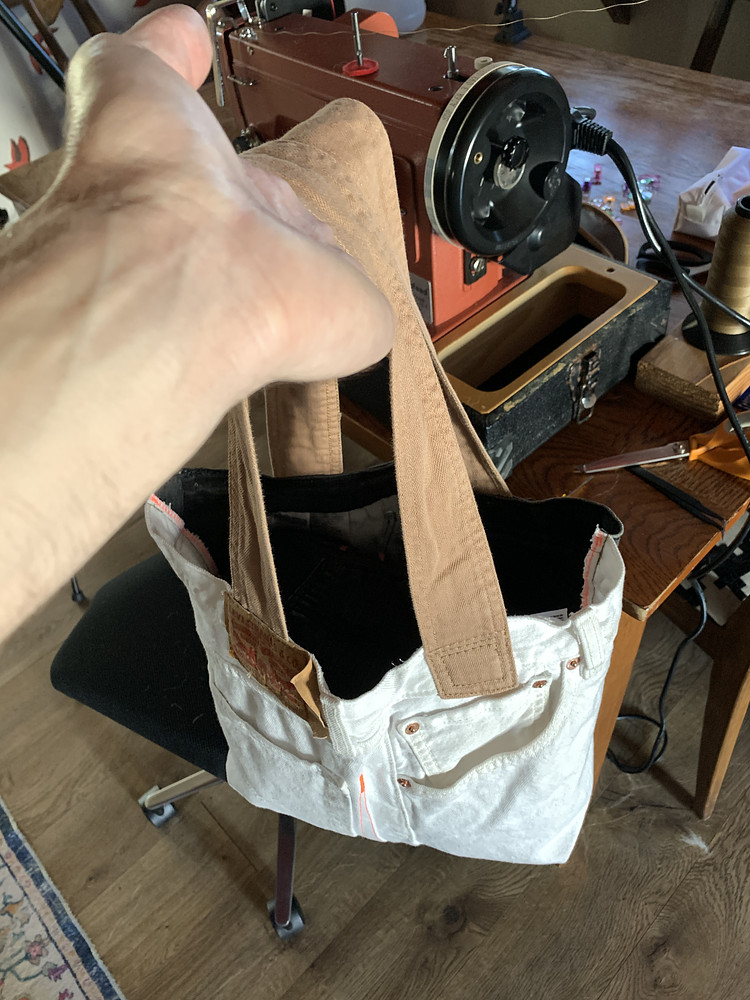
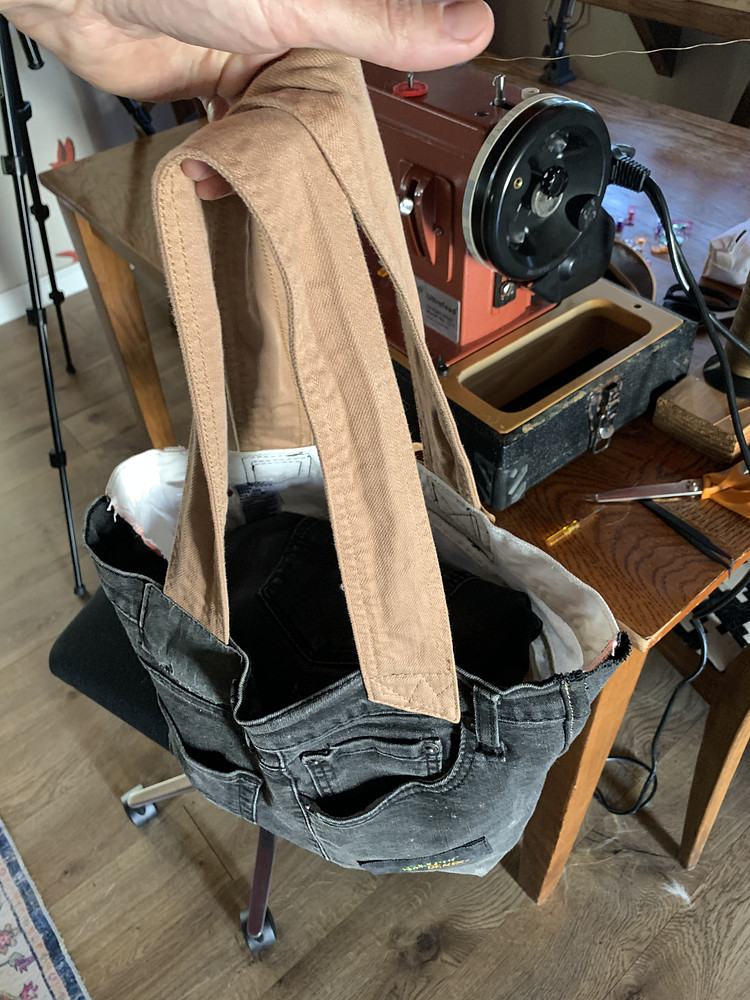
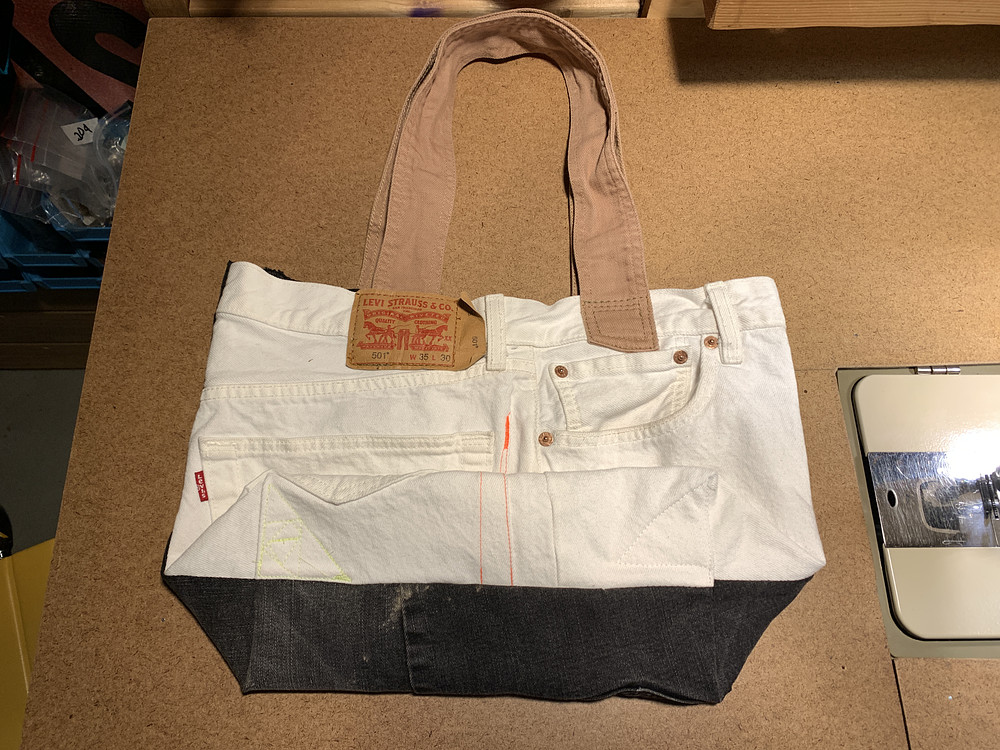
Sewed up a quick rough tote from some black and white Levi's jeans.
Technical issue on my Sailrite LS-1: The machine is sewing well and I've got tensions and such figured out pretty well, but every rotation, the machine has a consistent spot where it hits resistance, makes noise, and pops/binds in the walking foot. It's right after the needle gets to the very top of its stroke and is on its way down.
The middle part of the walking foot at this point should begin to lift away from the fabric. Instead, it often stays low and close to the fabric until at a certain point in the rotation, when the needle has moved down about 2mm. At this point, the middle part of the walking foot pops up instantly, and you can see the walking foot mechanism in the machine also instantly shifts at the same time in several areas. It's like something is binding.
Once the middle presser foot pops up, rotation resistance is back to normal and all is good until it hits that spot in the next stitch. Once the resistance starts at the very top of the needle stroke, you can relieve the resistance by applying just enough pressure on the presser foot lift lever to allow the whole mechanism to unbind. Once the lever moves to the spot where it hits resistance (there's lots of free play in it by design,) it only has to move a fraction of a mm and then everything in the assembly pops into its proper place and works fine with normal rotational resistance.
There's also resistance in the rotation with the presser foot up (and needle, bobbin case, and bobbin hook out.) It's in that same area where the needle bar goes from very top point to down about 2mm. You can hear the machine bind and pop every rotation with the presser foot up.
The machine is cleaned, oiled, and the timing is perfect (I watched all 3 Sailrite videos on timing this machine.) It also stitches well. But I know the resistance and binding cannot be good for the machine, and the resistance is quite annoying when you want to operate the foot pedal at low speed and it works at low speed until it hits that spot in the rotation with resistance, then stops and requires more foot pressure to overcome the resistance and move again, moving faster once its free of the resistance and making it hard to stitch slow.
The middle part of the walking foot at this point should begin to lift away from the fabric. Instead, it often stays low and close to the fabric until at a certain point in the rotation, when the needle has moved down about 2mm. At this point, the middle part of the walking foot pops up instantly, and you can see the walking foot mechanism in the machine also instantly shifts at the same time in several areas. It's like something is binding.
Once the middle presser foot pops up, rotation resistance is back to normal and all is good until it hits that spot in the next stitch. Once the resistance starts at the very top of the needle stroke, you can relieve the resistance by applying just enough pressure on the presser foot lift lever to allow the whole mechanism to unbind. Once the lever moves to the spot where it hits resistance (there's lots of free play in it by design,) it only has to move a fraction of a mm and then everything in the assembly pops into its proper place and works fine with normal rotational resistance.
There's also resistance in the rotation with the presser foot up (and needle, bobbin case, and bobbin hook out.) It's in that same area where the needle bar goes from very top point to down about 2mm. You can hear the machine bind and pop every rotation with the presser foot up.
The machine is cleaned, oiled, and the timing is perfect (I watched all 3 Sailrite videos on timing this machine.) It also stitches well. But I know the resistance and binding cannot be good for the machine, and the resistance is quite annoying when you want to operate the foot pedal at low speed and it works at low speed until it hits that spot in the rotation with resistance, then stops and requires more foot pressure to overcome the resistance and move again, moving faster once its free of the resistance and making it hard to stitch slow.
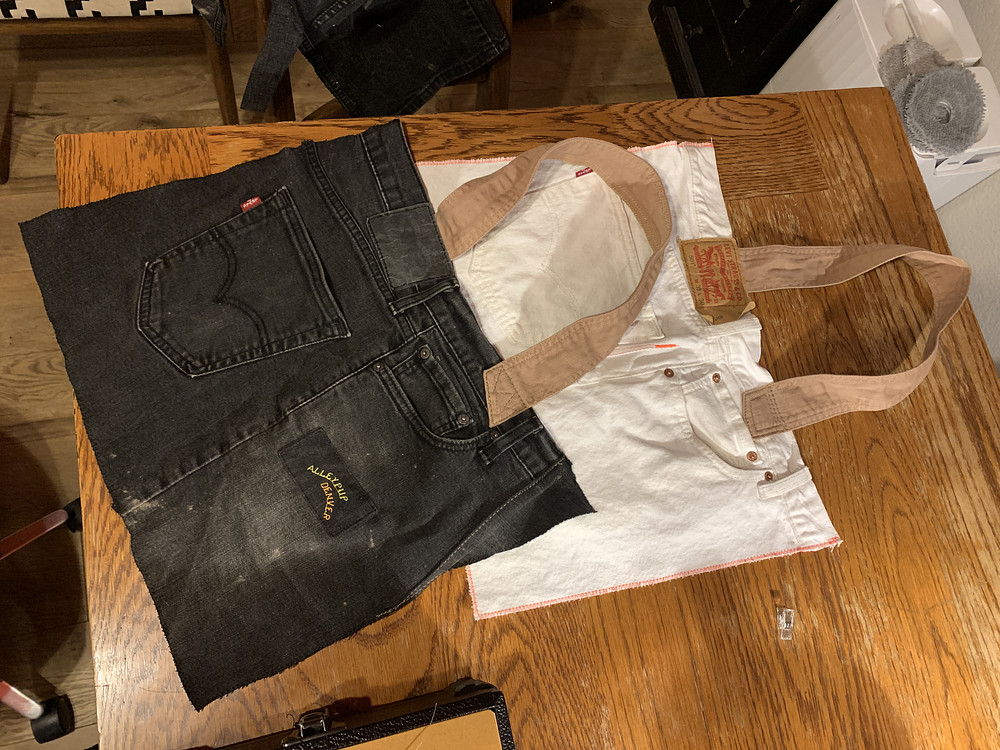
Sewing up a new tote bag from some trashed Levi's jeans on the Sailrite LS-1, which is sewing well now. Tensions and presser foot pressure were both cranked way up when I got this machine, but with them set properly for this thread (T69 nylon) and fabric, all works well.
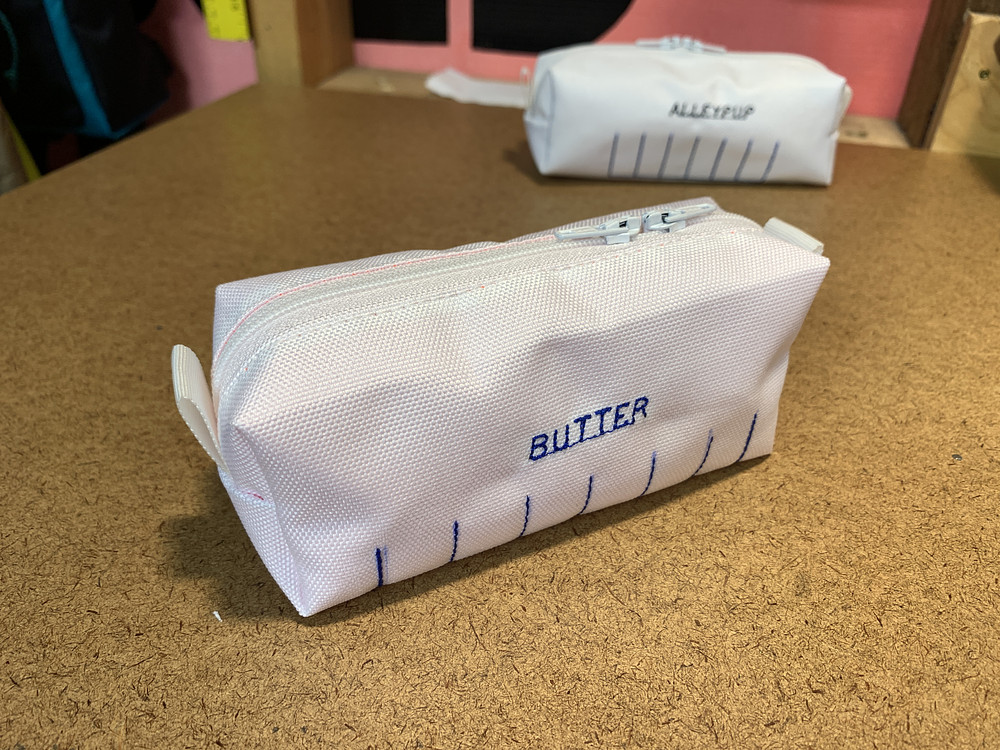
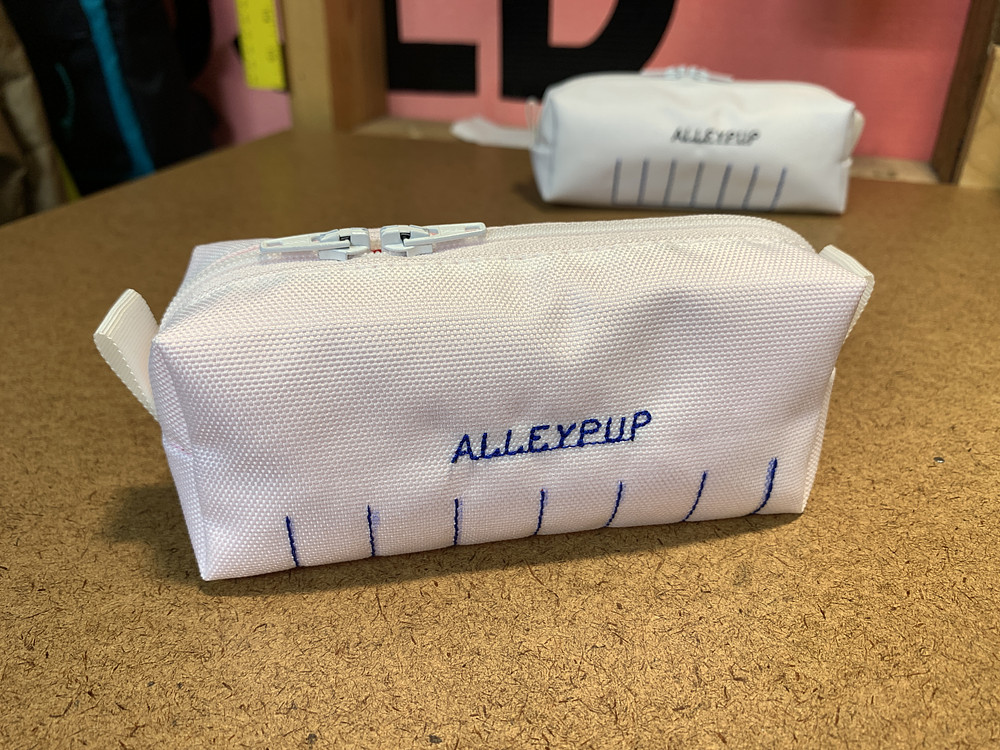
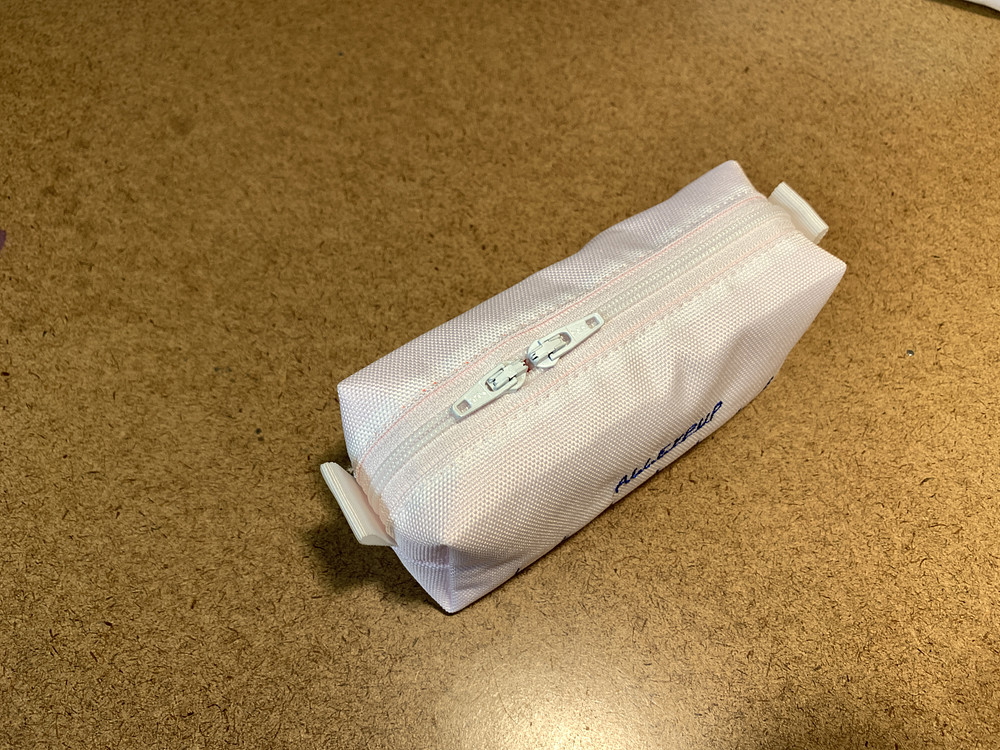
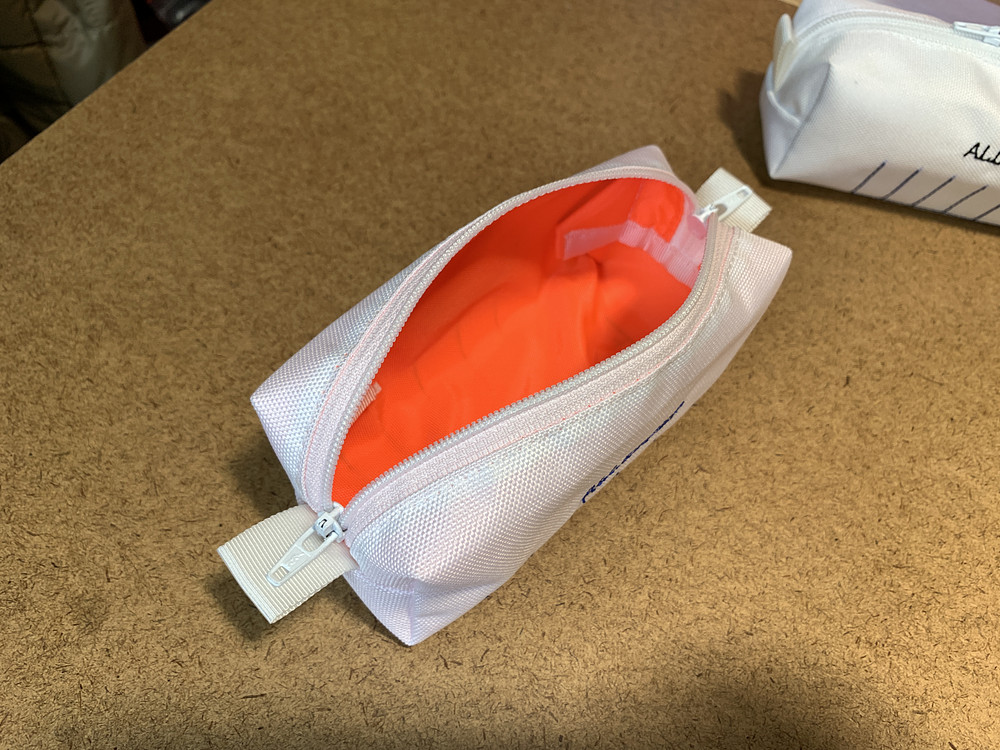
Just finished up another rectangle "stick of butter" bag, and this one turned out ok. The spacing on the "BUTTER" text, "ALLEYPUP" text, and tablespoon lines is better, but the box angles aren't as good as the first one. Using blue for the text looks better too, found royal blue Rayon embroidery thread at ReCreative for $0.75.
Fabric is some sort of nylon outside, with lighter bright orange nylon on the inside.
Fabric is some sort of nylon outside, with lighter bright orange nylon on the inside.
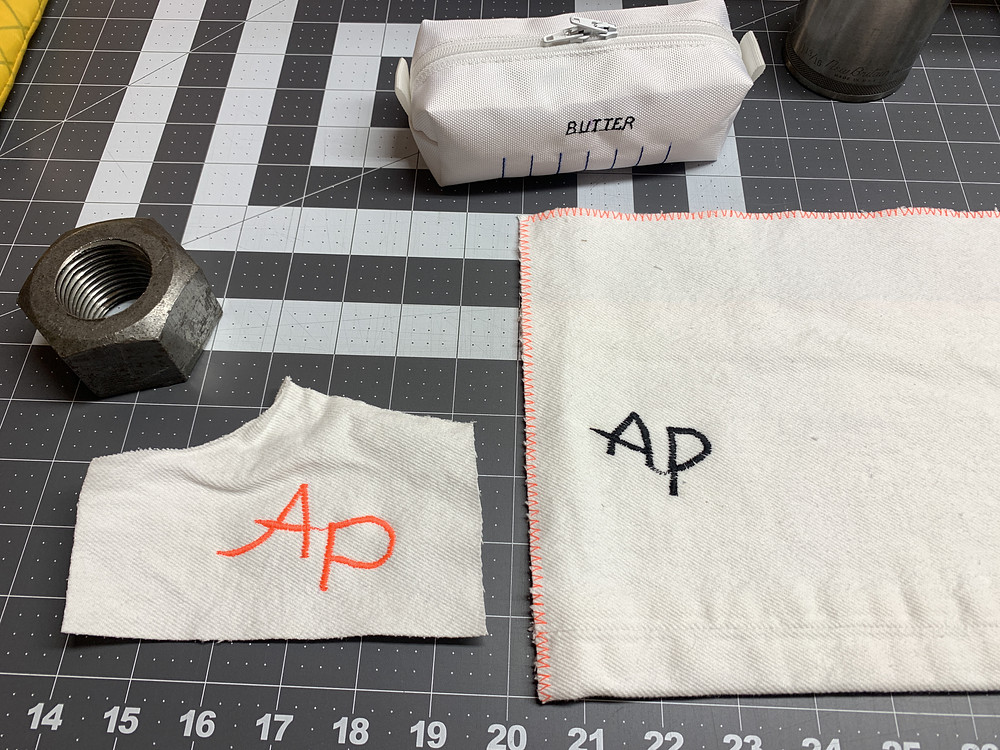
Alleypup AP embroidery and a butter bag.
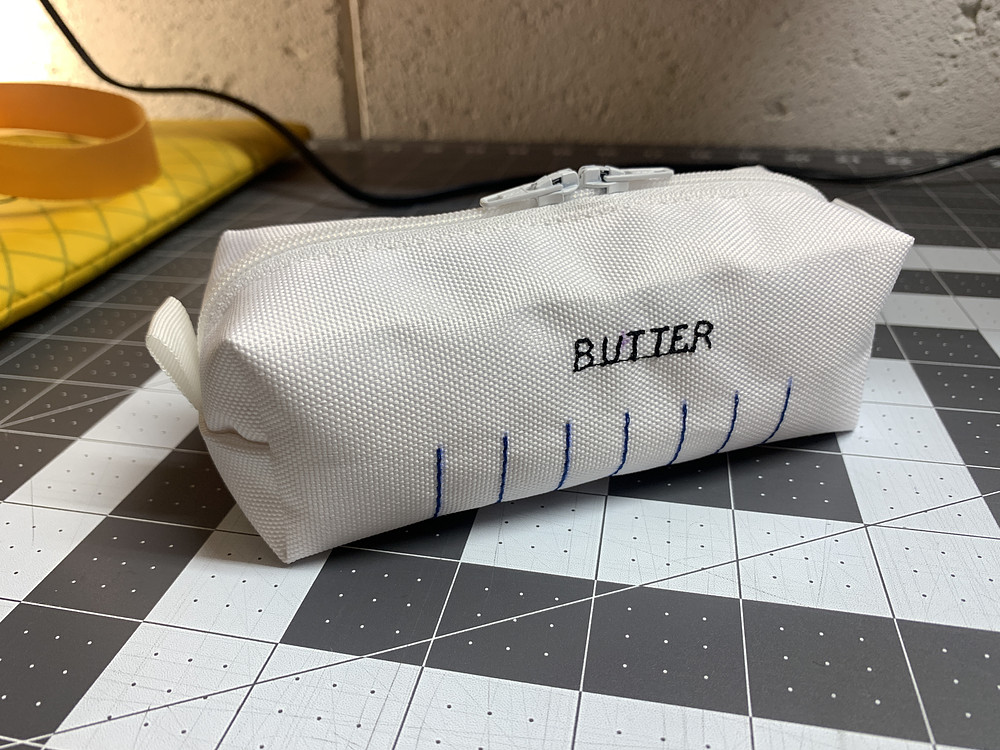
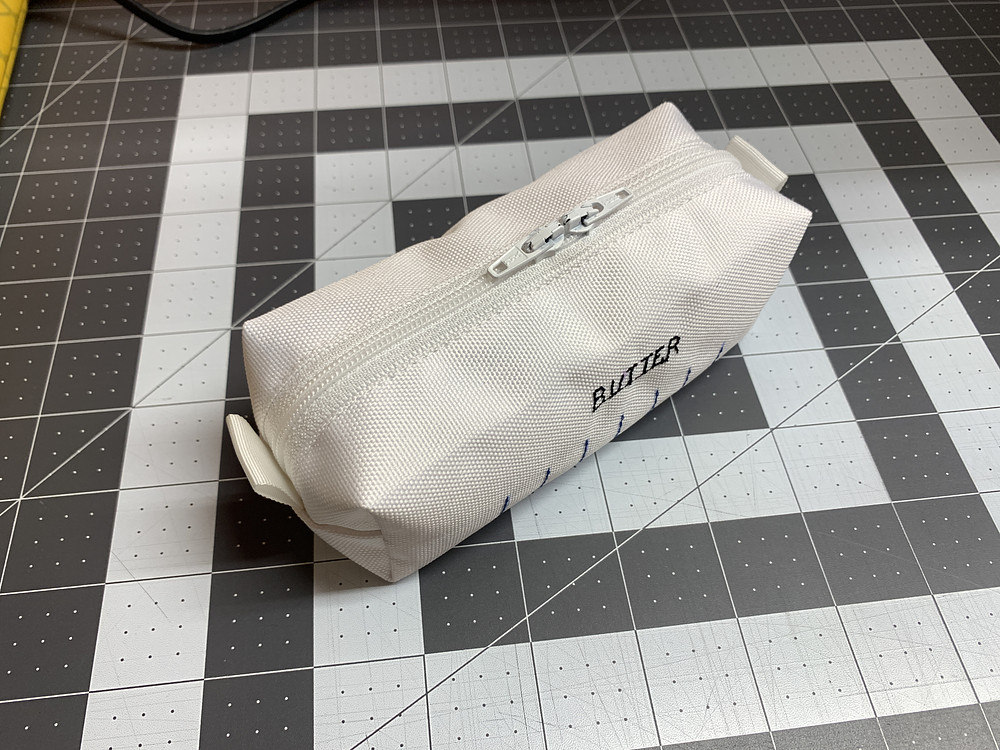
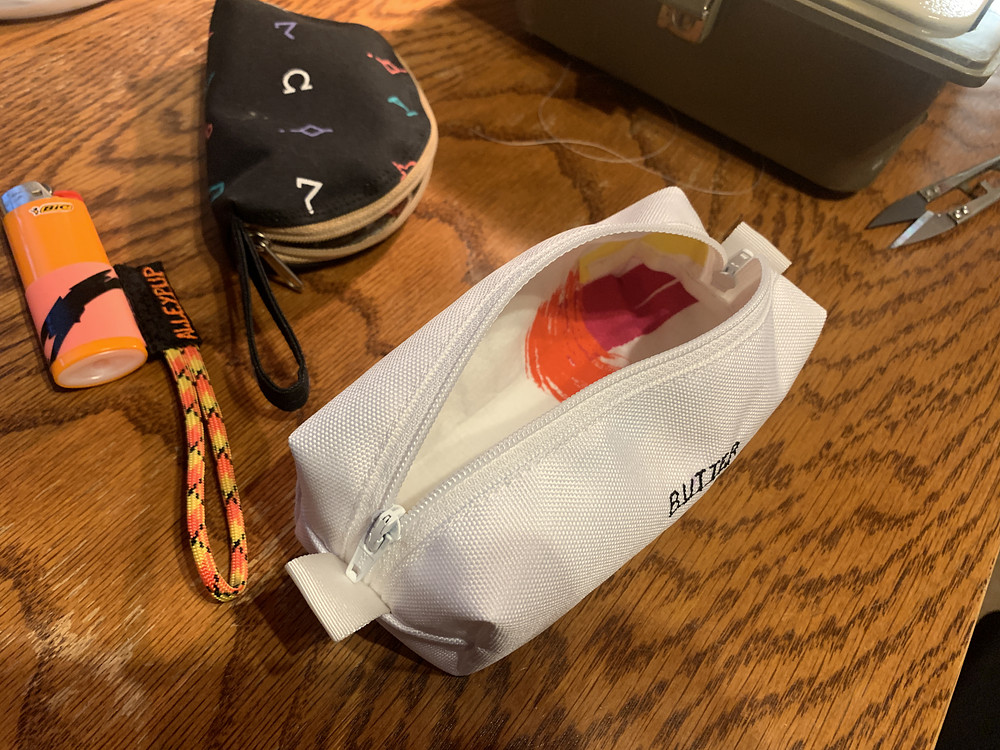
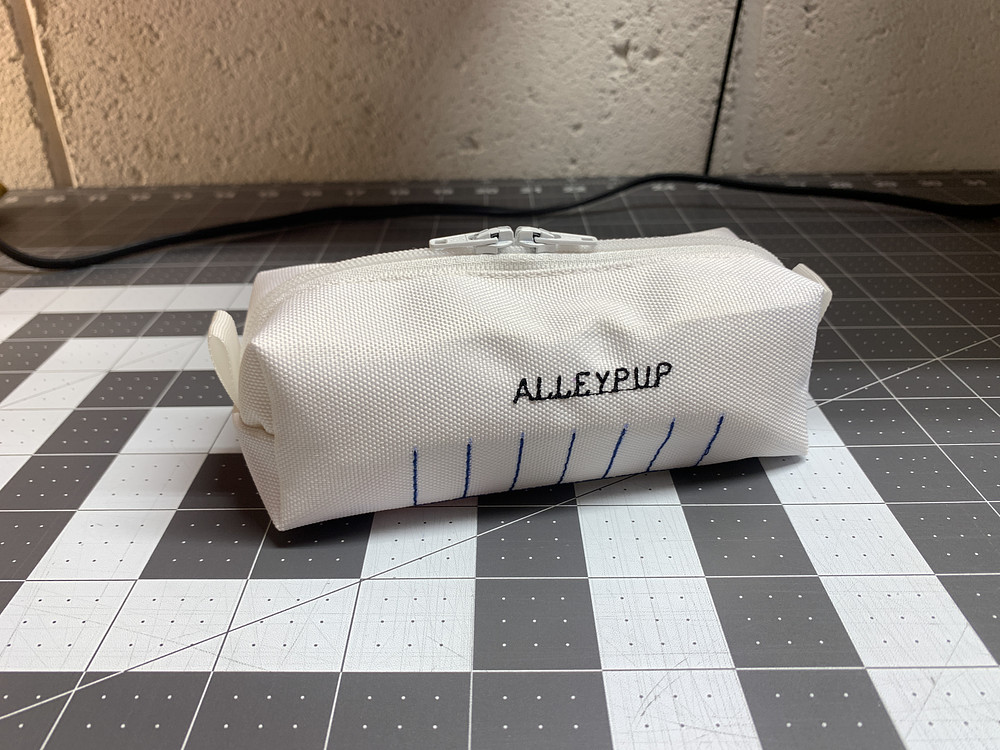
Butter bag, some sort of nylon outside fabric lined with light cotton.
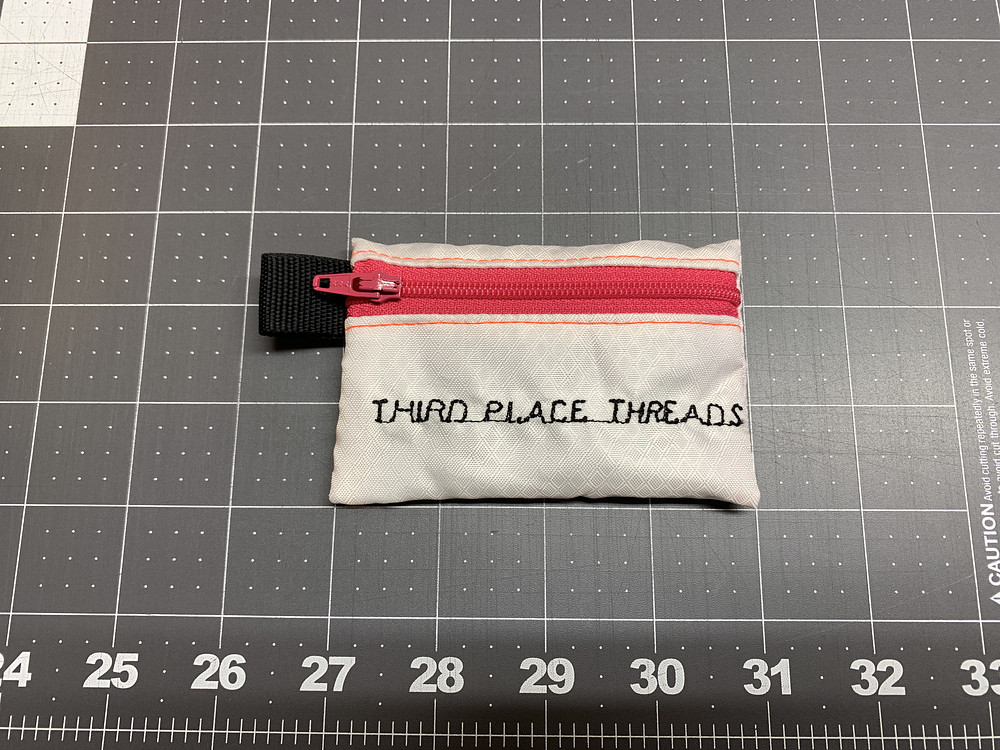
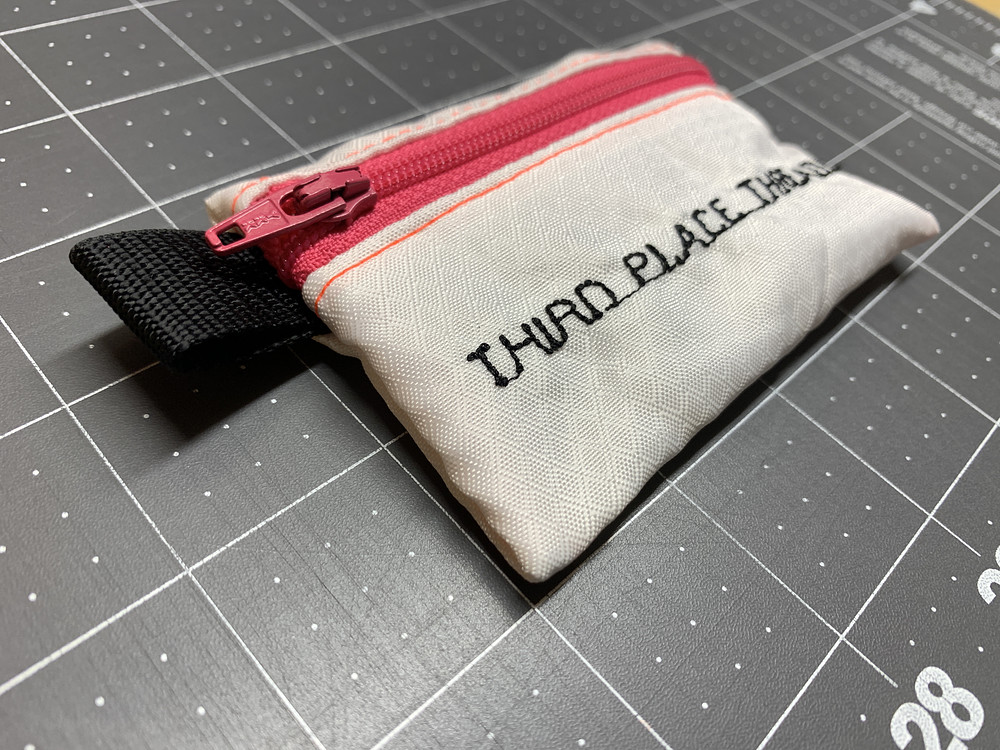
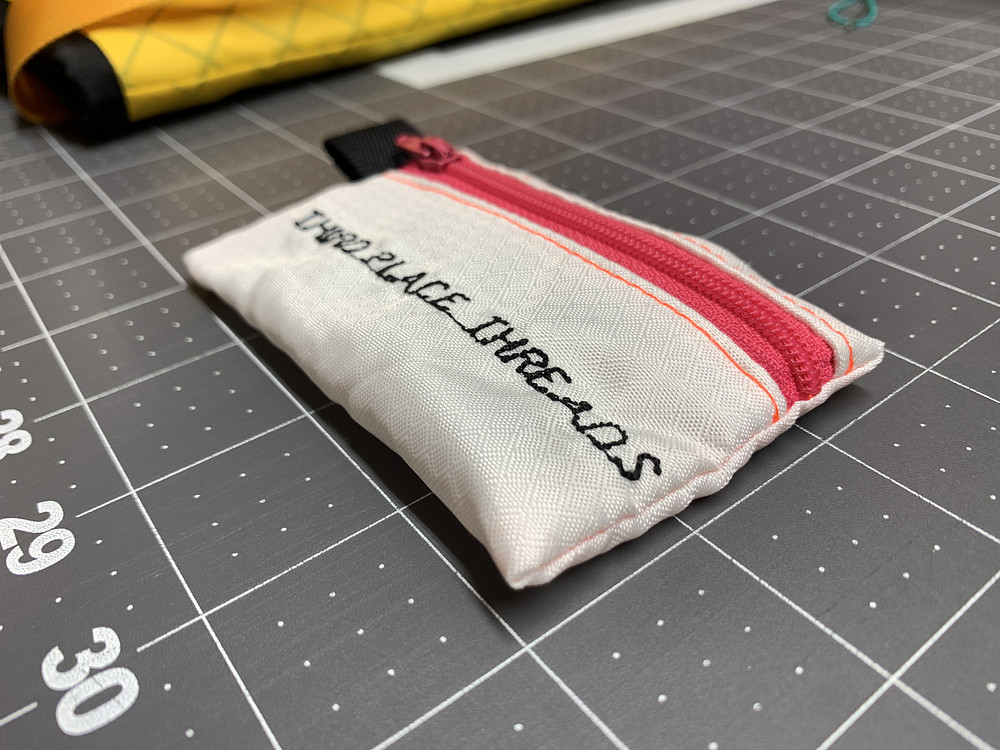
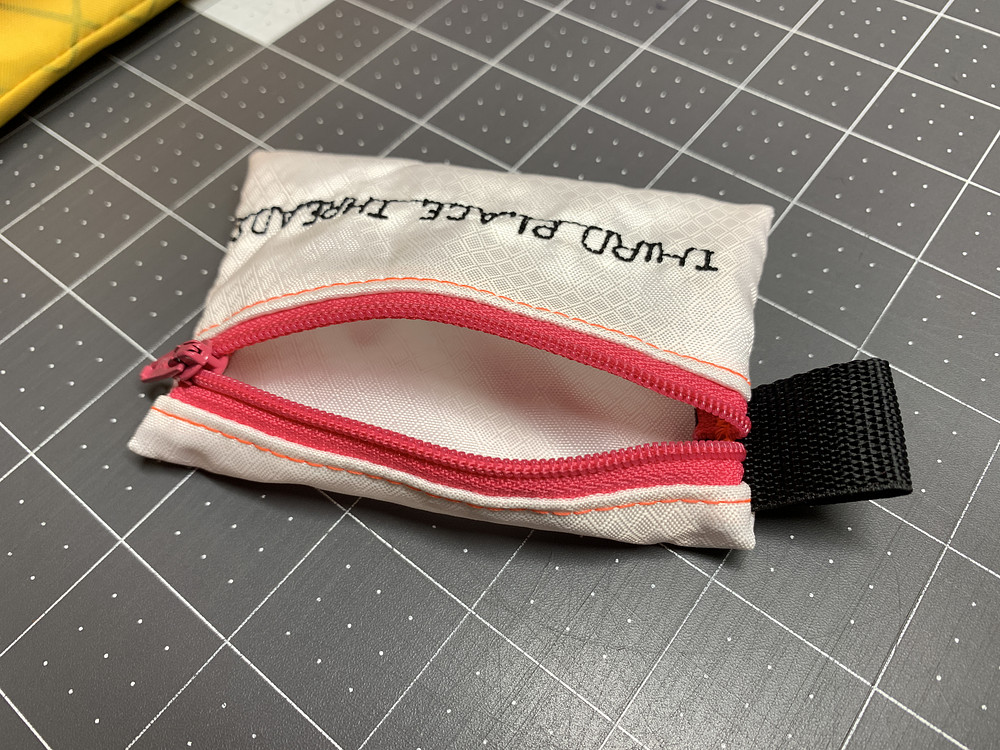
Small white zipper bag made from Hyper D 300 fabric. Embroidery isn't where I wanted it to be, which is why this panel, which was originally supposed to be on a backpack, got turned into this small bag.
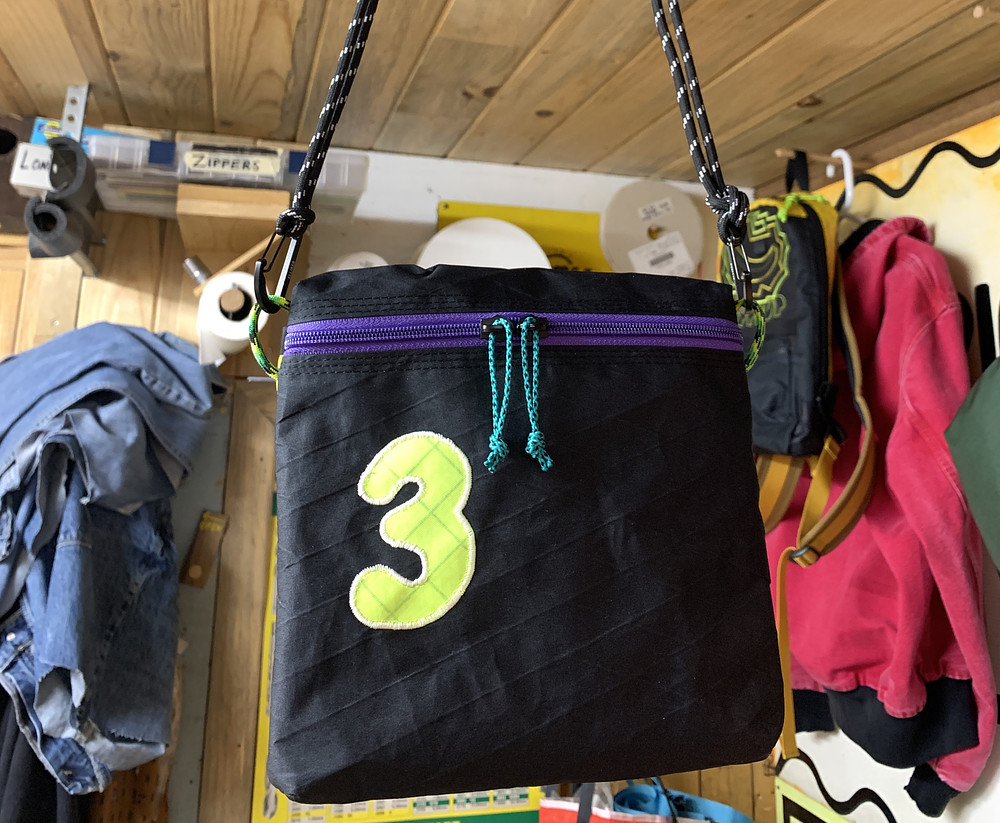
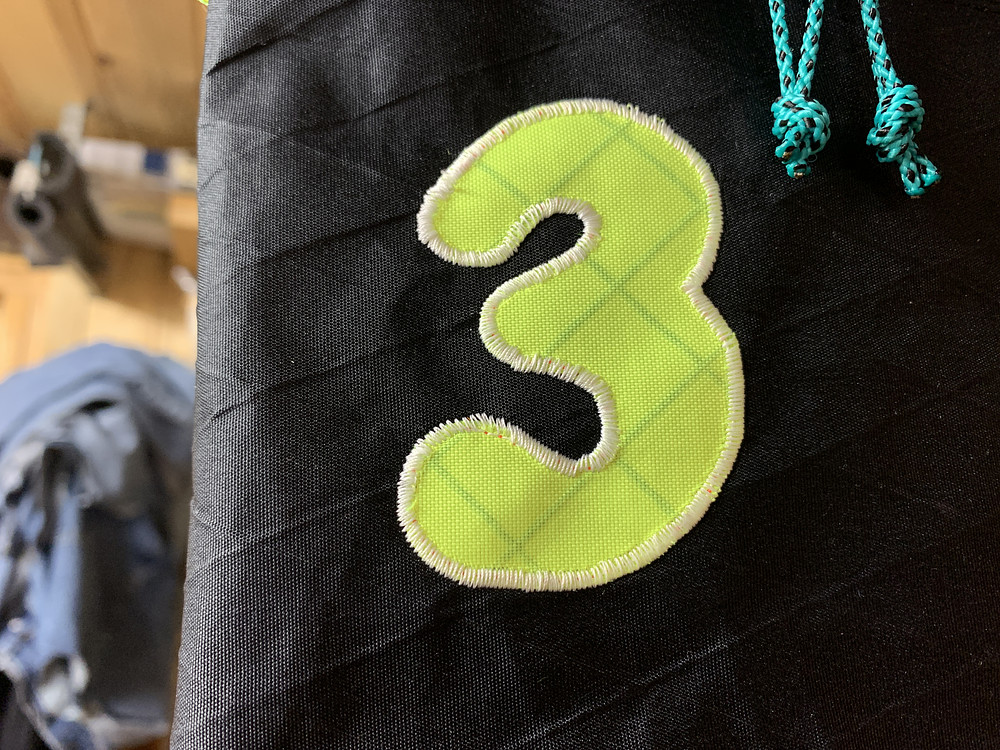
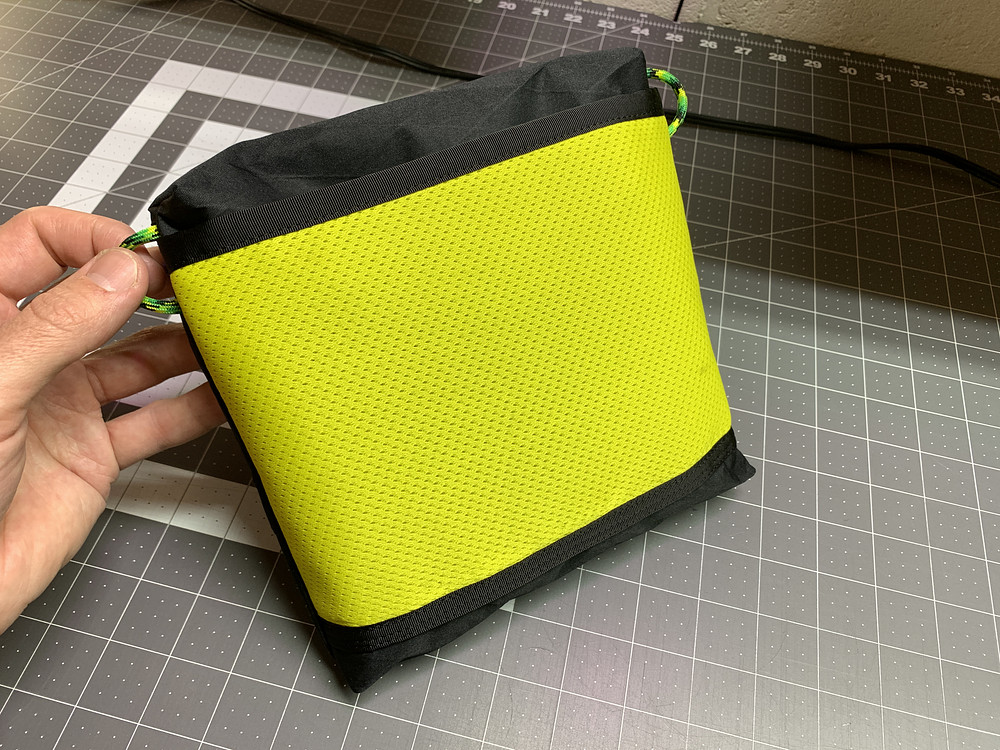
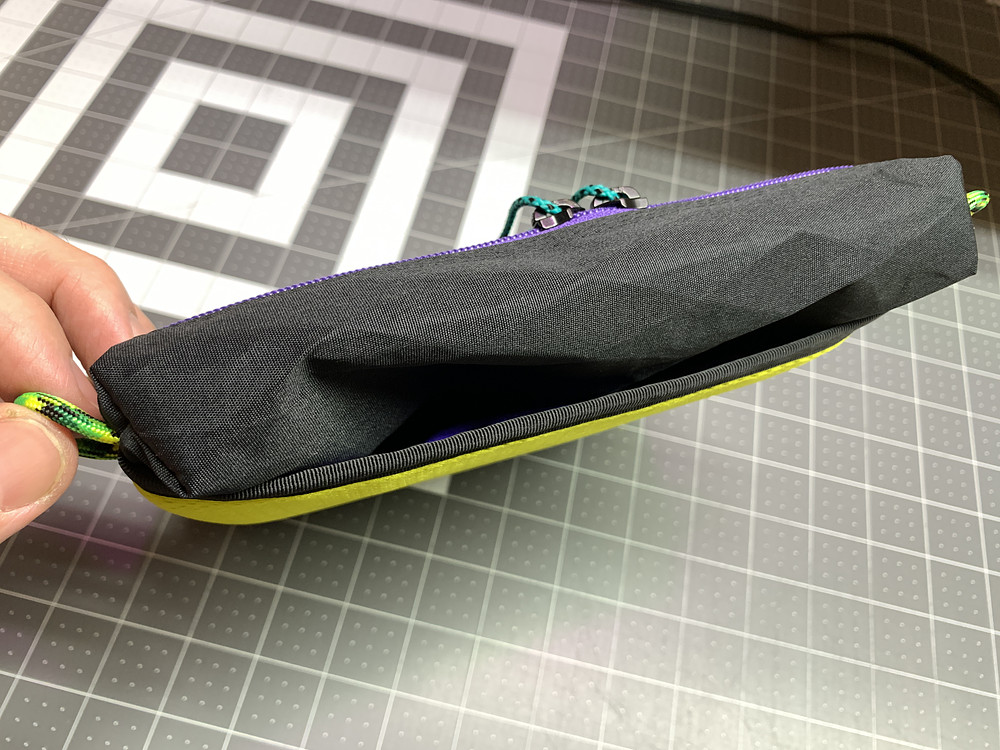
Another 3D zipper bag / sling pouch. Black X-Pac with spacer mesh rear pocket and hi-viz inside pocket.
Turned out ok, but the exterior pocket didn't have enough slack in it, so the main body of the bag is pushed in by the bulky spacer mesh pocket, especially at the top, when it's turned inside out after sewing.
#myog
Turned out ok, but the exterior pocket didn't have enough slack in it, so the main body of the bag is pushed in by the bulky spacer mesh pocket, especially at the top, when it's turned inside out after sewing.
#myog
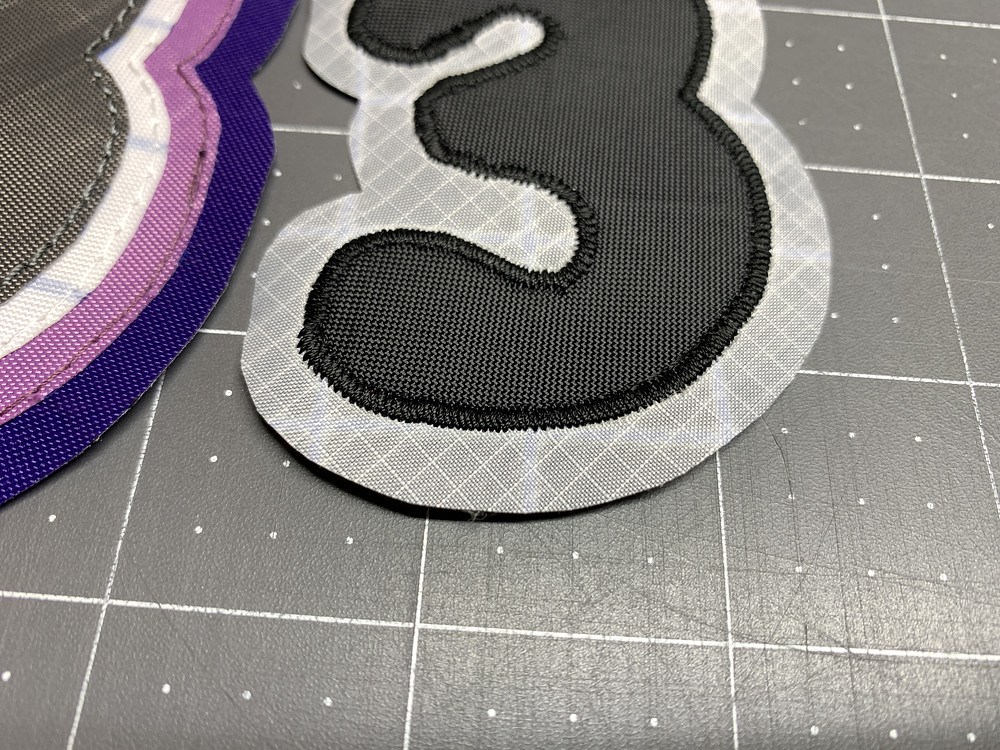
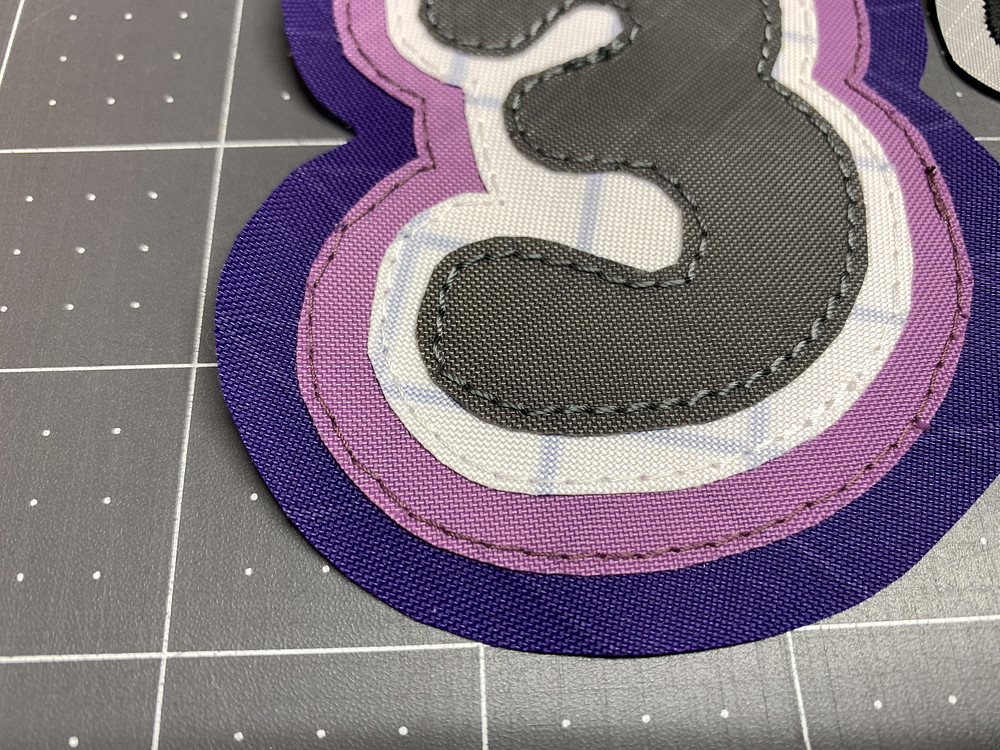
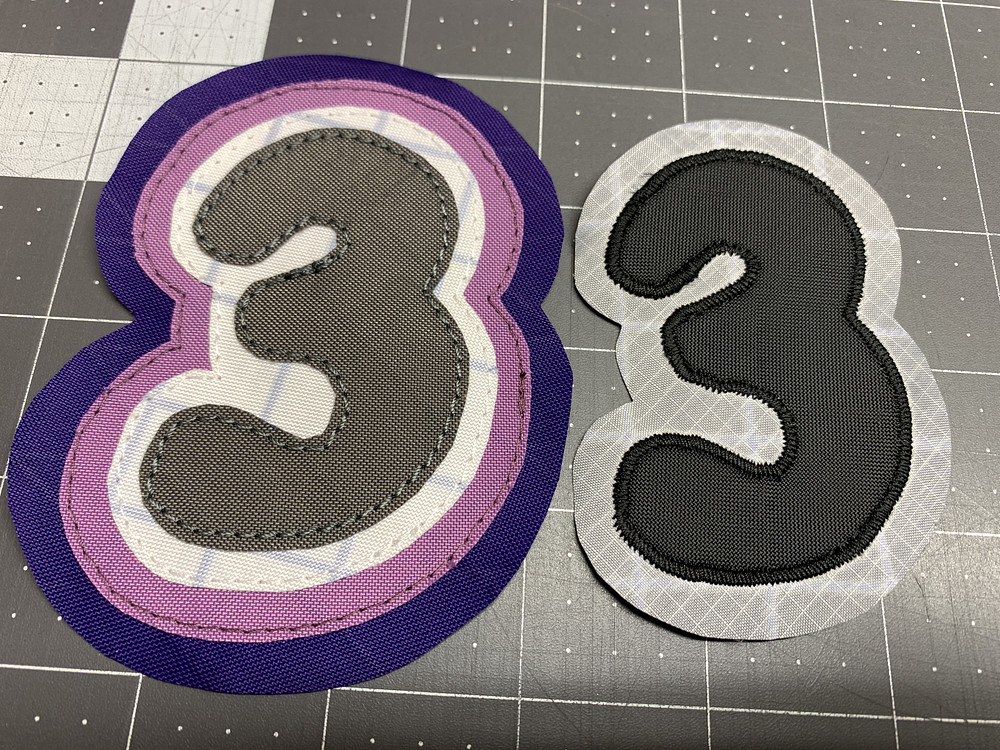
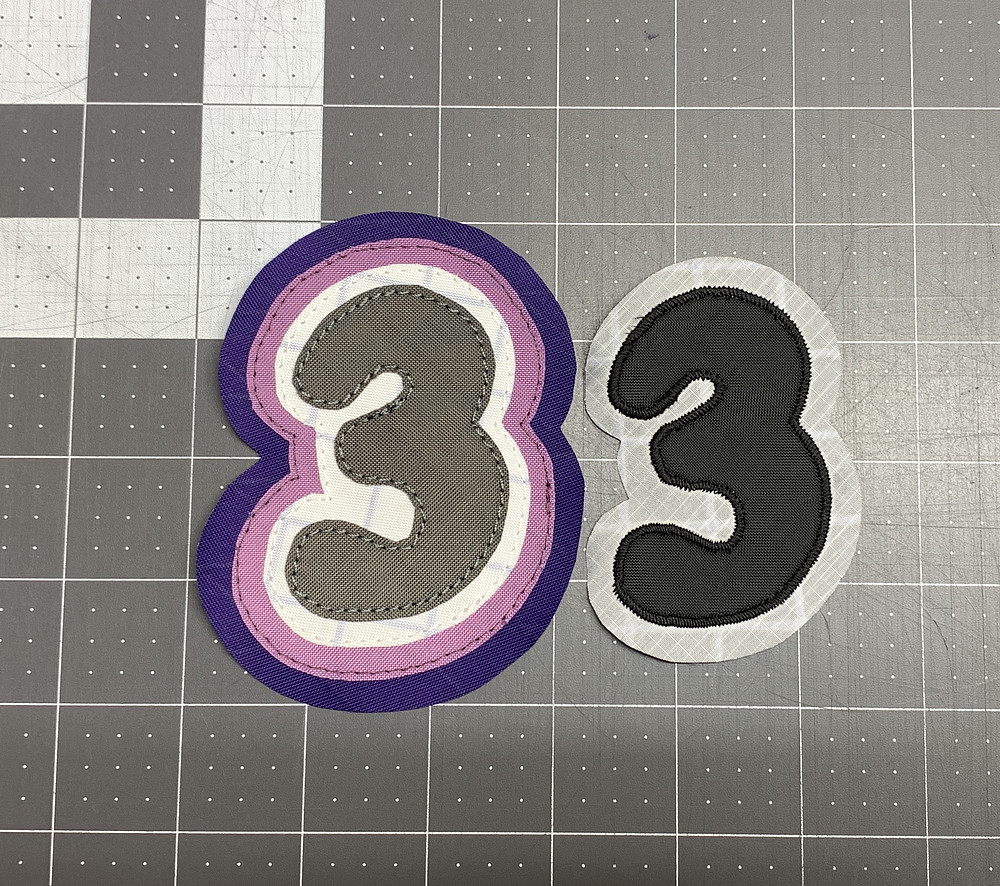
Working on some fun Third Place Threads patches, and a satin stitch over the edge is the way to go so that the edges don't get caught on things or fray.
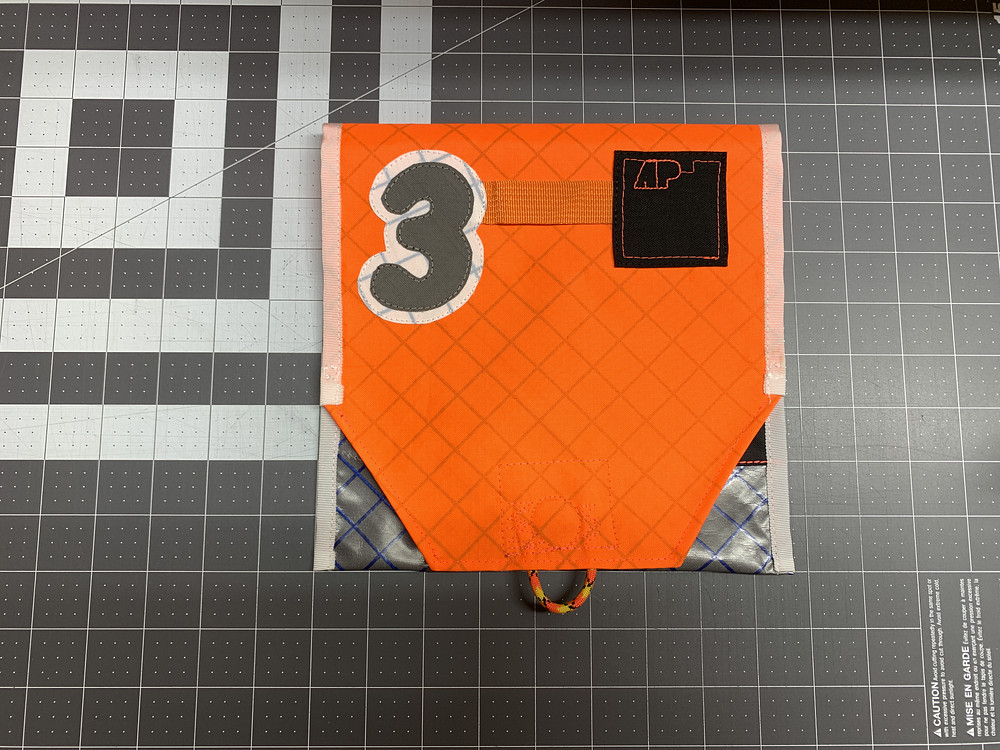
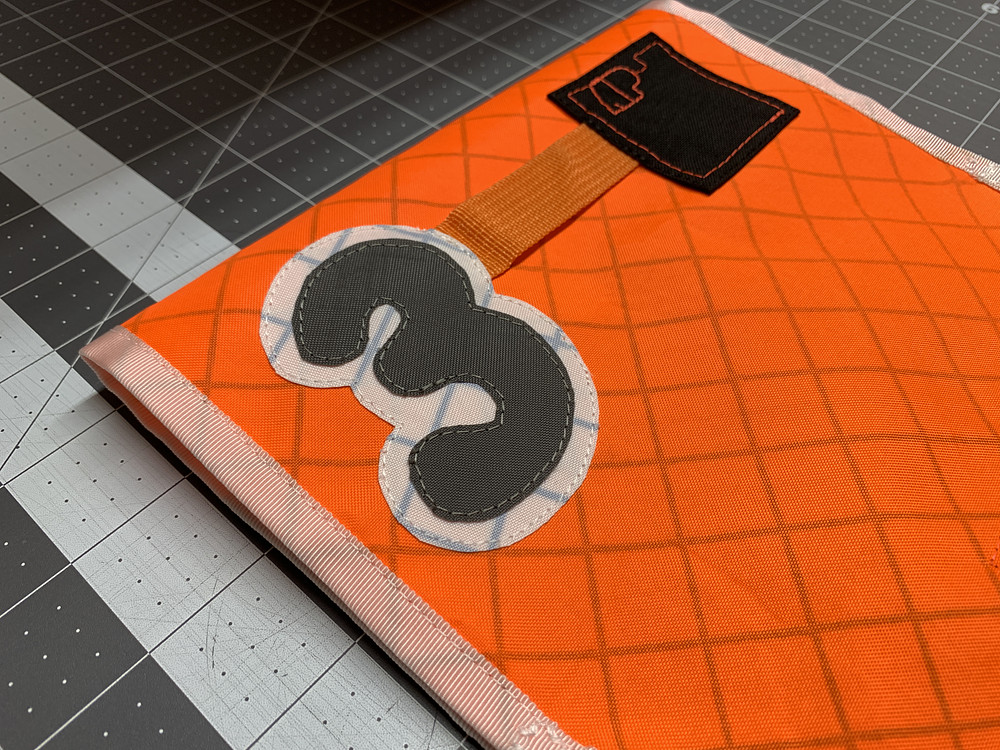
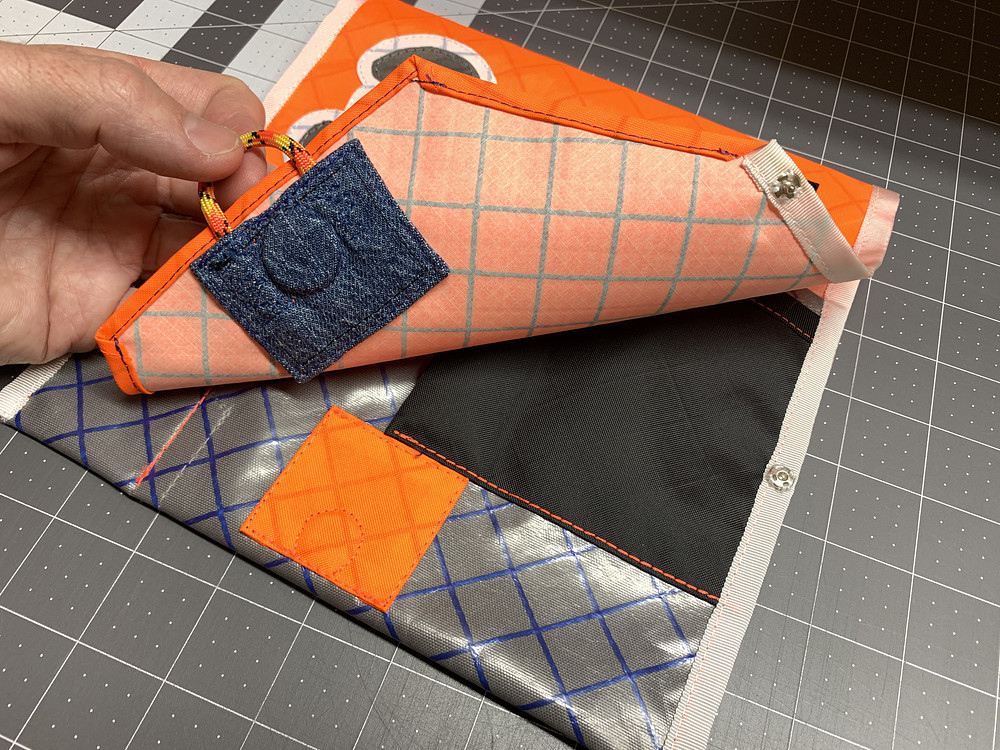
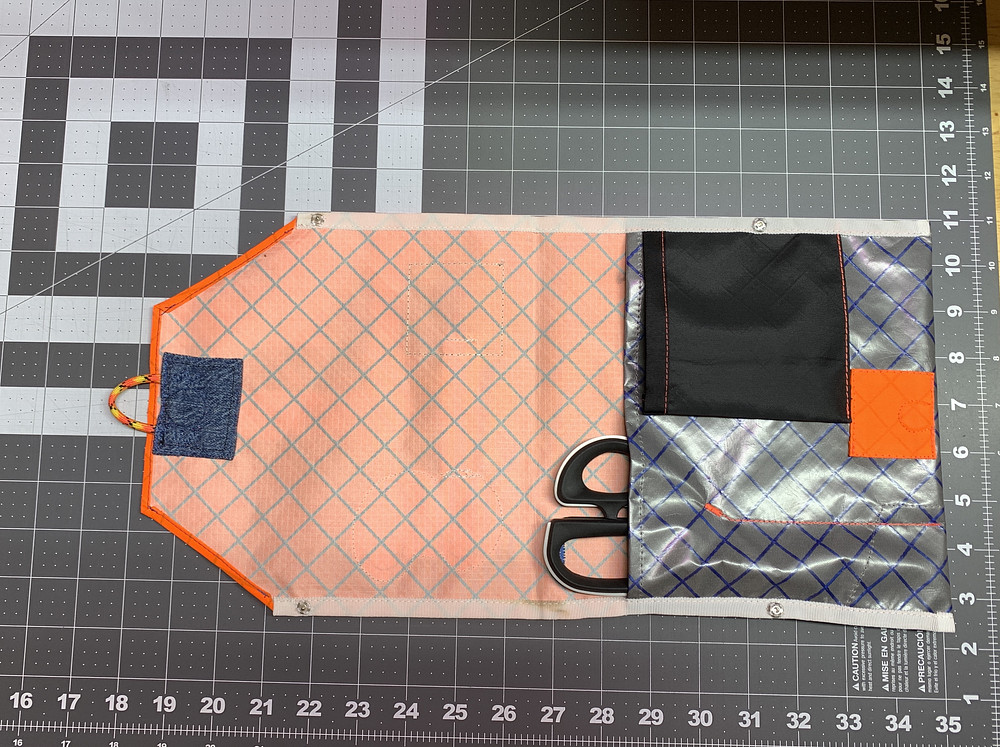
Completed a bag to hold my Kai scissors perfectly, with a couple other pockets to hold whatever. Magnetic and snap closures, made with orange and gray Challenge ECOPAK fabric.
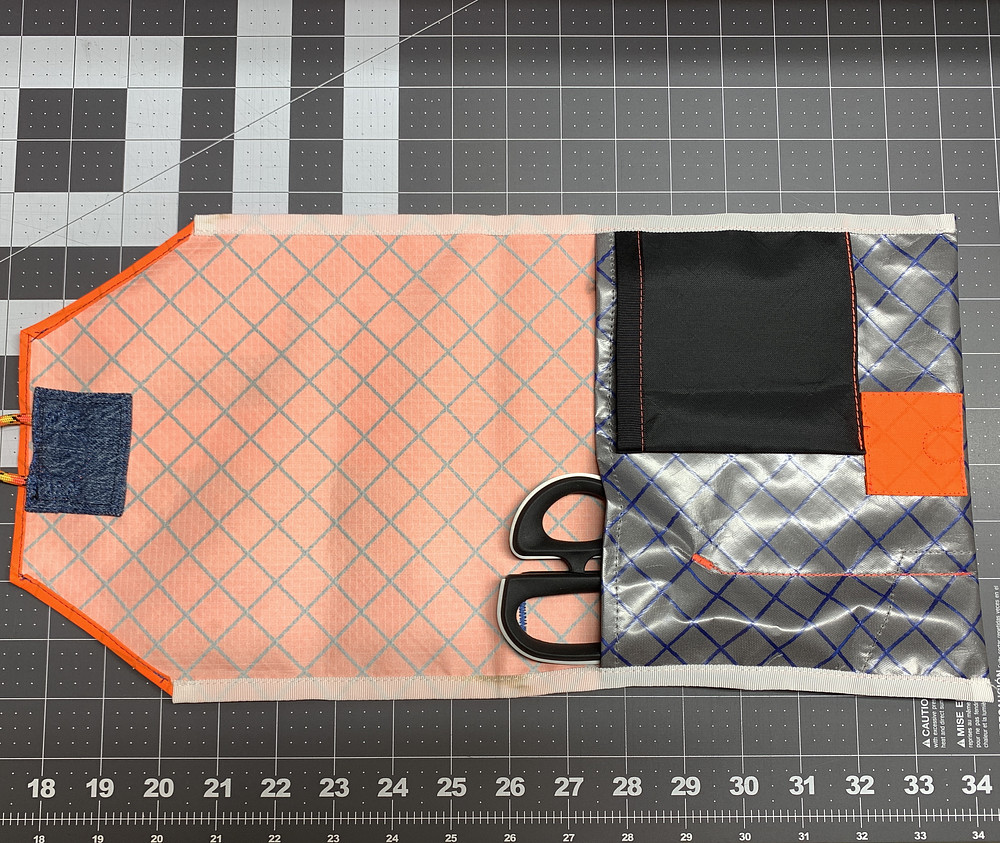
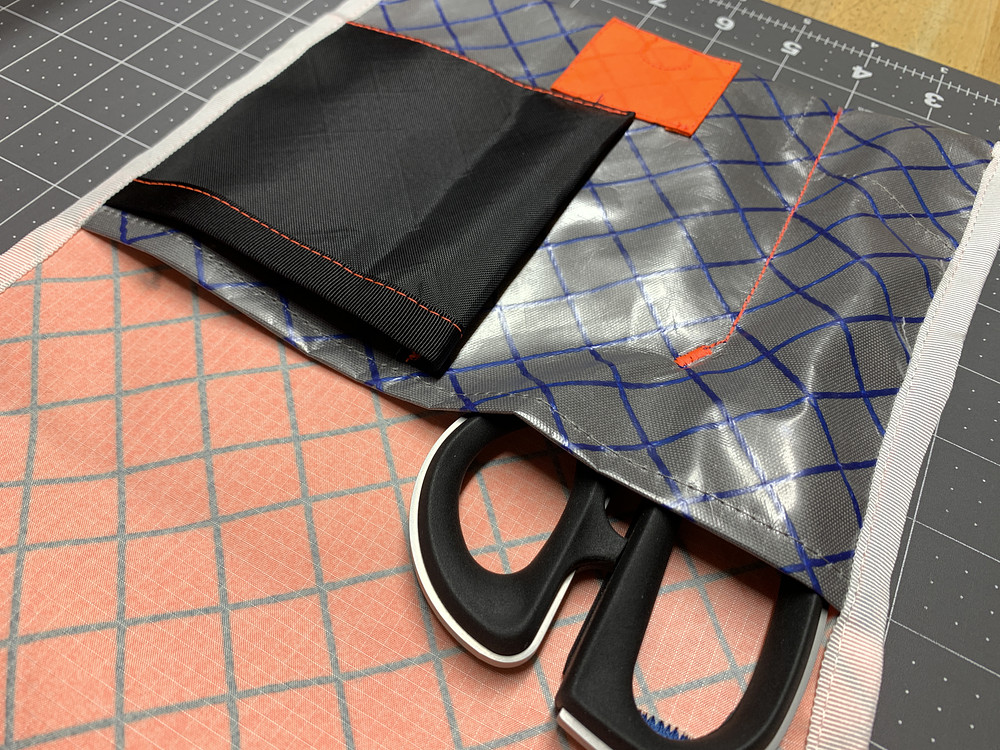
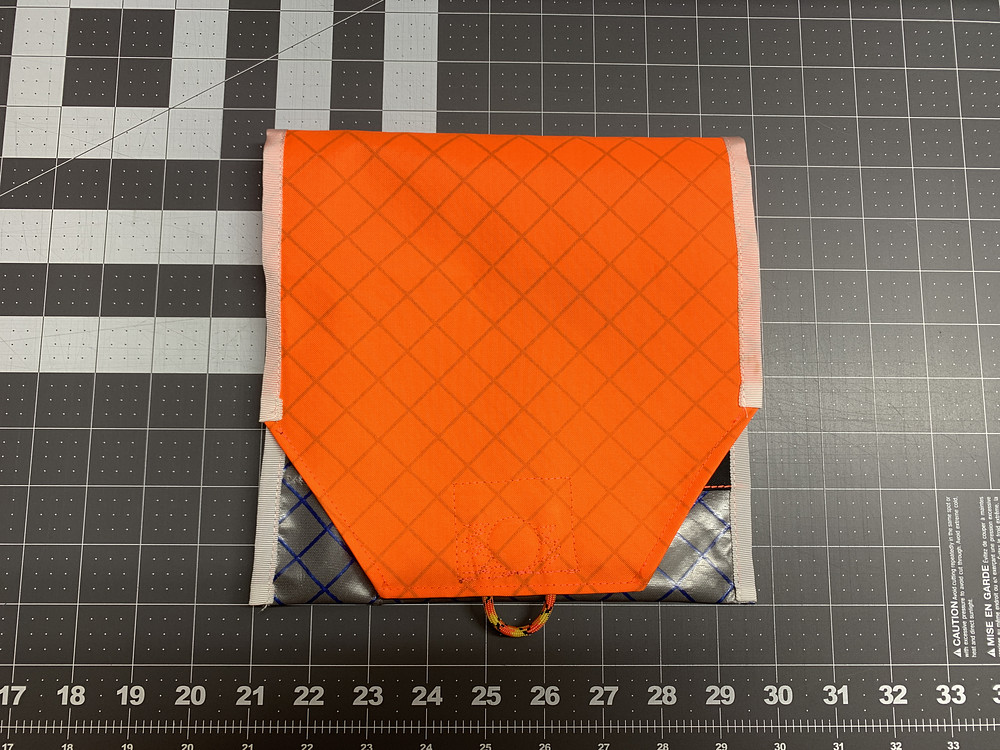
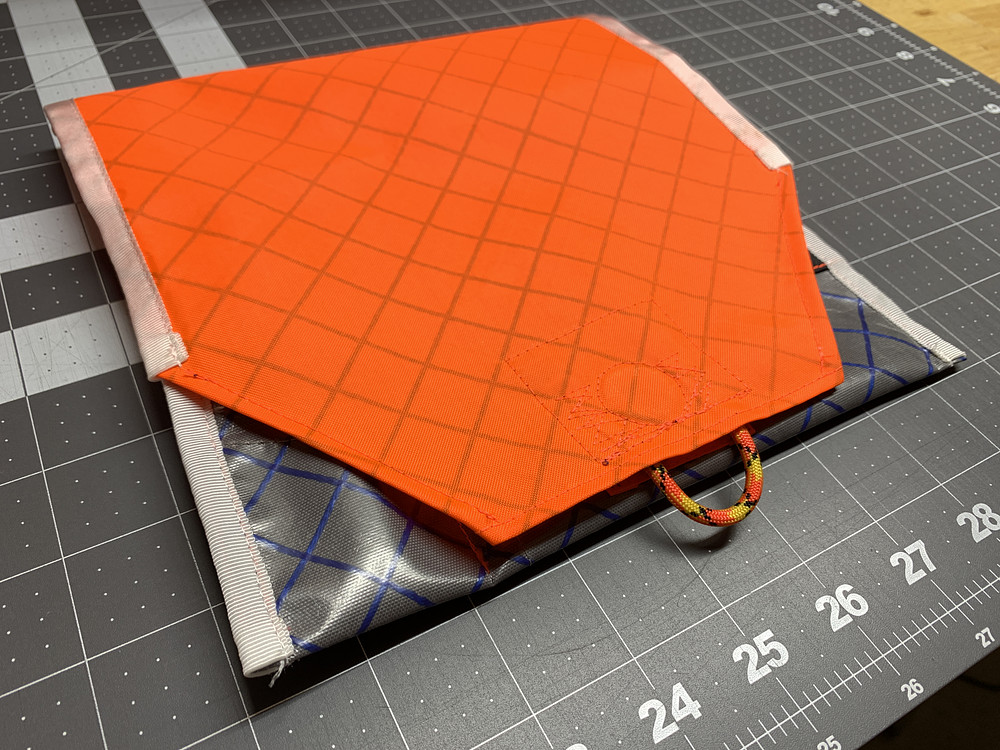
Made a quick tool holder bag today. Has a magnetic closure and holds my scissors perfectly with room for a couple more tools. Made of Challenge ECOPAK.
Still more work to go. Needs a strap near the top so a strap can be ran from the bottom loop to secure it better. Maybe snaps or something on the sides as well to close the bag better.
Still more work to go. Needs a strap near the top so a strap can be ran from the bottom loop to secure it better. Maybe snaps or something on the sides as well to close the bag better.
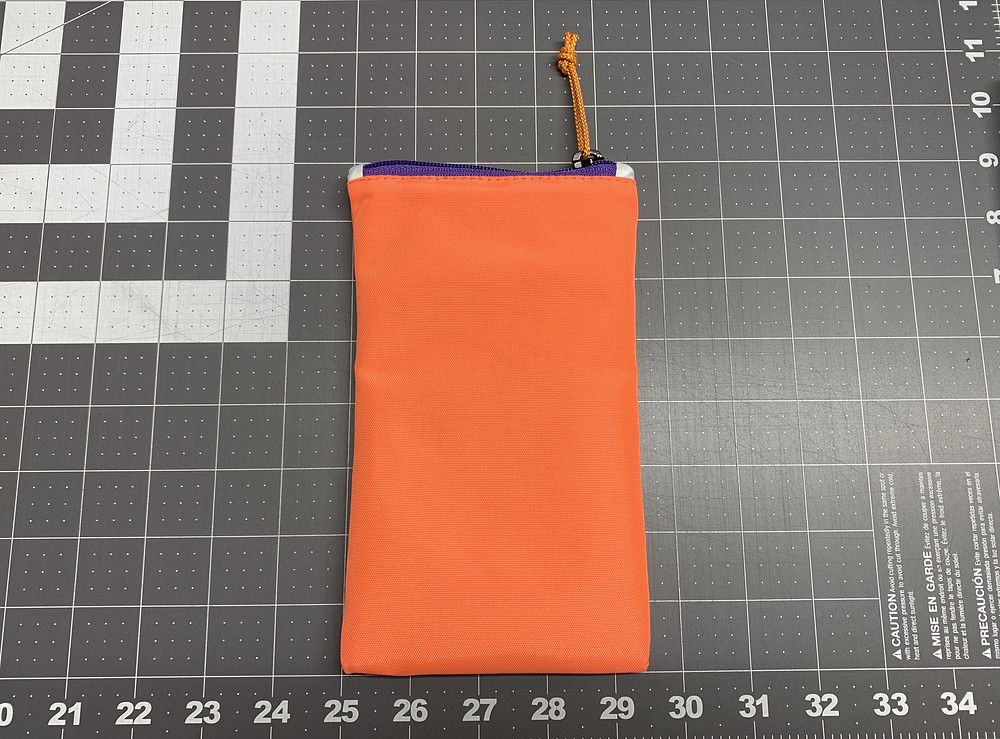
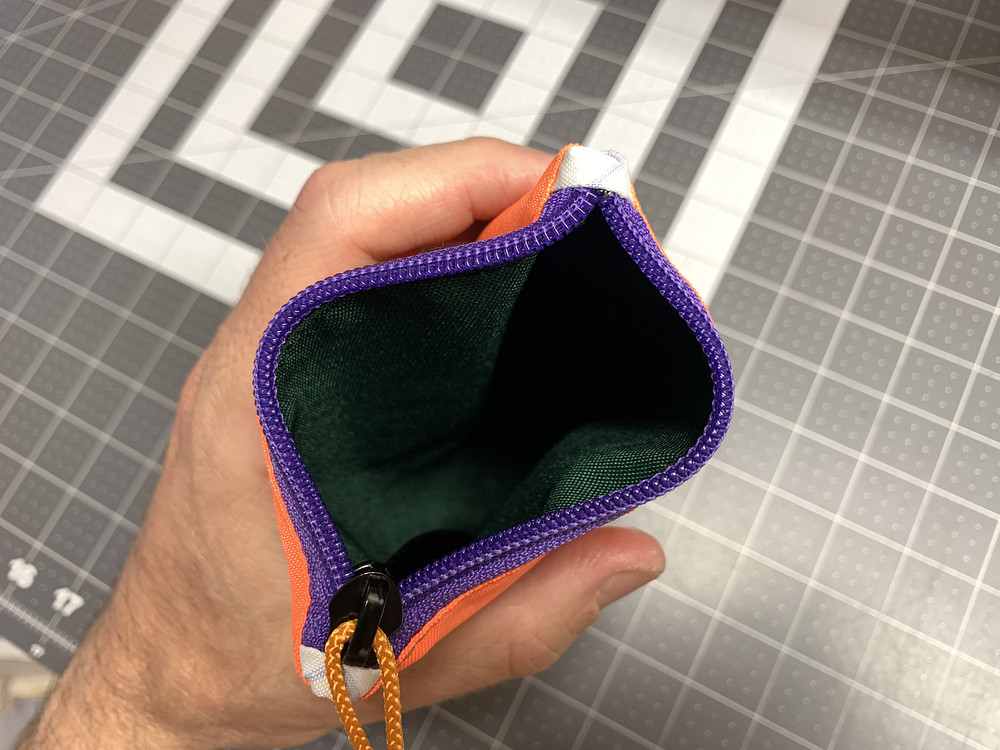
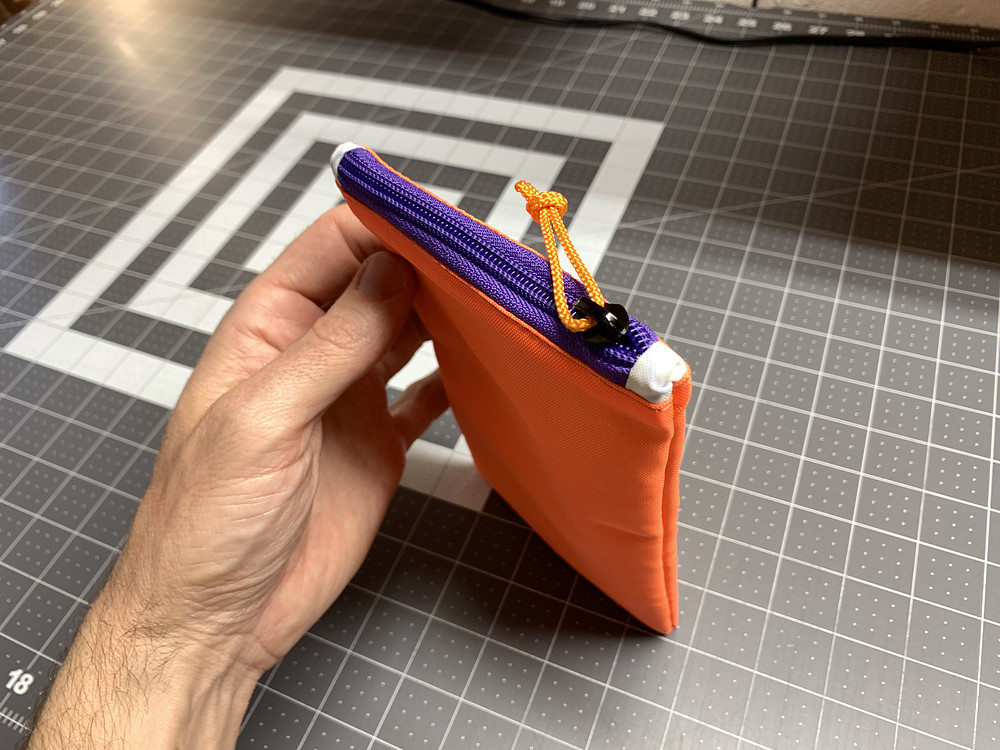
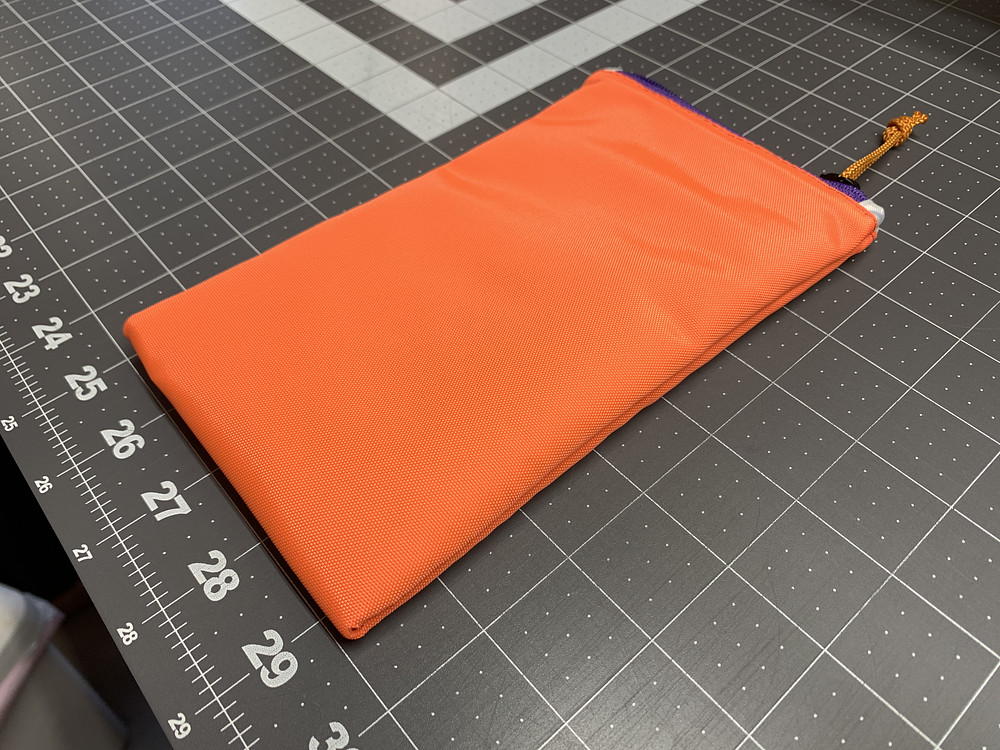
Just finished up a quick green Cordura-lined zipper pouch to hold sharp stuff like my thread snips. Outside is orange nylon. Not the prettiest but does the job.
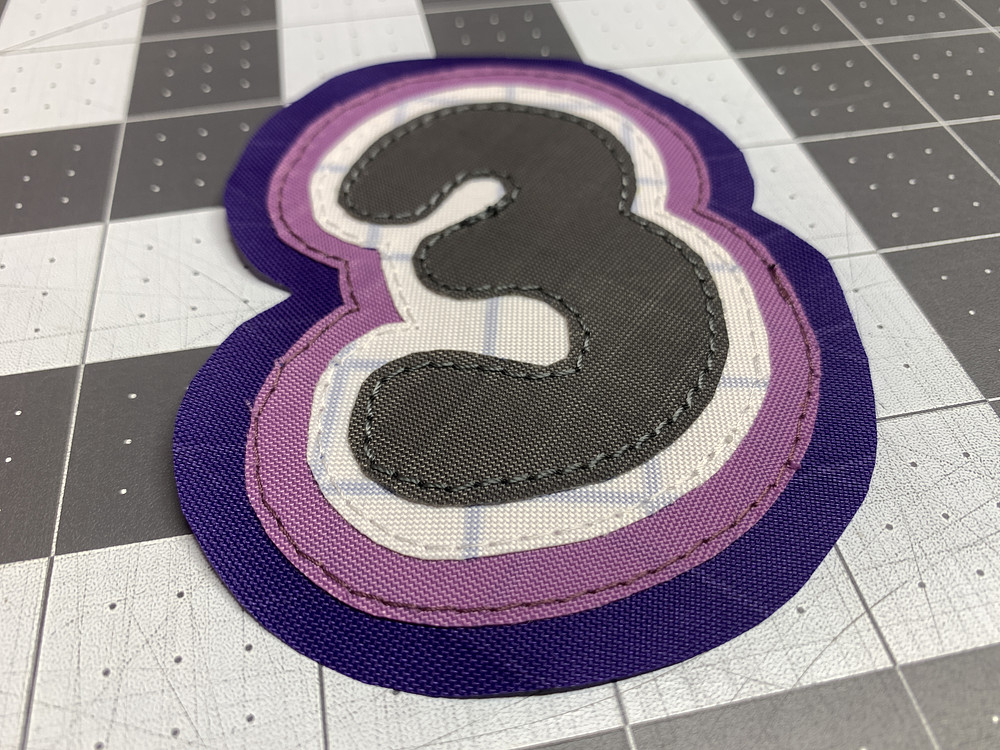
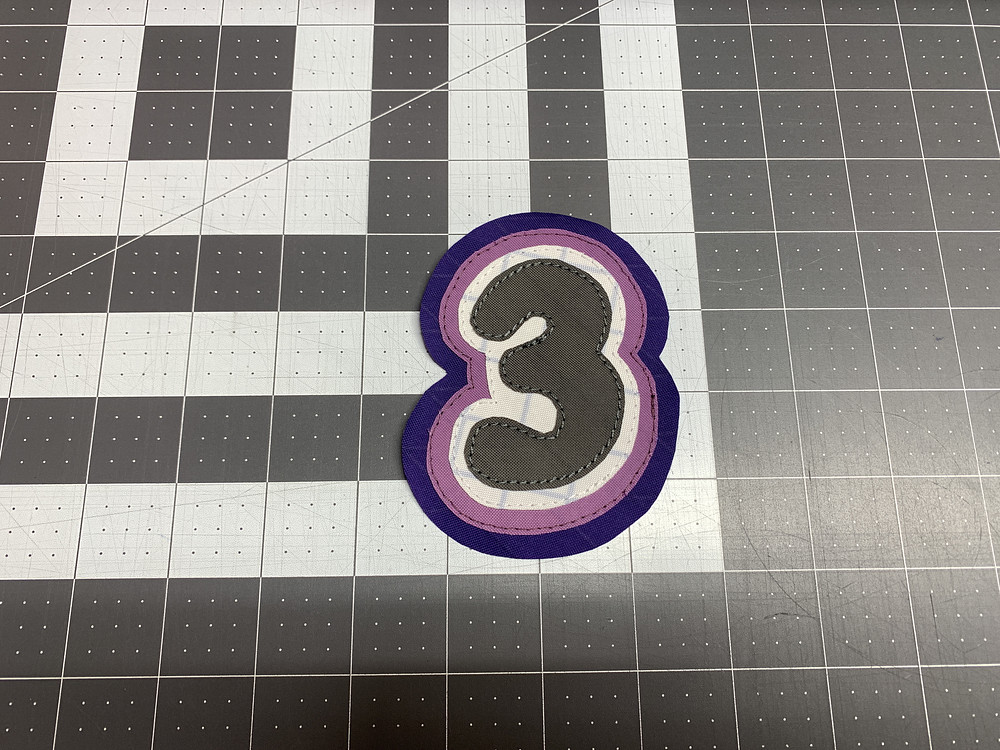
Working on some fun Third Place Threads "3" patches.
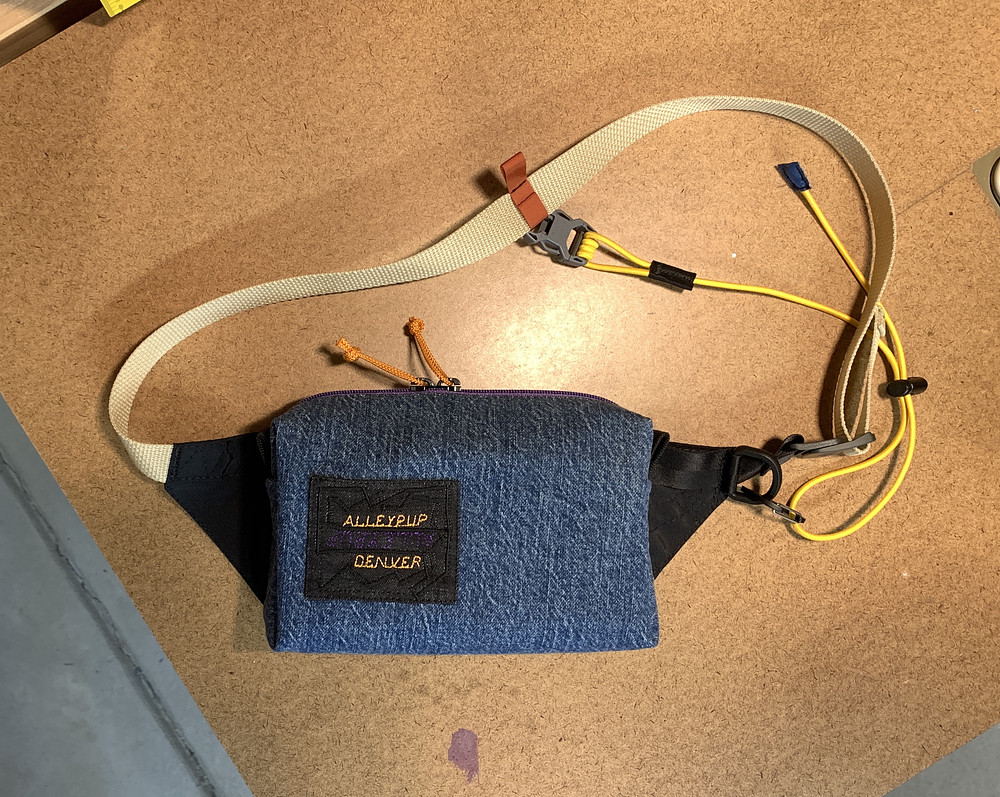
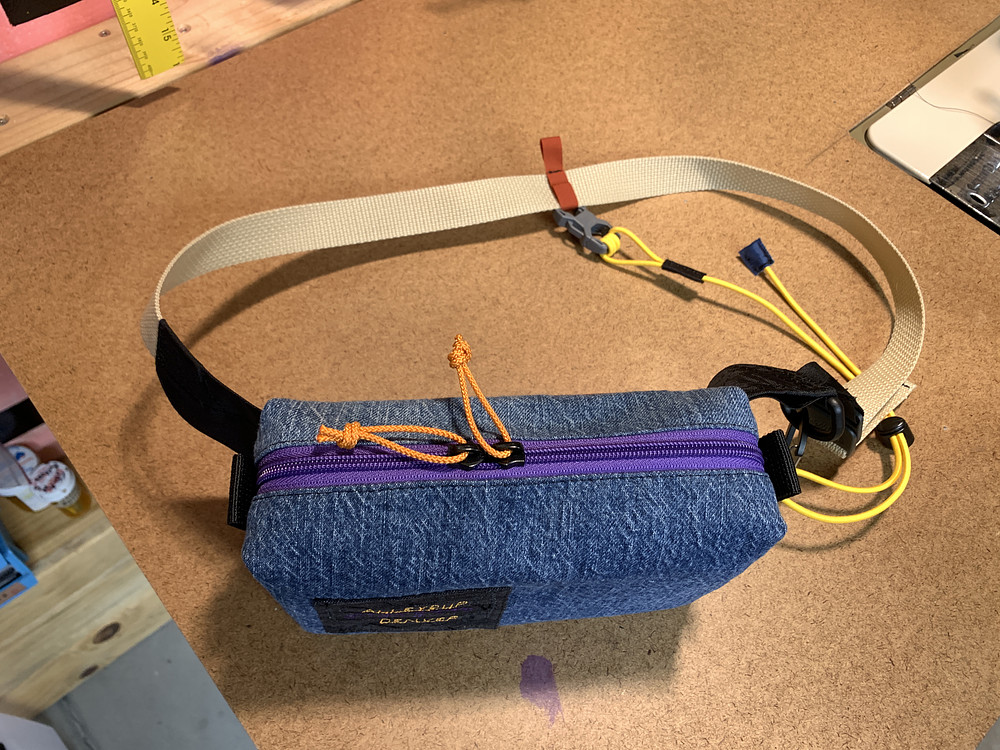
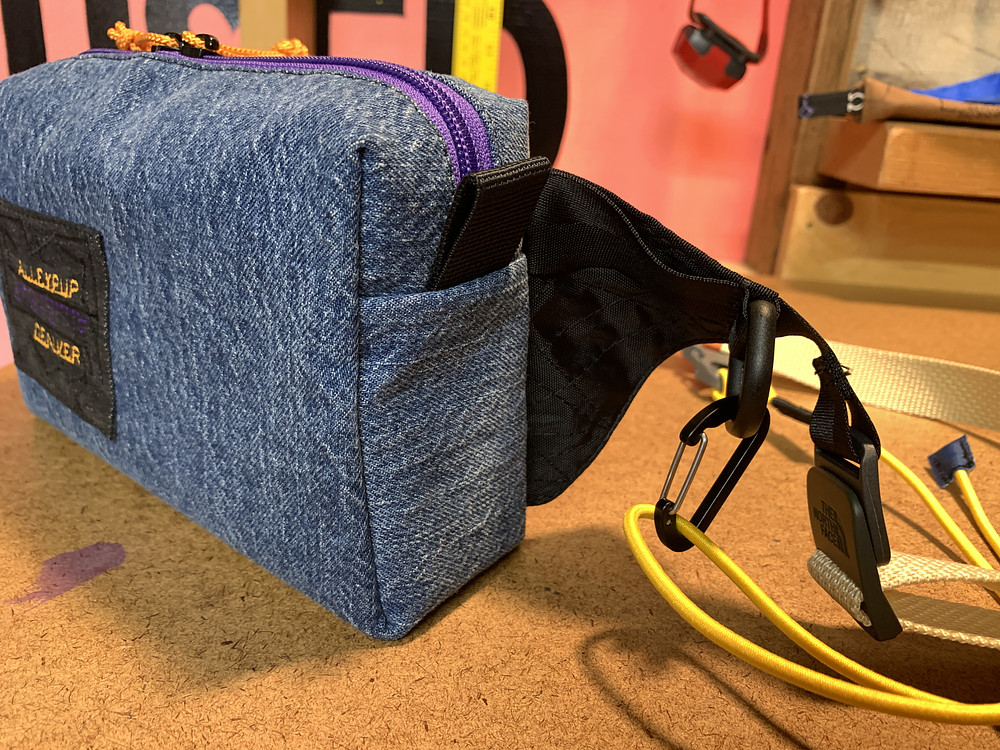
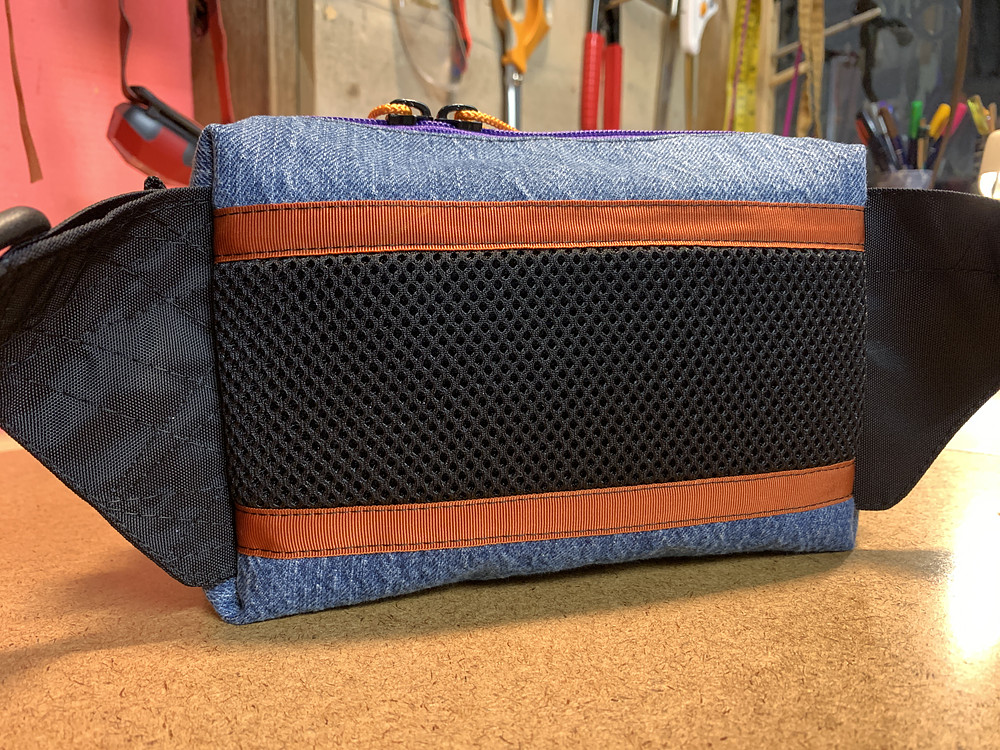
Just finished up a new hip pack / crossbody sling. Denim with nylon liner.
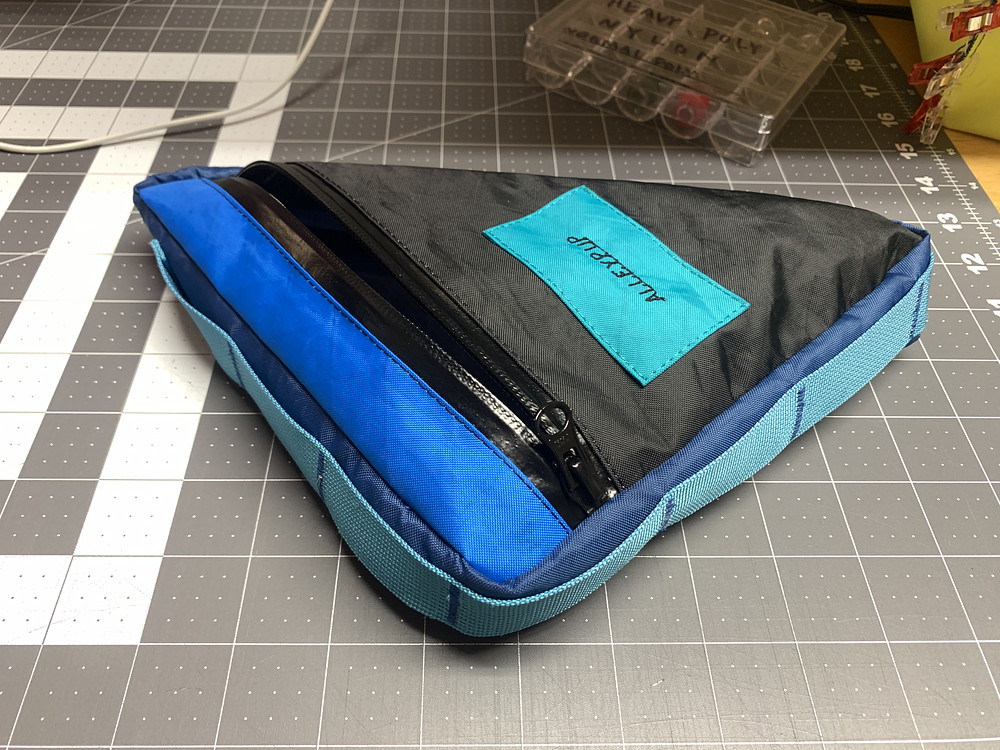
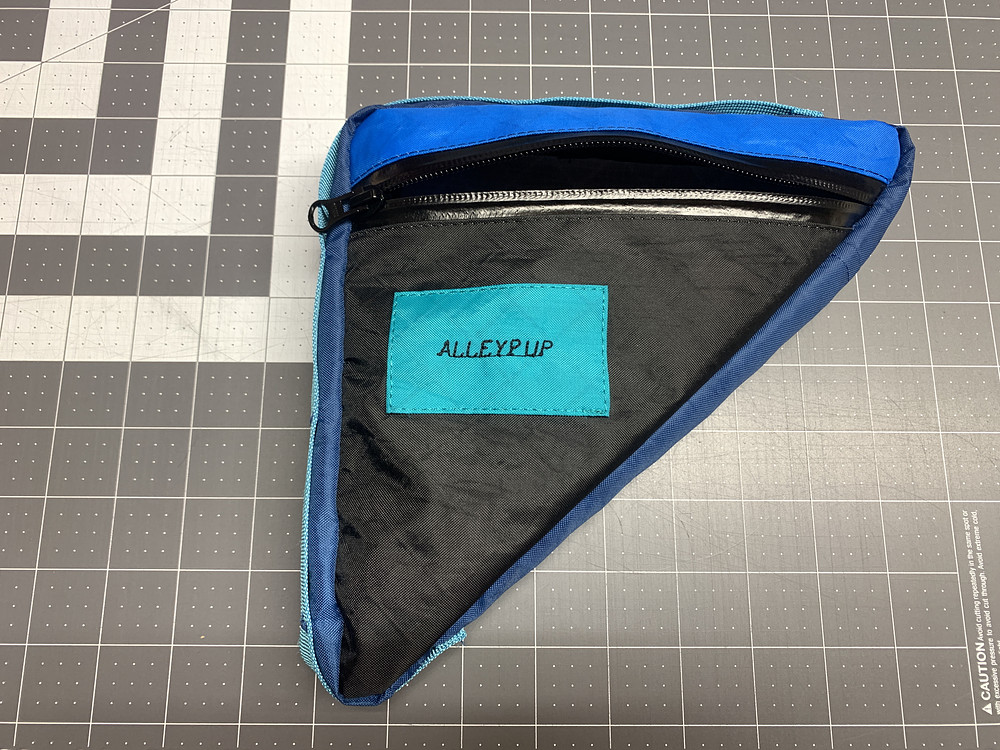
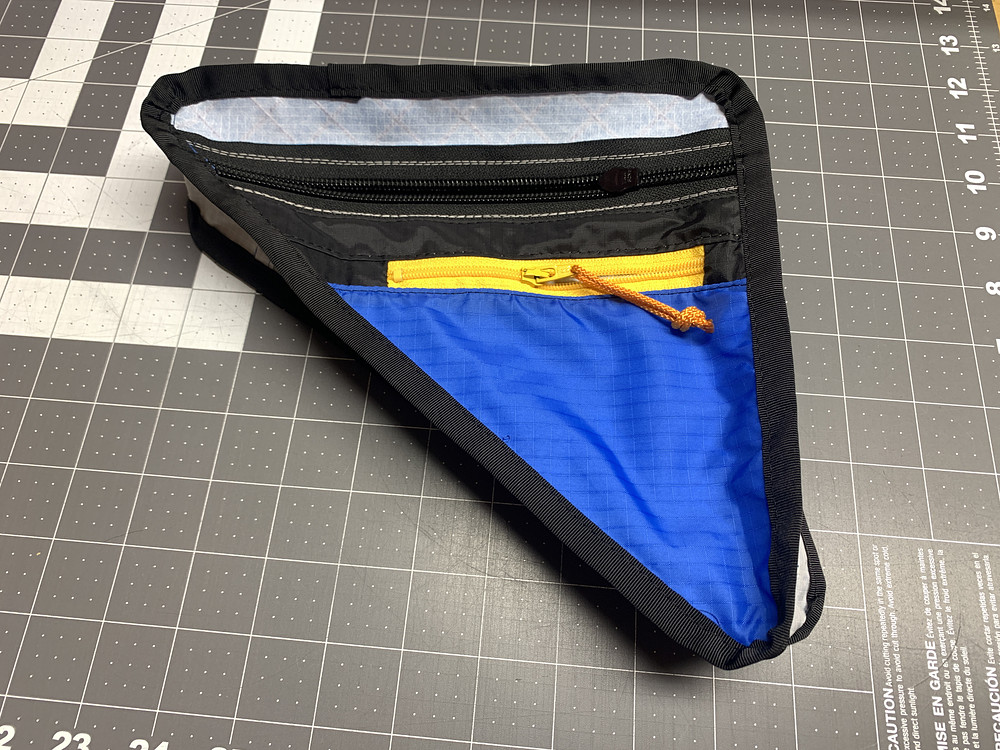
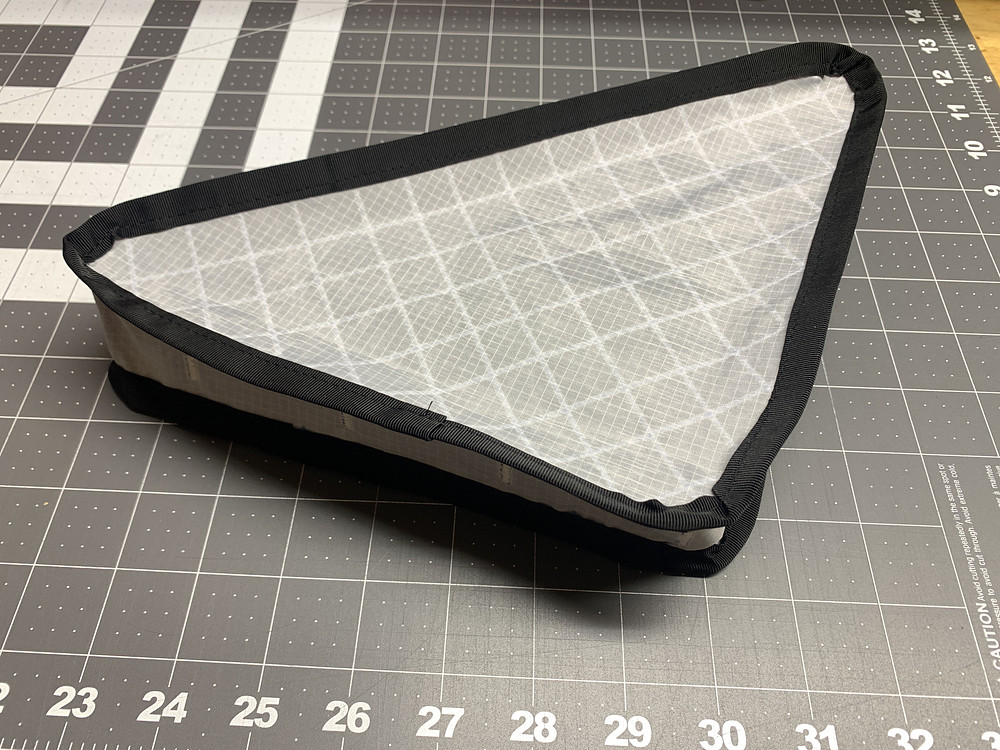
Finished up a small triangle frame bag for someone. Challenge ECOPAK EPX200 in black and several shades of blue.
Didn't quite turn out as well as I'd hoped (corners are a little wonky, not quite lined up,) but who this was for was happy with it.
Didn't quite turn out as well as I'd hoped (corners are a little wonky, not quite lined up,) but who this was for was happy with it.
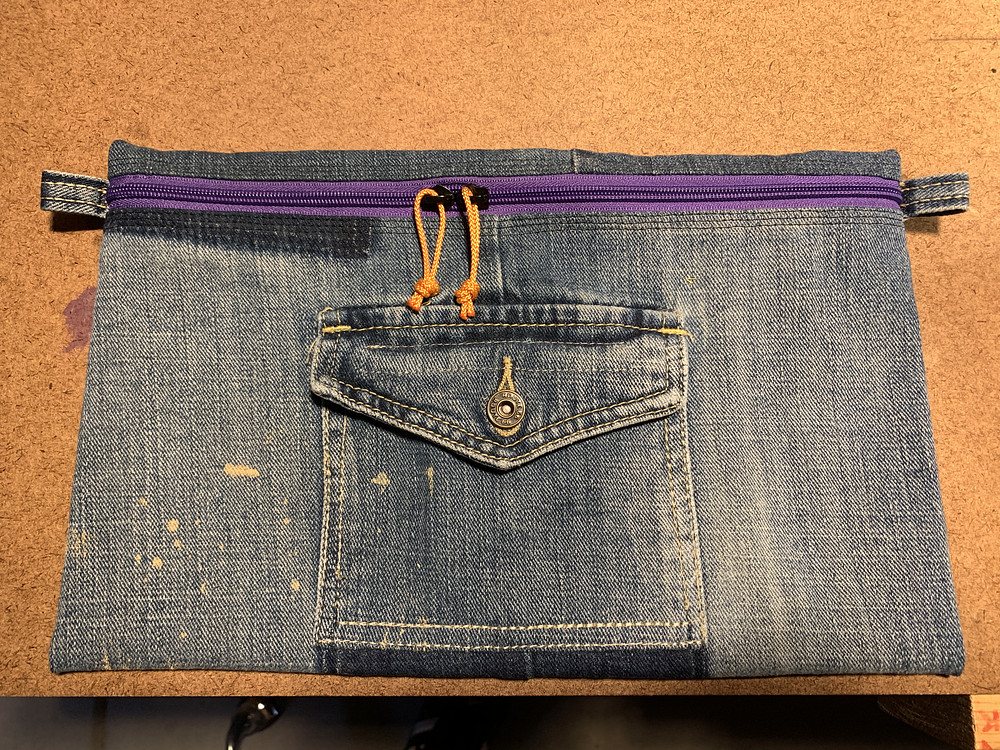
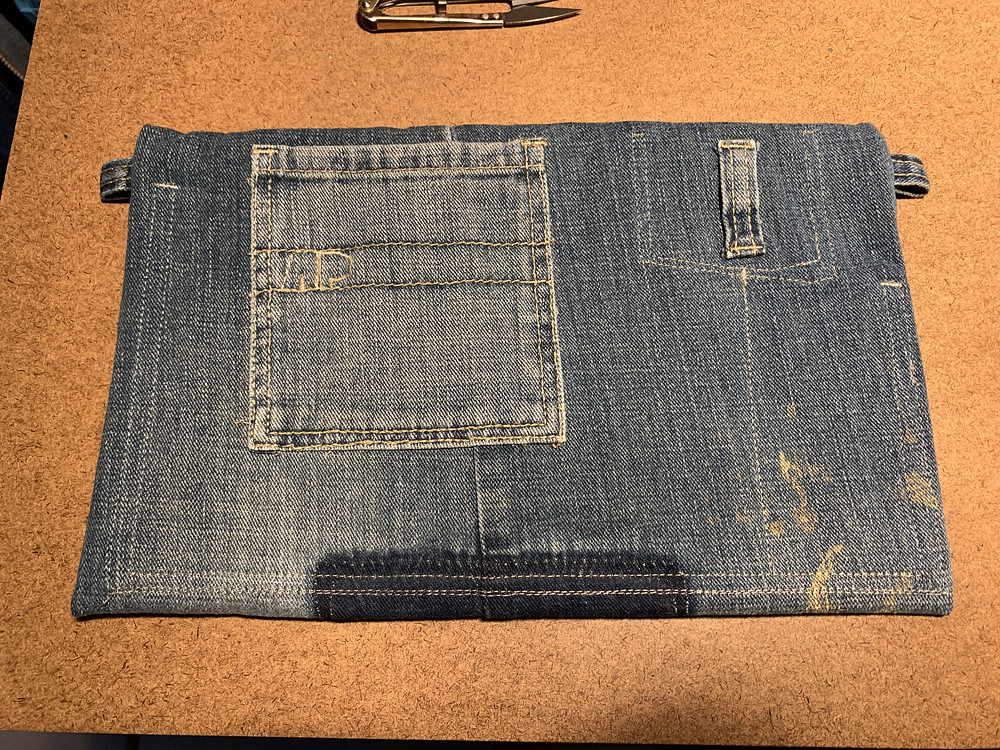
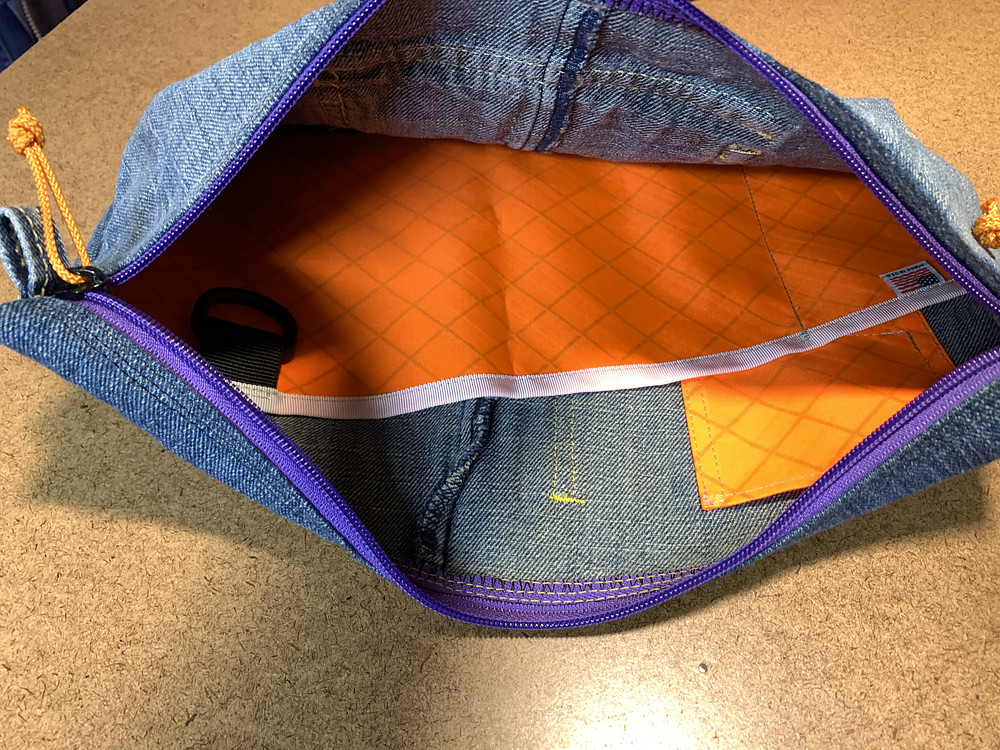
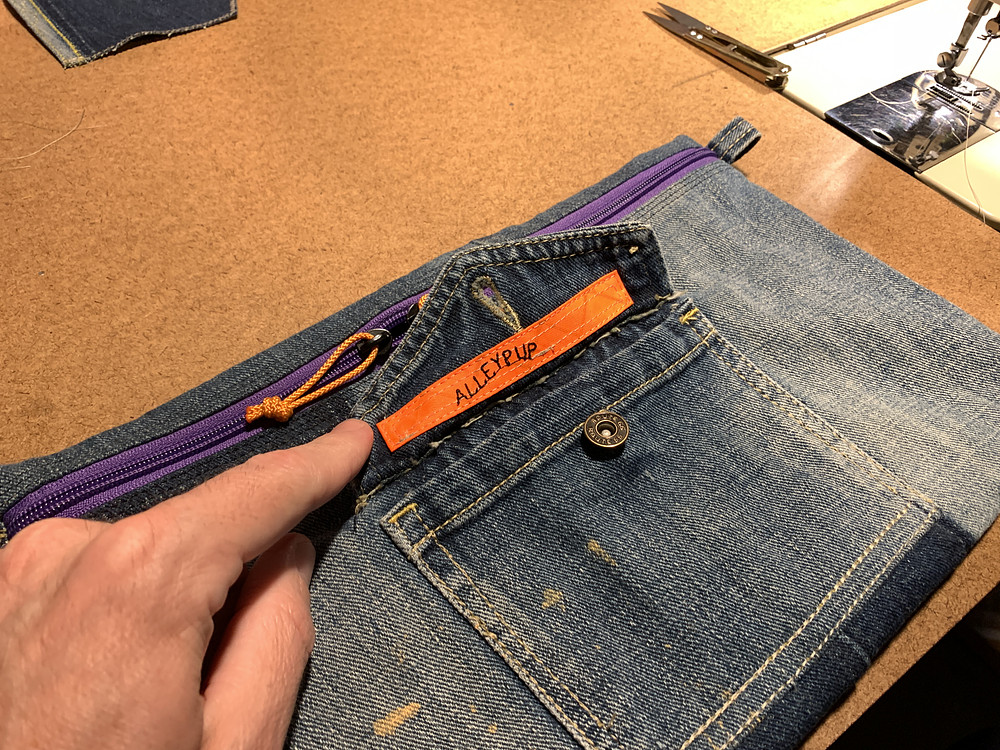
Finished up a quick zipper pouch out of the remains of some cut up Route 66 kids jeans. 100% cotton denim on the outside, belt loops used as the zipper pull tabs / strap attachment points. Challenge ECOPAK orange organizer pockets on the inside.
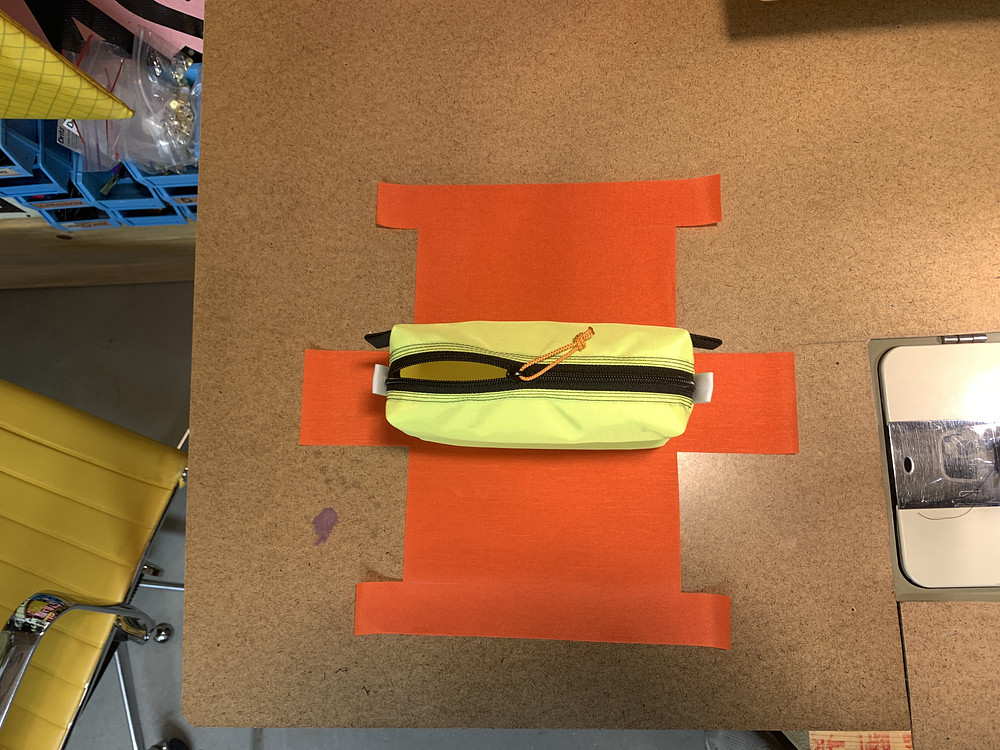
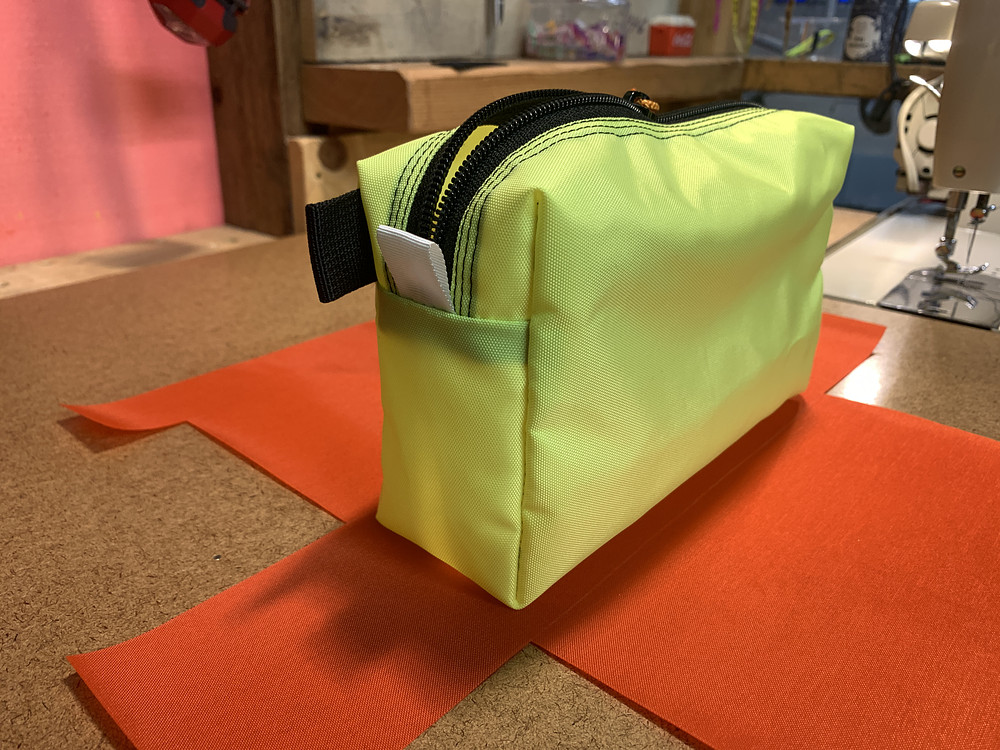
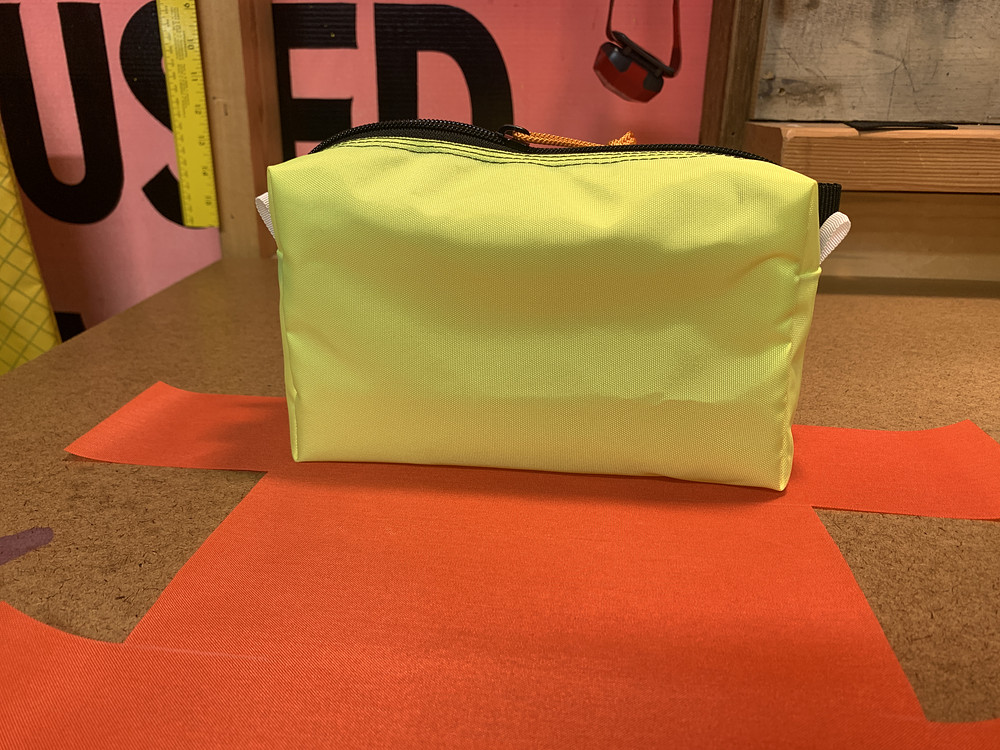
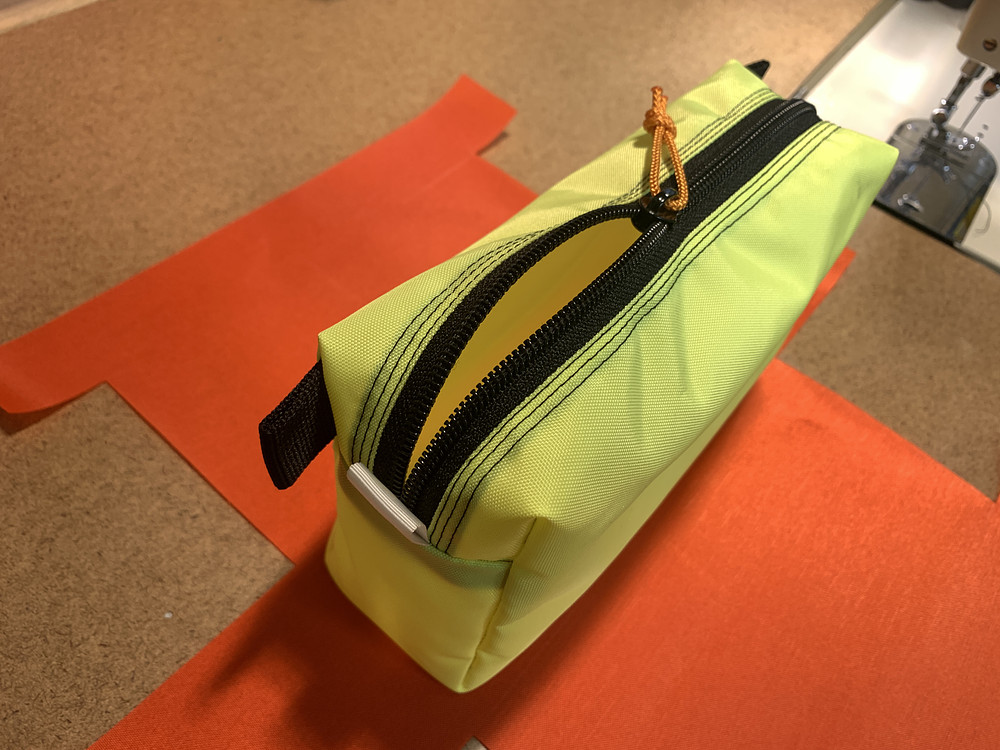
Completed a basic hip pack from a single panel of fabric - this one in yellow hi-viz nylon.
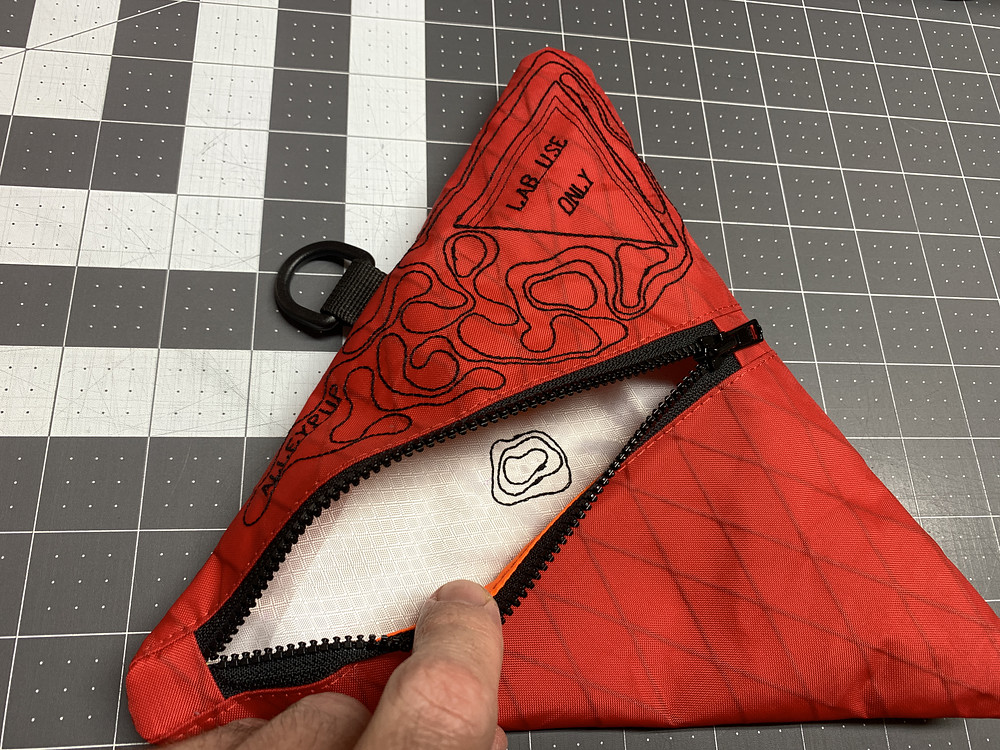
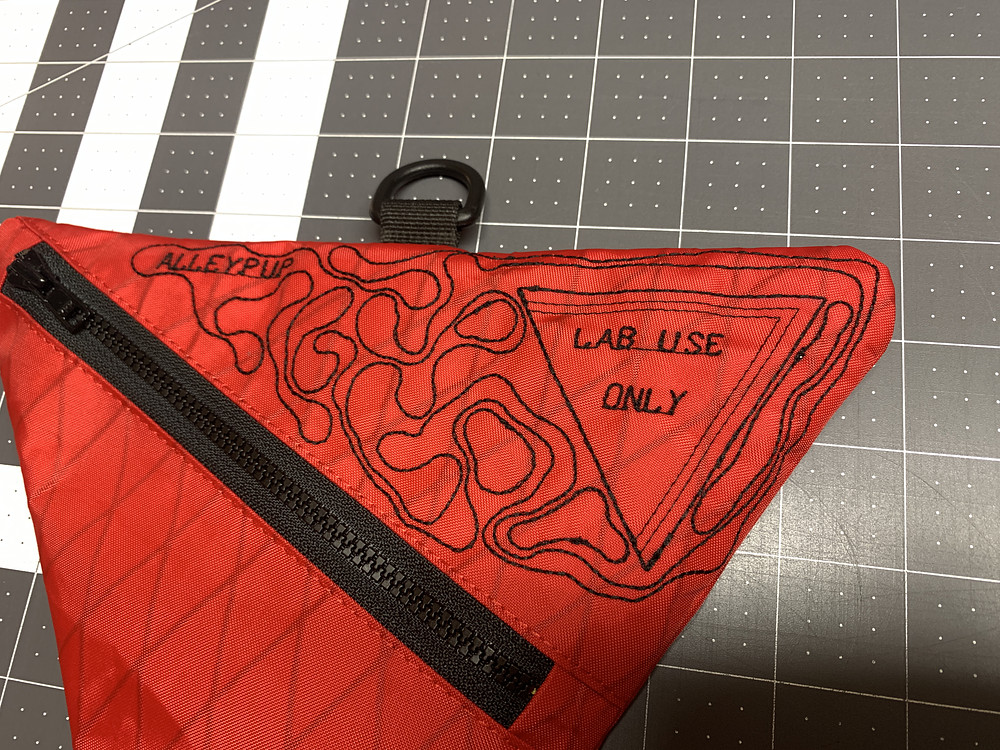
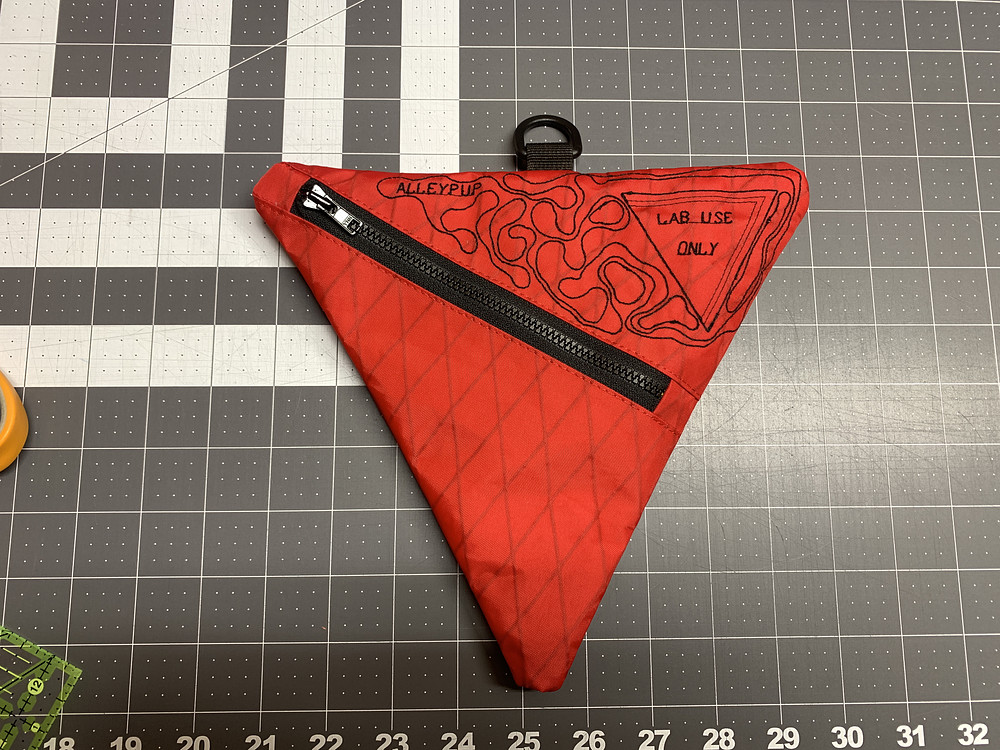
Just finished up a fun new triangle bag. Not the most practical zipper placement, but it's ok. Red X-Pac, lined with nylon and Hyper D 300.
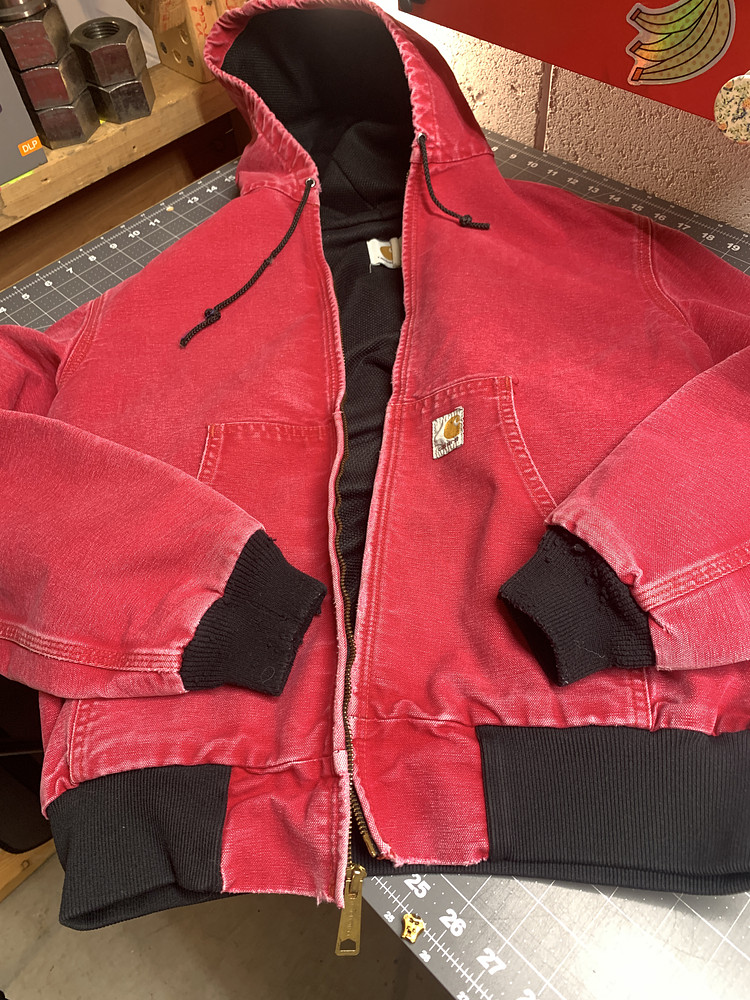
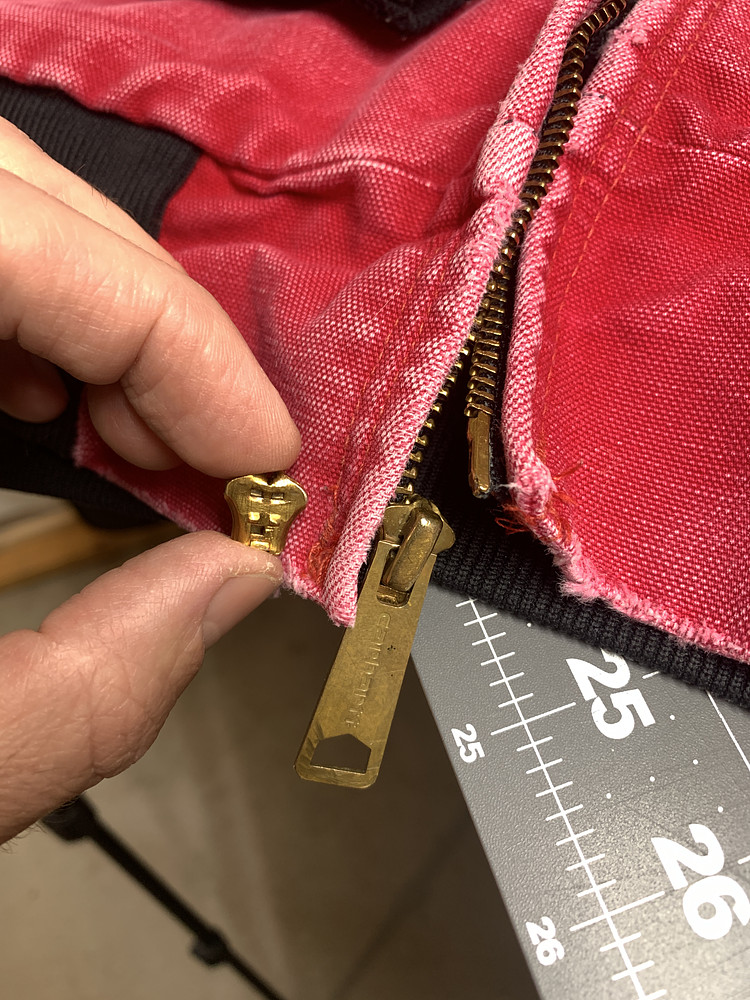
Got a red Carhartt JR100 active jacket yesterday to match the new backpack. It was missing its zipper pull, so replaced the whole slider with an intact Carhartt/YKK one from a Carhartt J131 jacket and then replaced the slider on the J131 with a plain YKK non-Carhartt-branded slider.
#repair #gearrepair #carhartt #red #zipper
#repair #gearrepair #carhartt #red #zipper
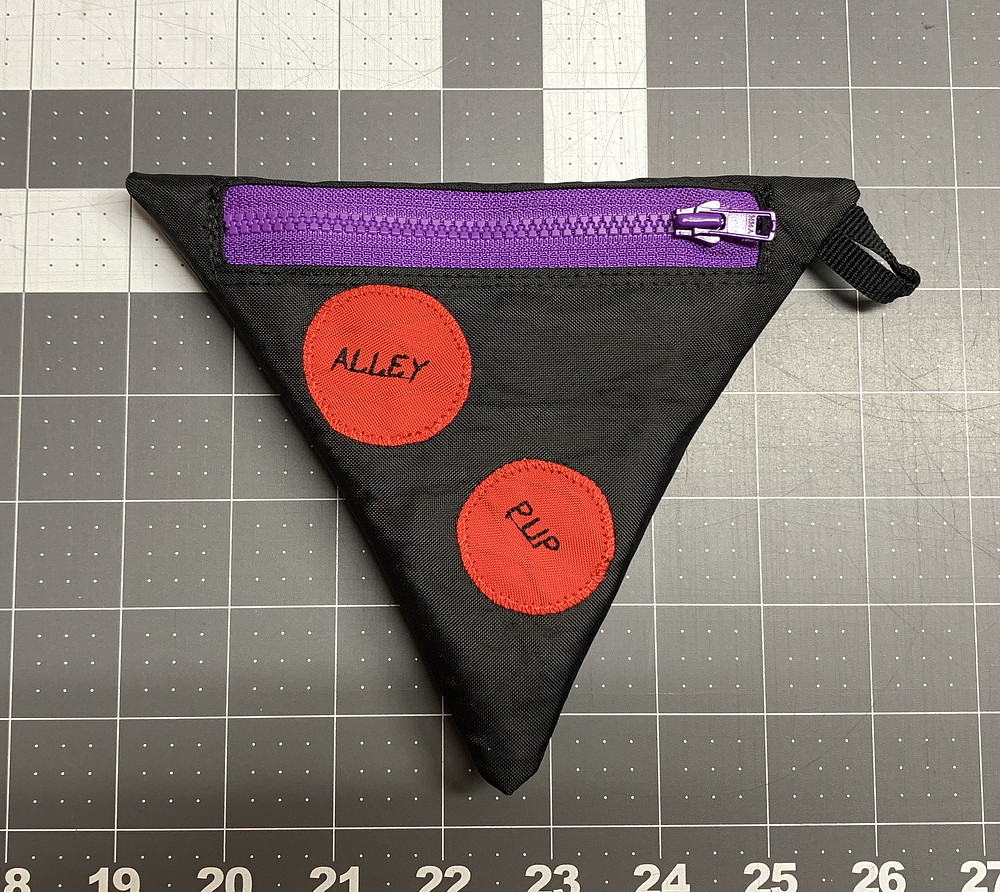
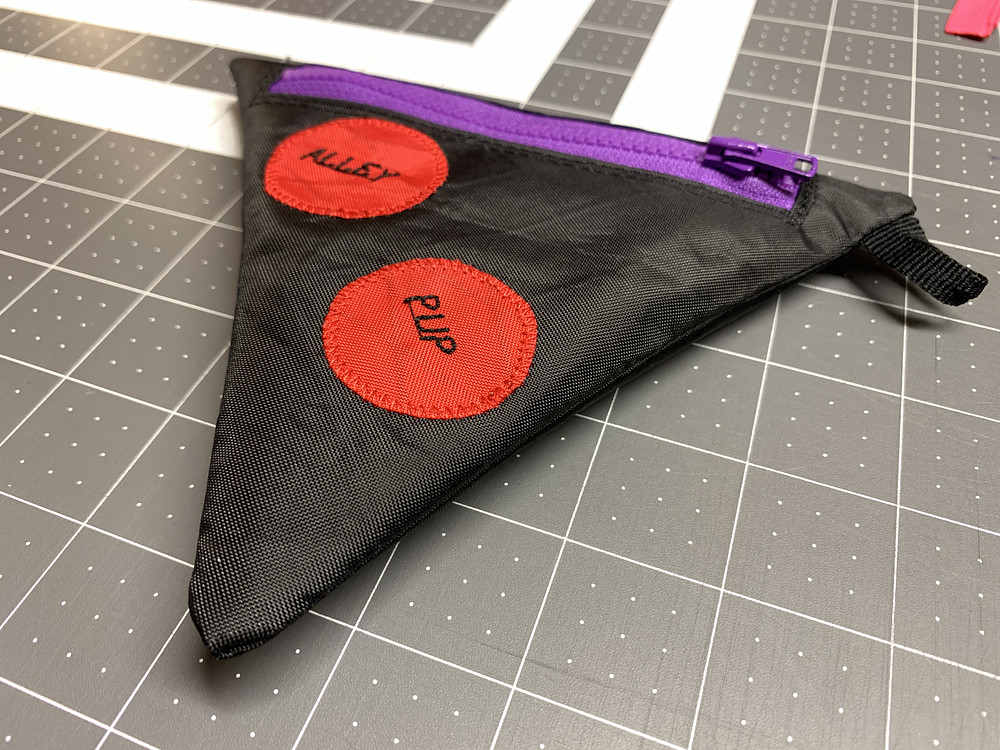
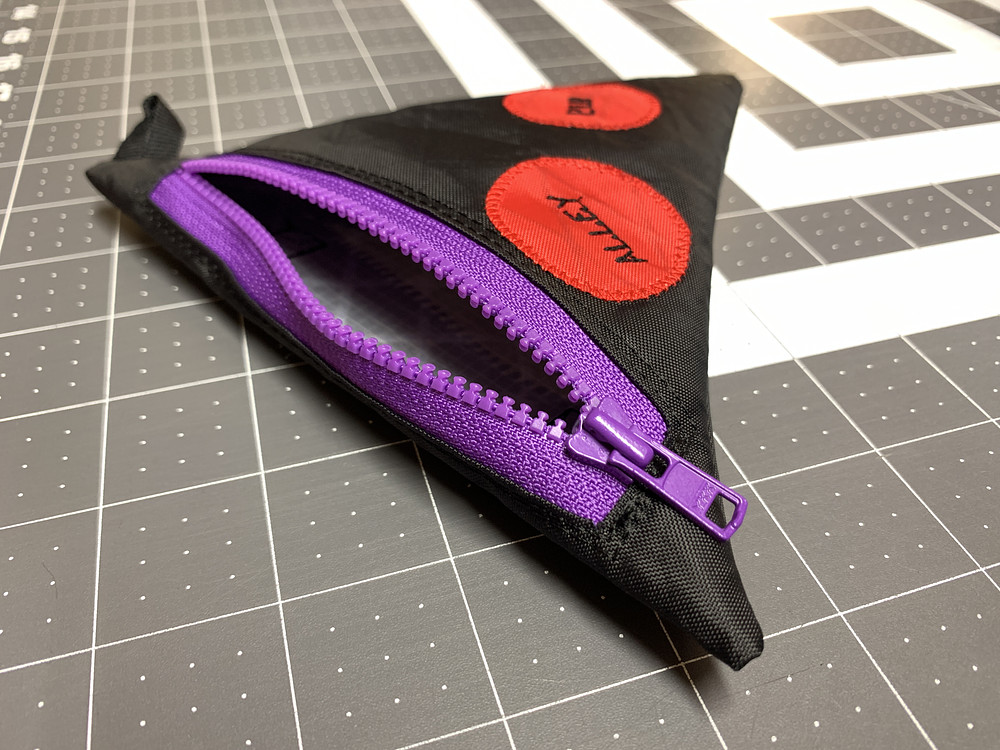
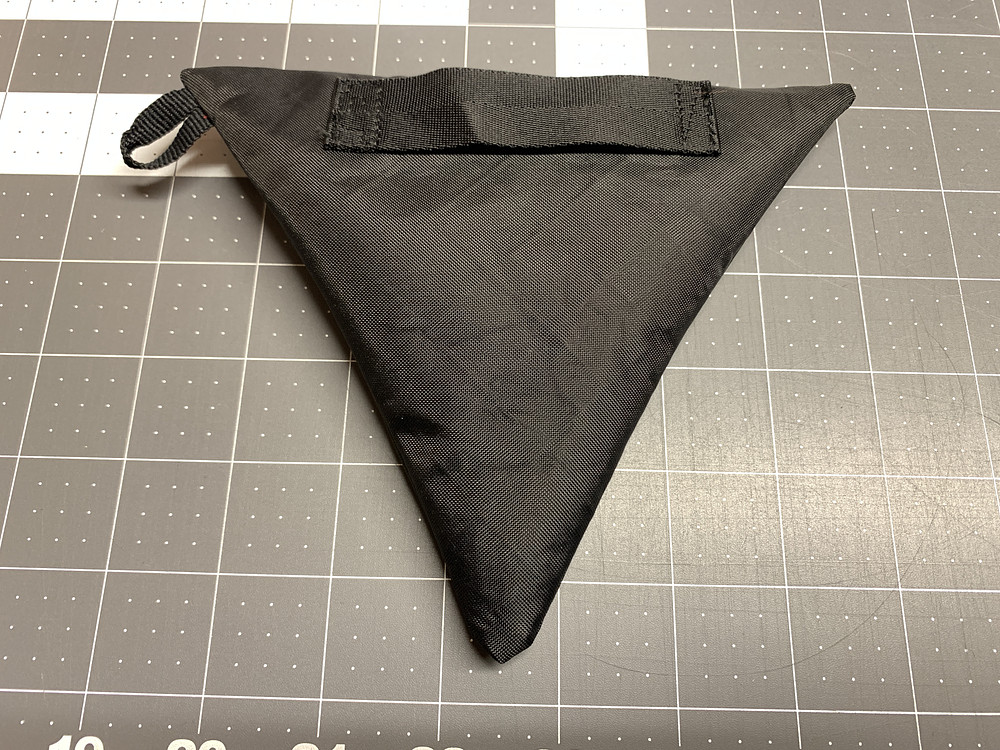
Alleypuperoni triangle bag made from Challenge ECOPAK EPX200 in black. YKK #3 molded tooth zipper.
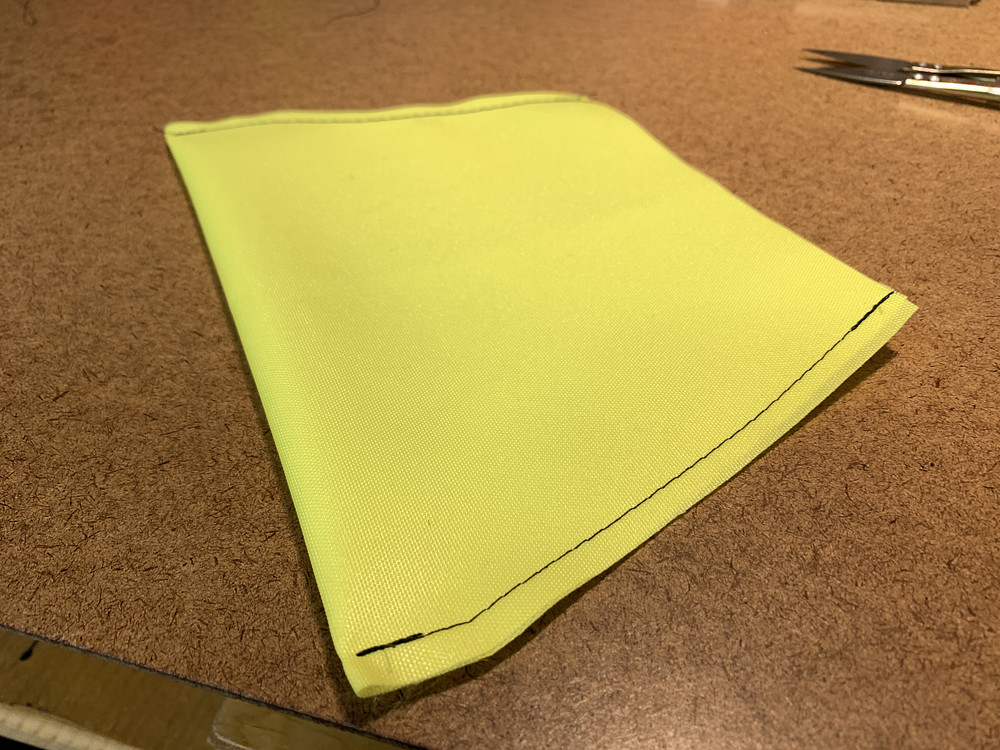
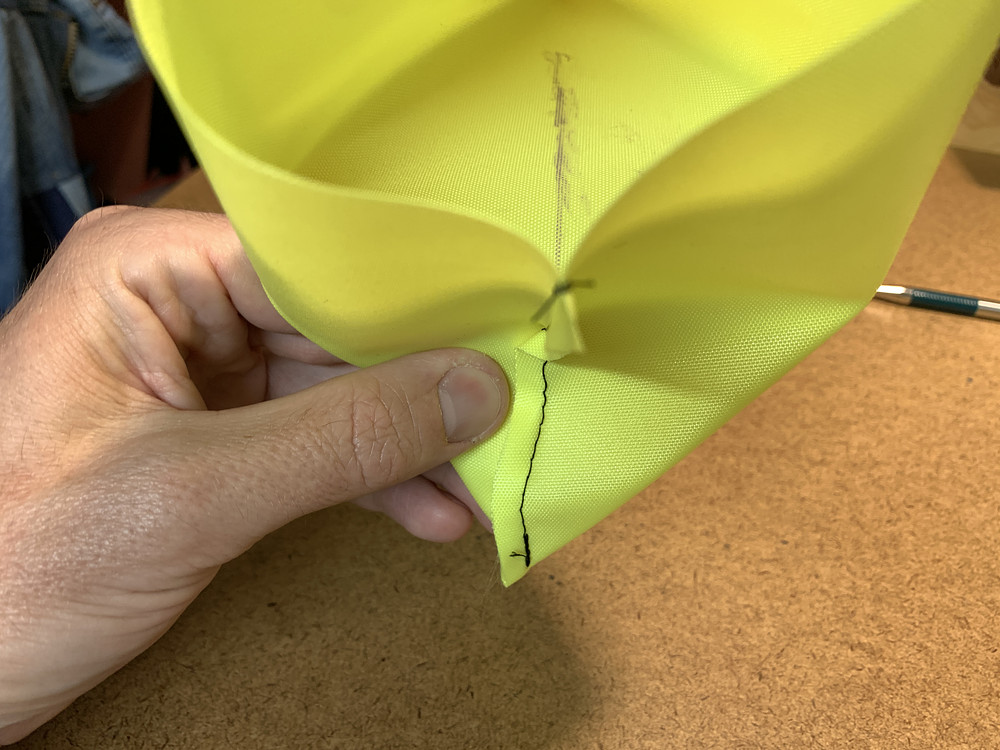
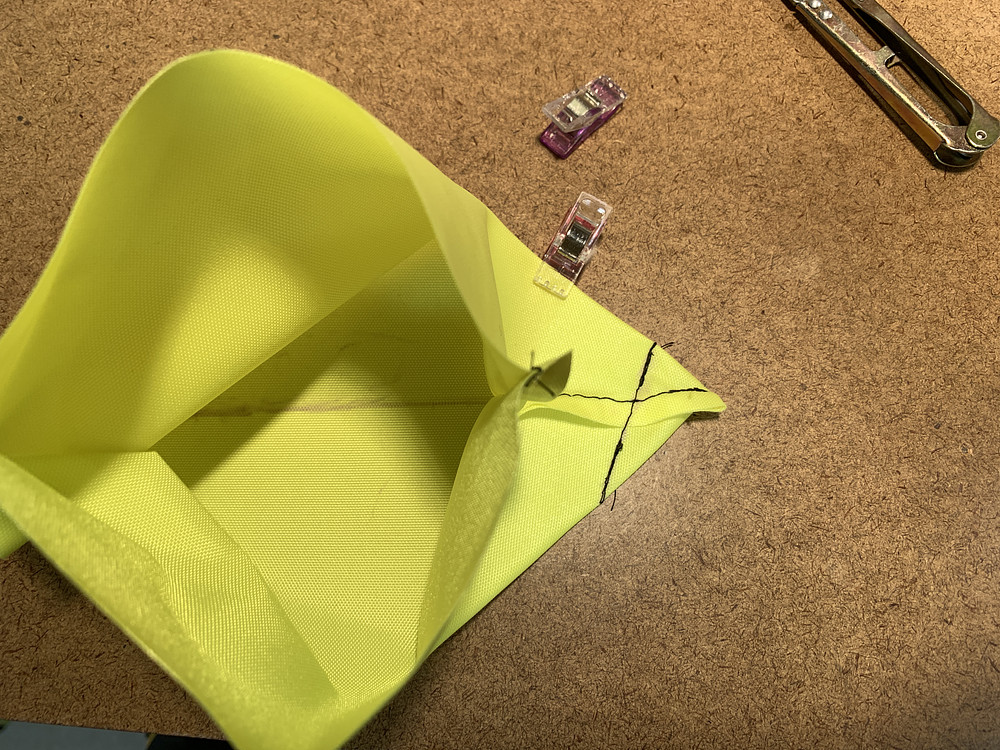
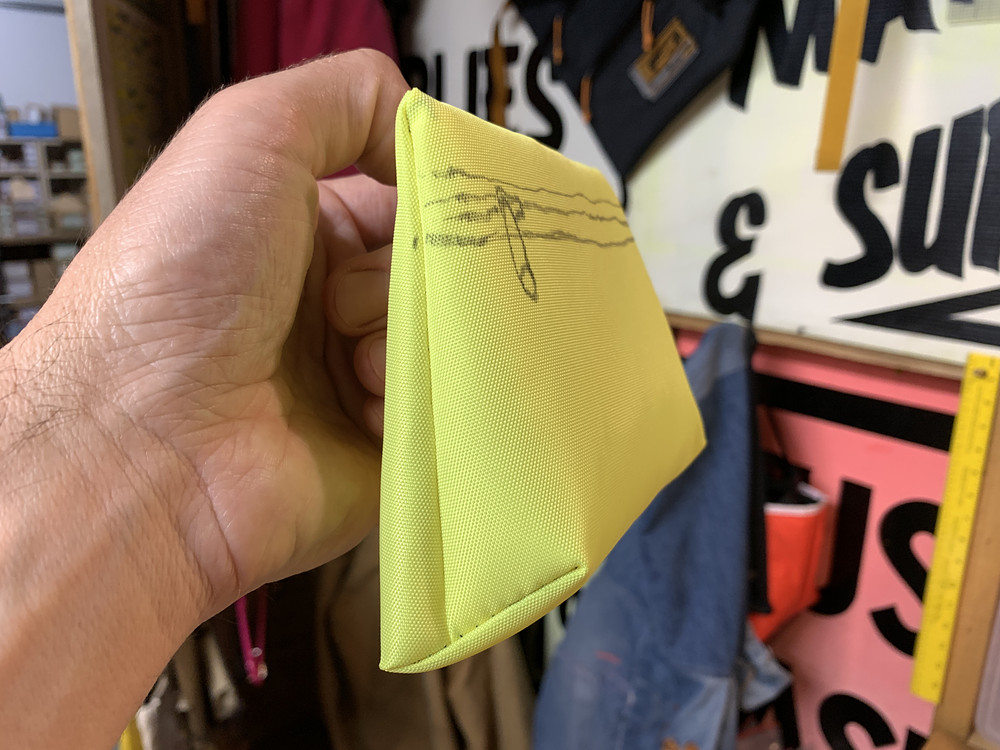
Figured out how to make basic angled 3D bottoms on bags instead of flat box bottoms.
When making a single panel bag where you pop out the corners and sew across the triangle, like making a tote bag, instead of sewing perpendicular to the stitch line, sew at an angle.
When making a single panel bag where you pop out the corners and sew across the triangle, like making a tote bag, instead of sewing perpendicular to the stitch line, sew at an angle.
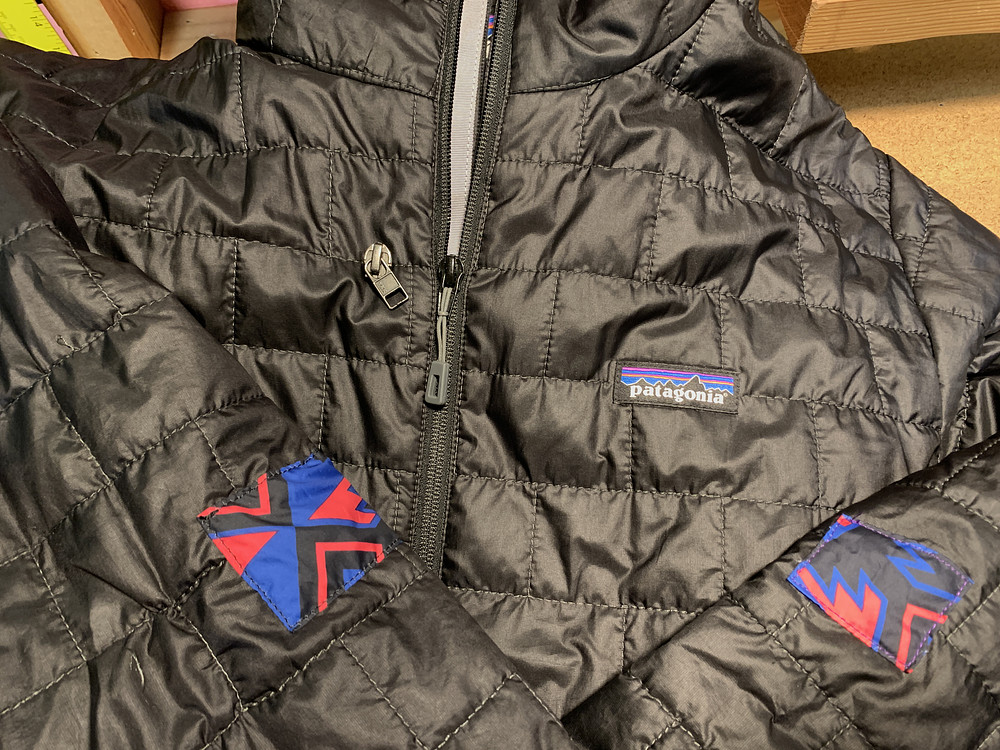
Just replaced the 5CN zipper slider on a Patagonia Nano Puff Mens L jacket. This jacket also has patches on both elbows and a zipper guard sewn inside the zipper flap because it had holes in it from the zipper eating it.
Hand sewed a line of pink stitching onto my saddle stool to easily find the center.
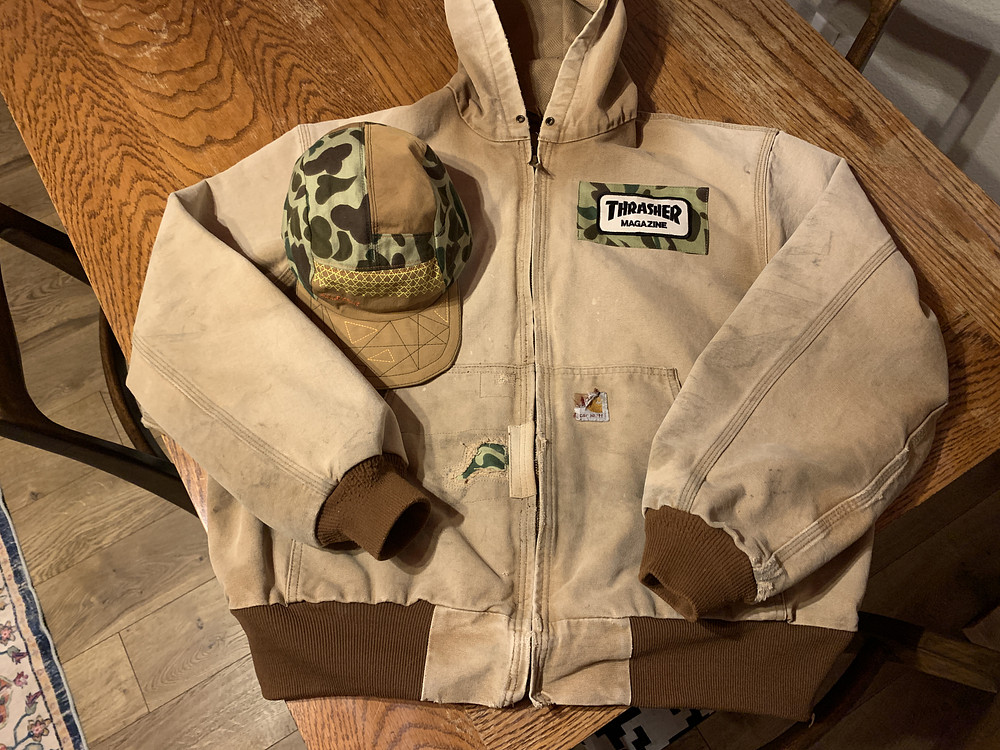
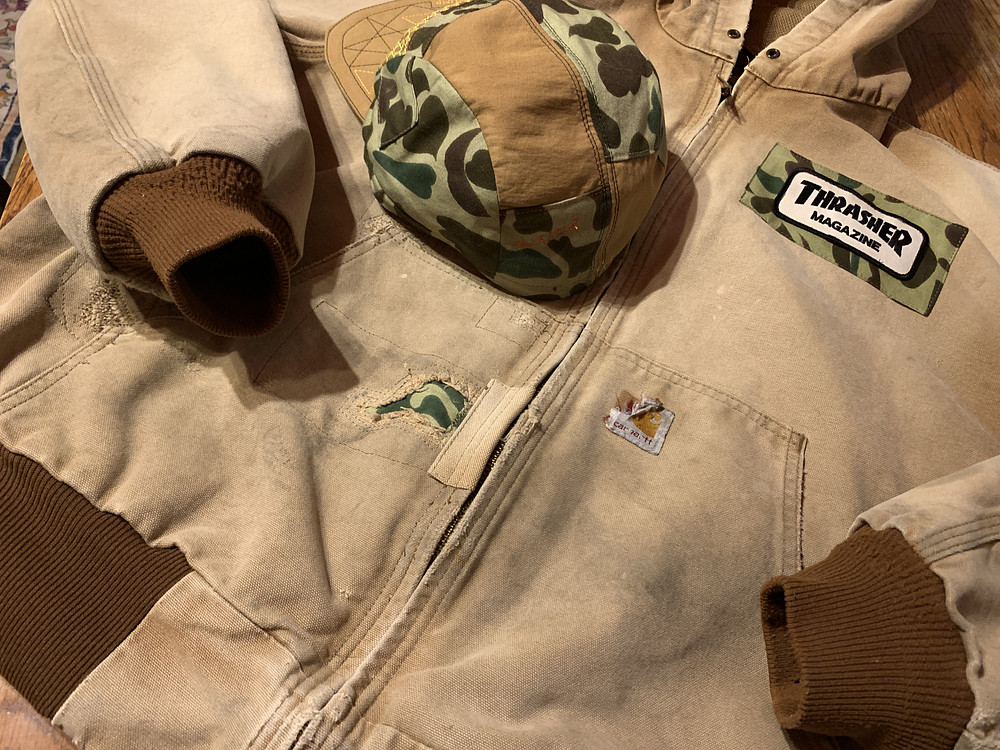
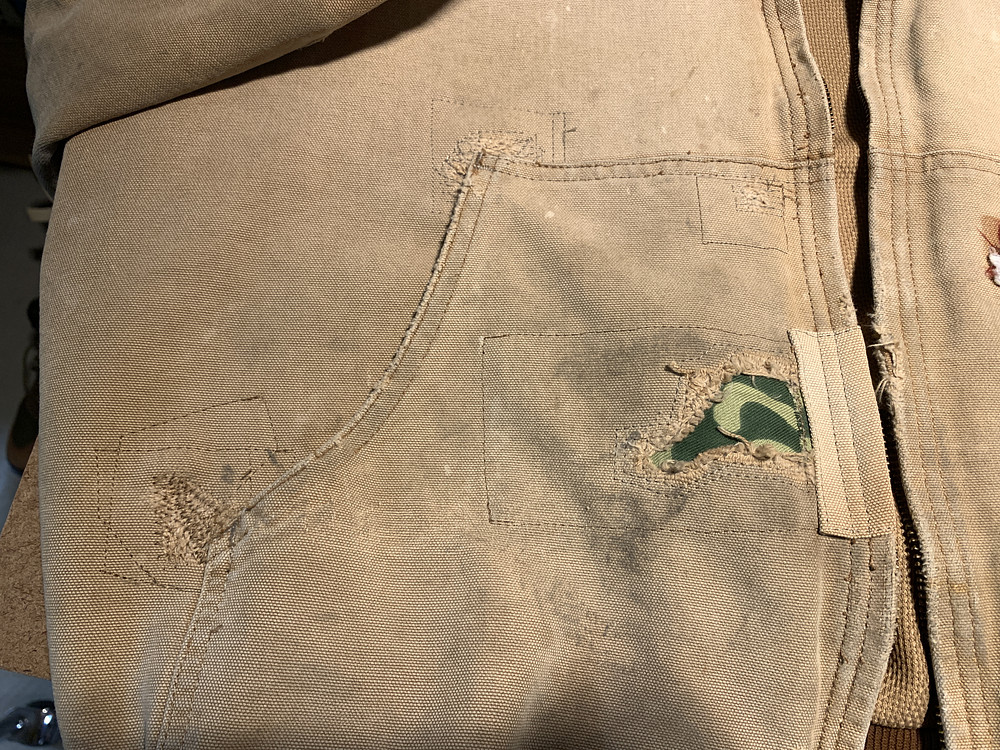
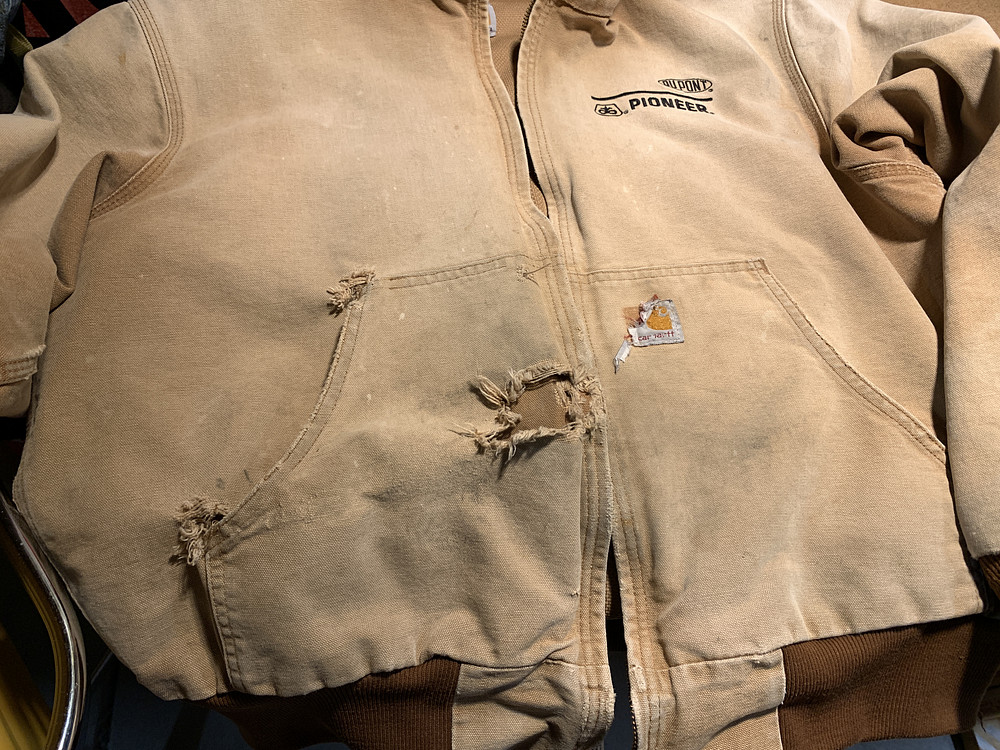
Just finished up repairs on the right hand pocket of a Carhartt J131 BRN Mens L jacket.
Three patches inside the jacket, two patches inside the pocket, one patch over the edge near the zipper. Zipper and pocket had to be opened up.
Thrasher patch on the chest.
I feel like I didn't overthink it, so the project went fairly quick and pretty well.
Three patches inside the jacket, two patches inside the pocket, one patch over the edge near the zipper. Zipper and pocket had to be opened up.
Thrasher patch on the chest.
I feel like I didn't overthink it, so the project went fairly quick and pretty well.
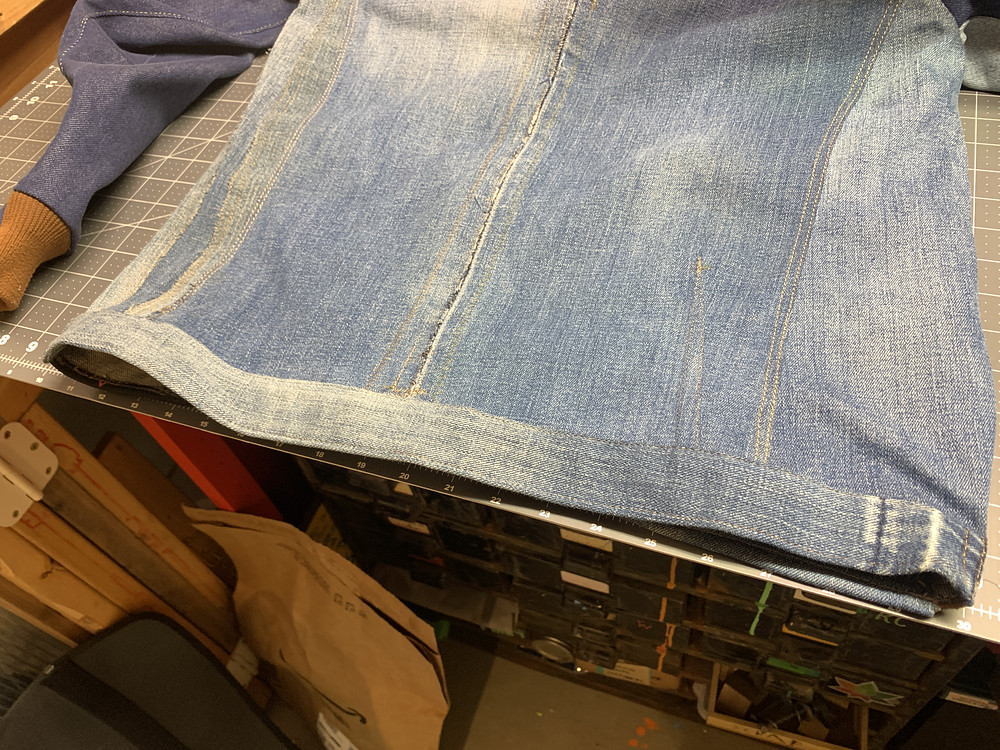
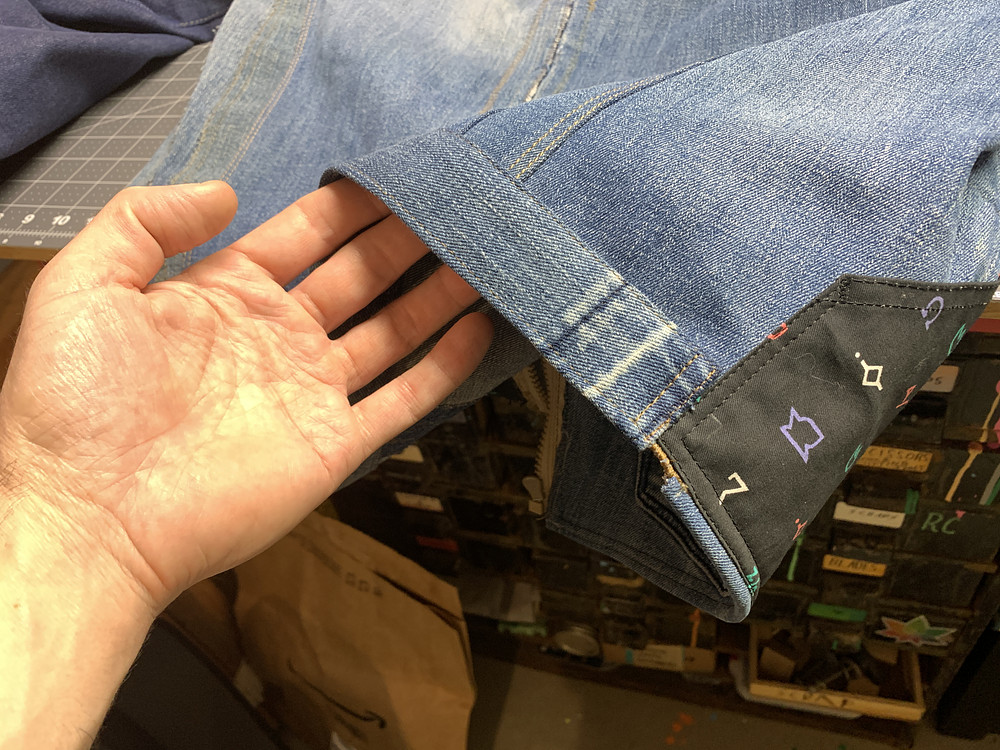
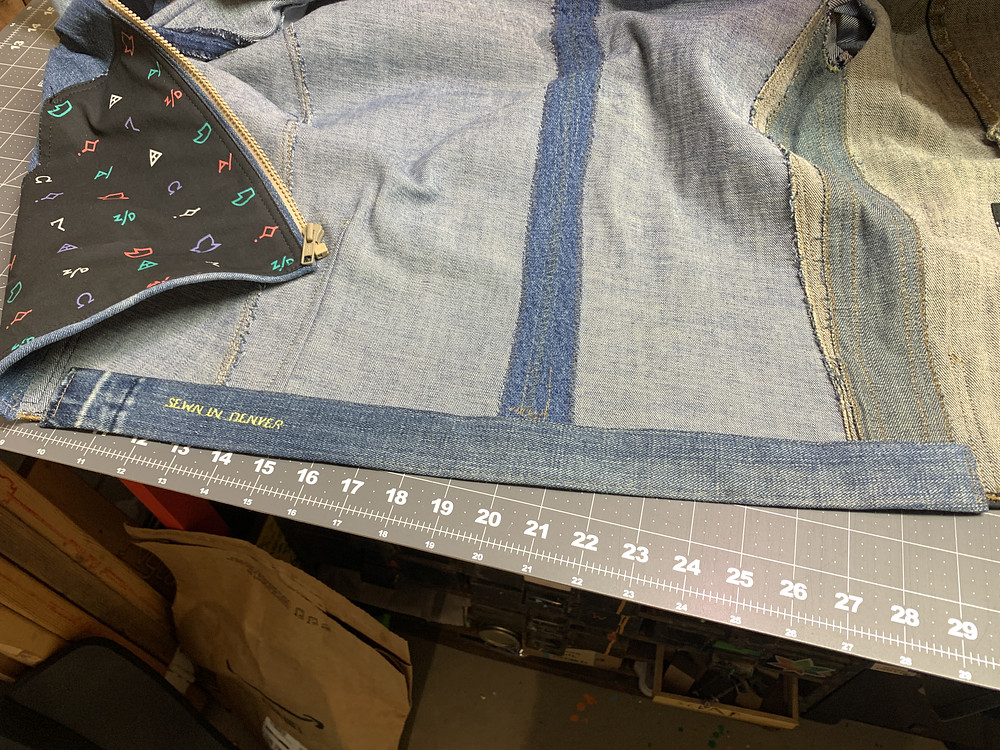
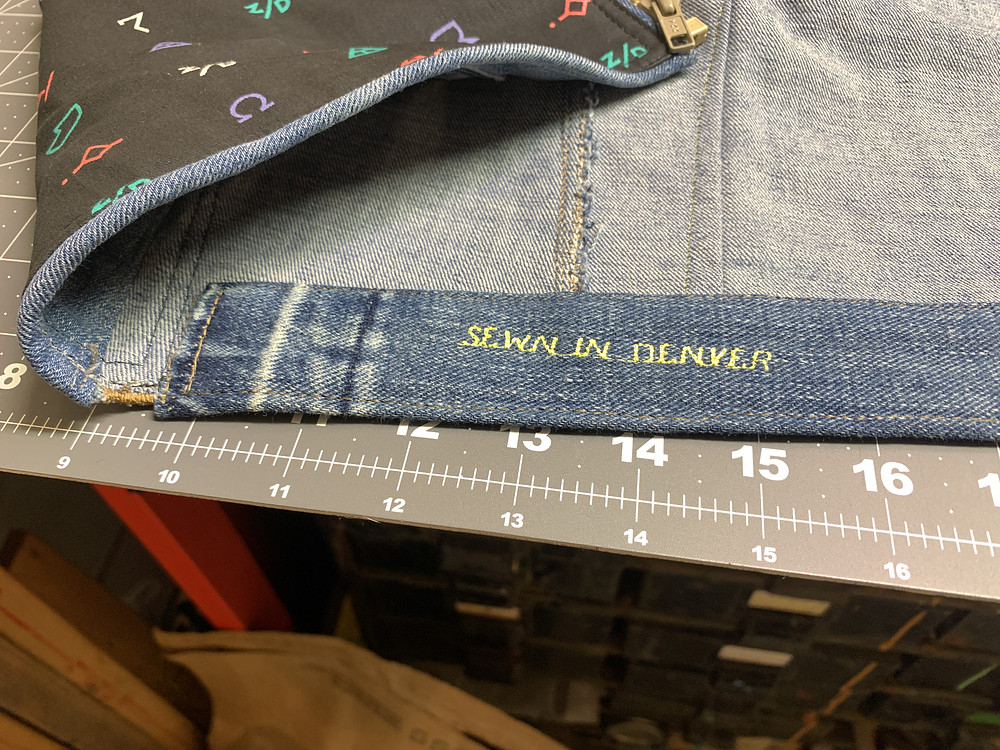
Just finished up the bottom panel to cover the rough edge around the waist on my from-scratch denim hooded jacket. Turned out well, pretty happy with it, I think it will handle the washing machine now.
Still one thick area to stitch through on the new industrial machine, and a few areas to topstitch more (zipper) or overcast more (torn frayed areas)
Still one thick area to stitch through on the new industrial machine, and a few areas to topstitch more (zipper) or overcast more (torn frayed areas)
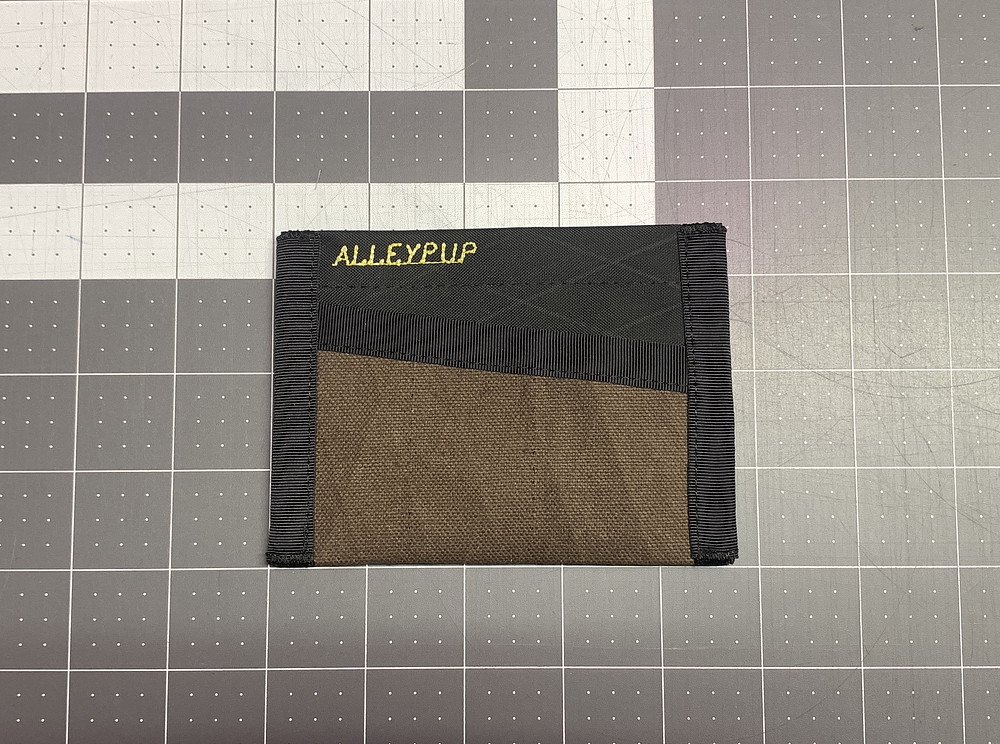
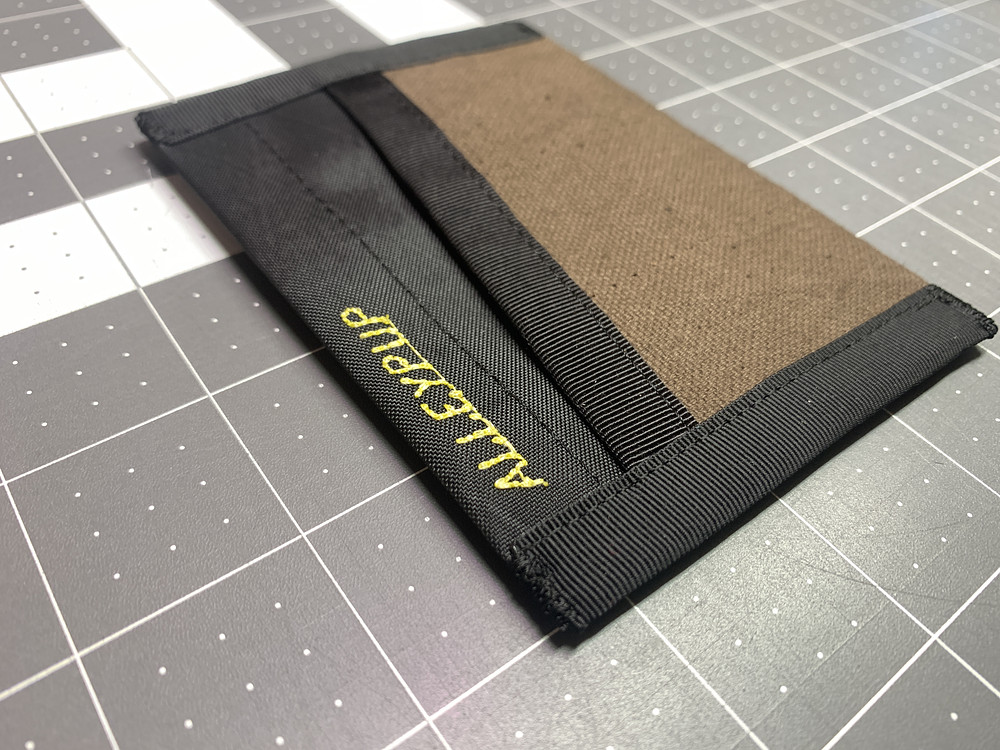
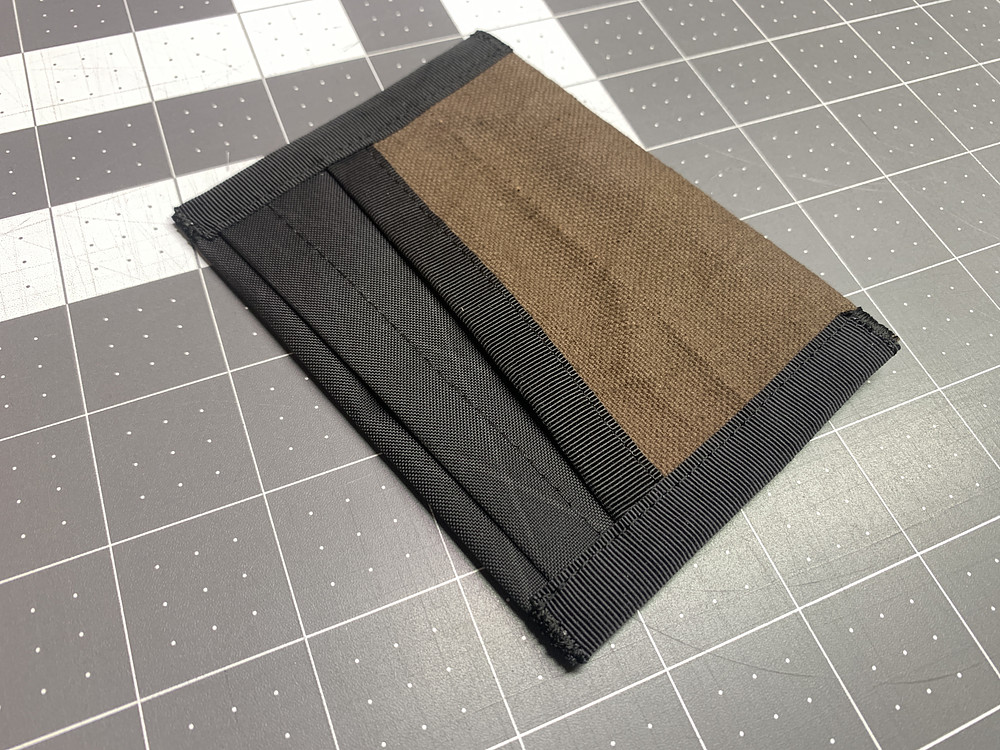
Just sewed up a quick 3-pocket wallet from some black and brown X-Pac. A bit bigger than the previous ones I've made, turned out well.
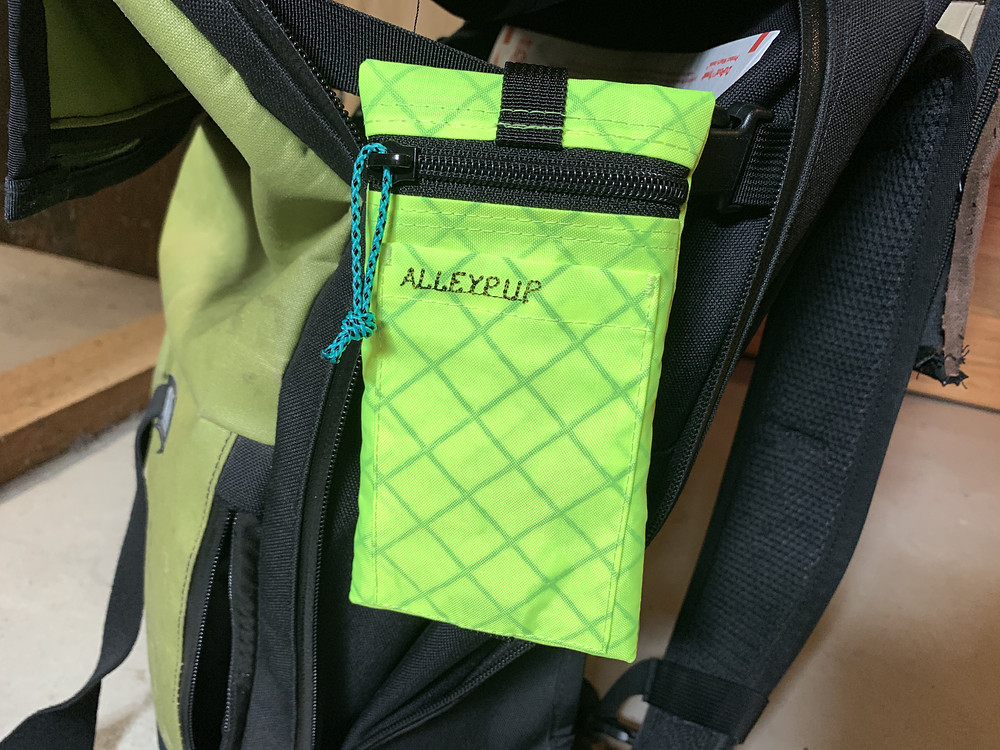
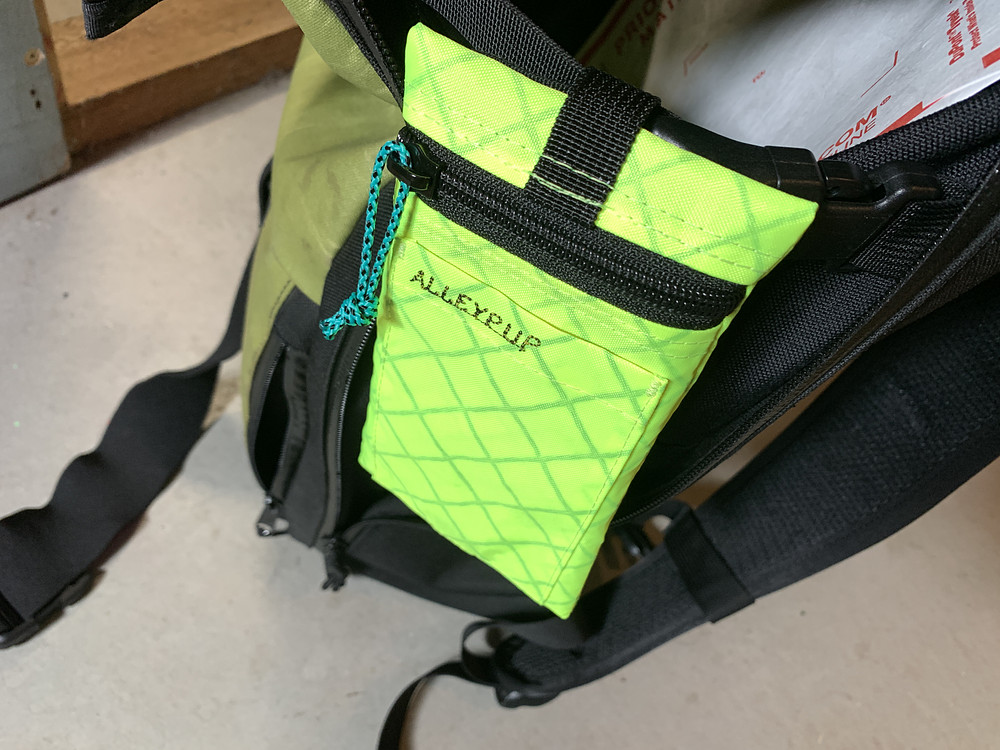
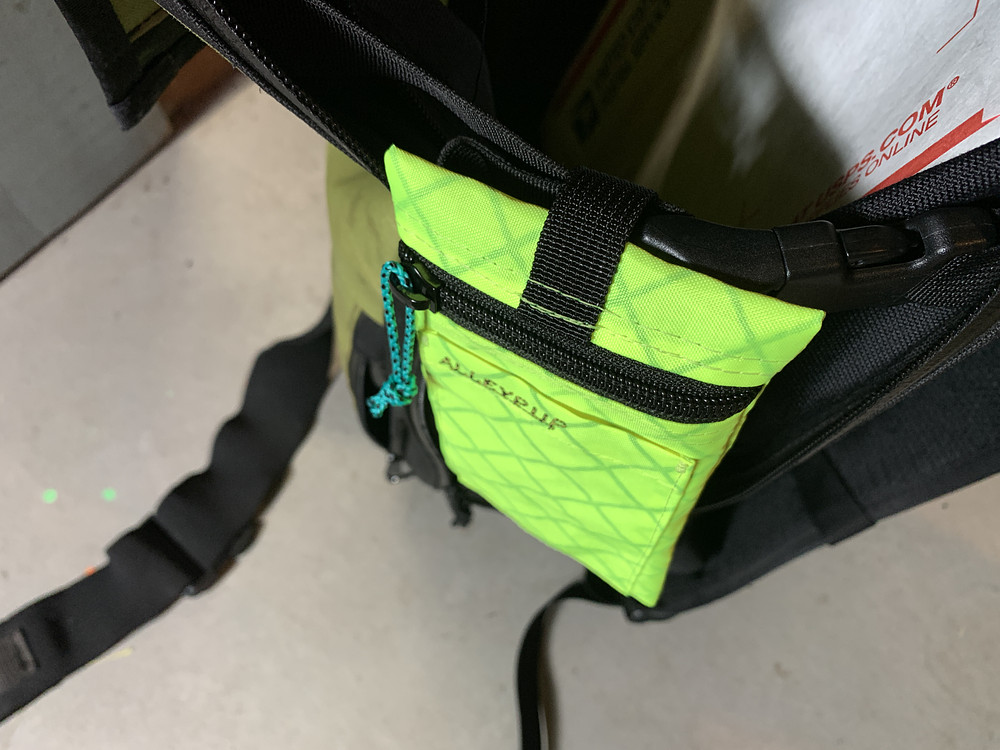
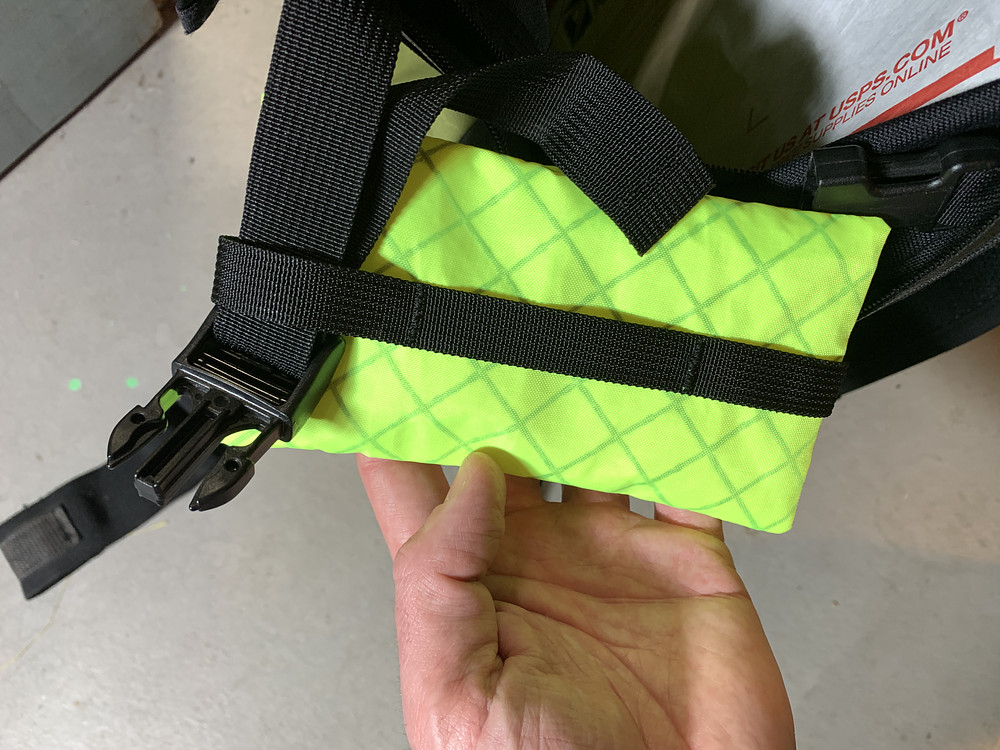
Finished a small zipper bag with the hi viz yellow Challenge ECOPAK EPX200. Turned out ok.
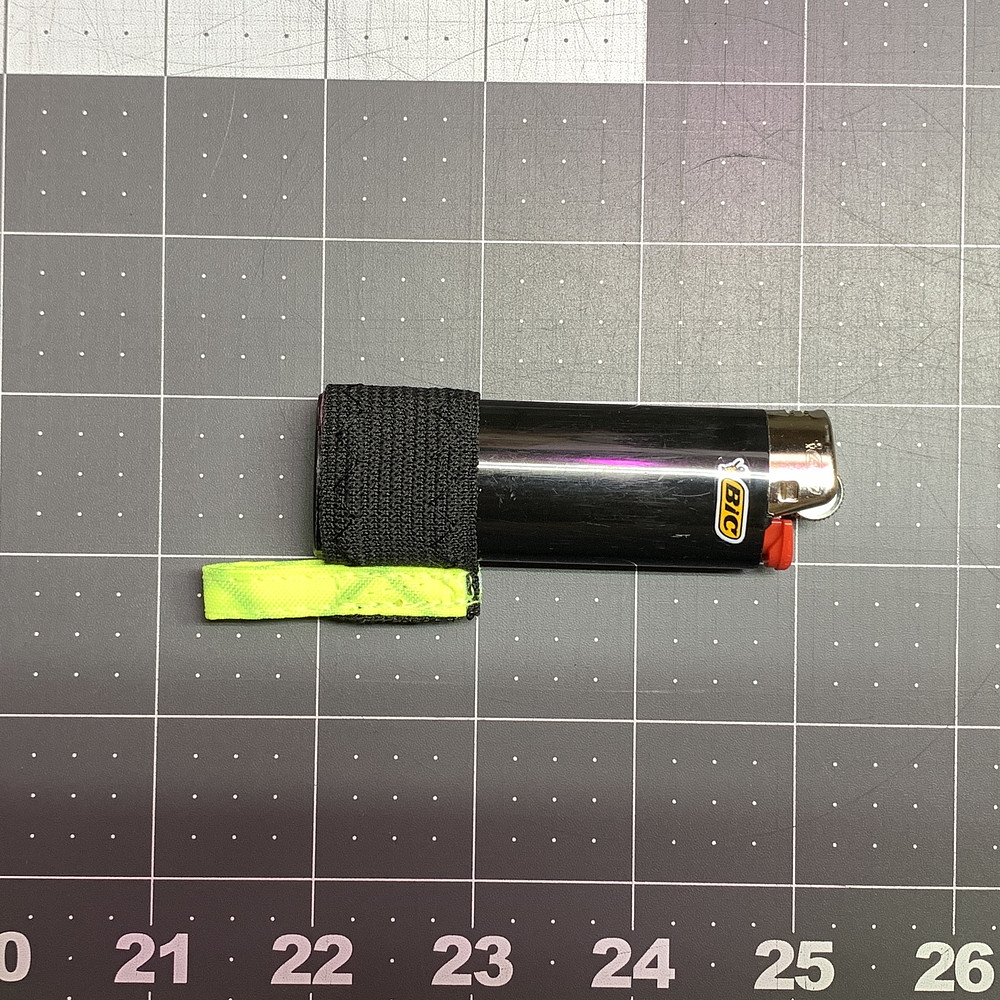
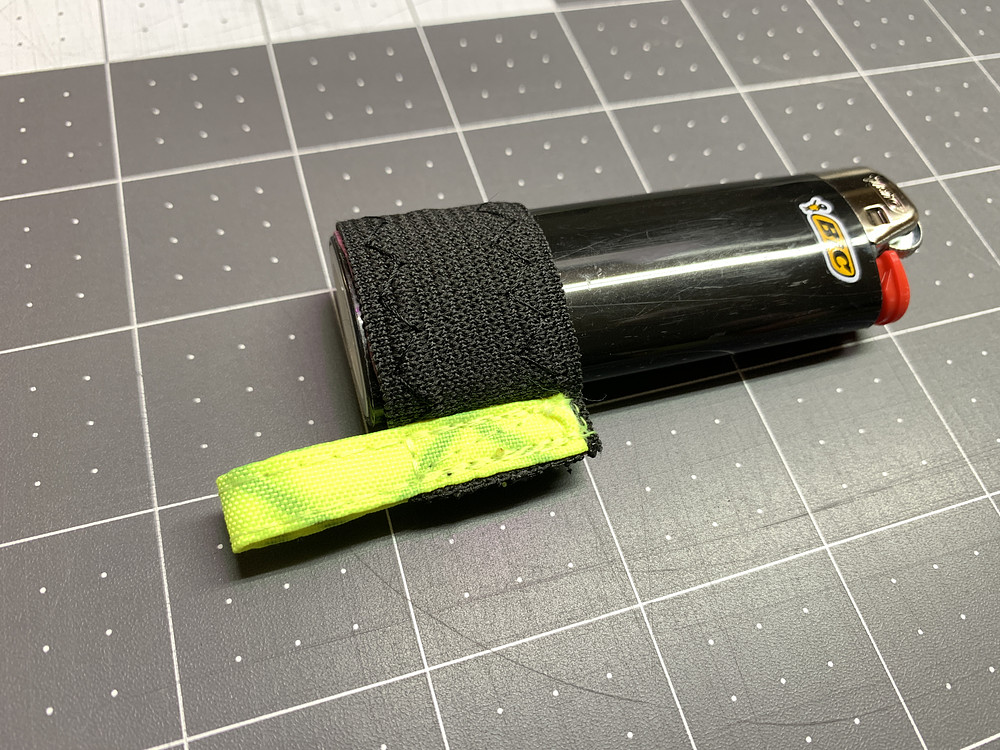
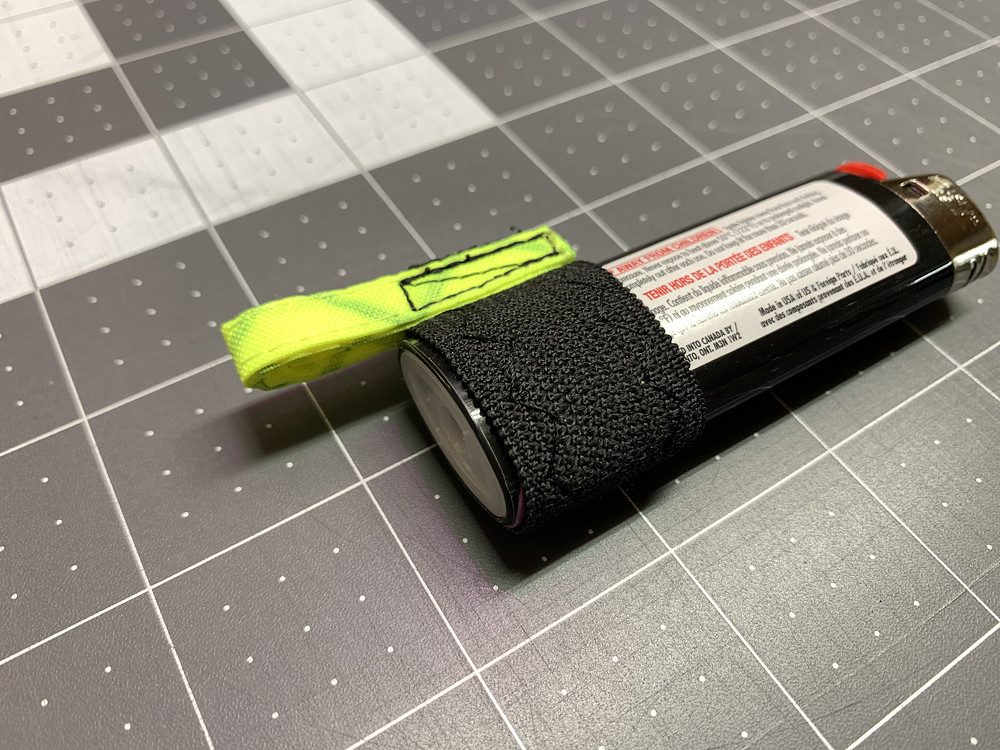
Just finished up a tiny lighter leash with 1" elastic, lined with swim cap, with a Challenge ECOPAK EPX200 hi-viz yellow sewn strap. Works well, looks decent. I used a zig-zag stitch with slick paper on the bottom, then swim cap, then elastic to sew the lighter-holding part, and that worked well.
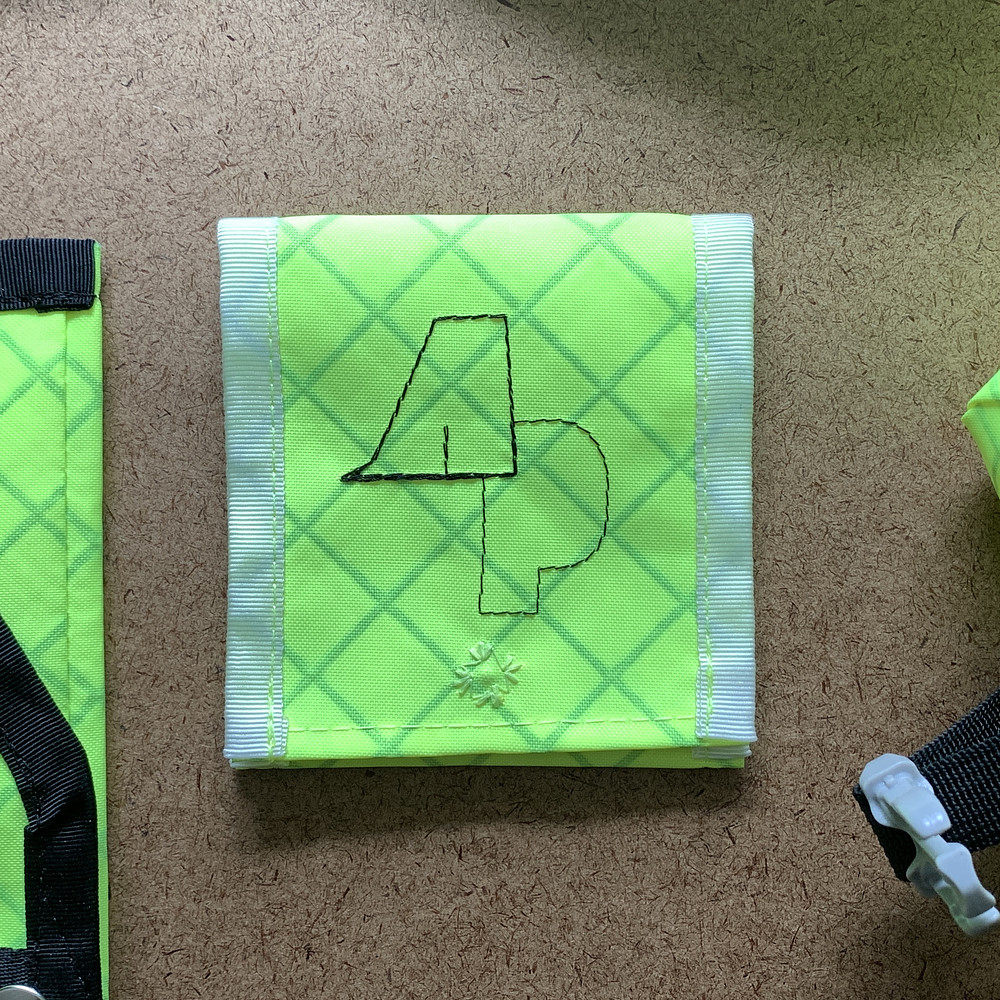
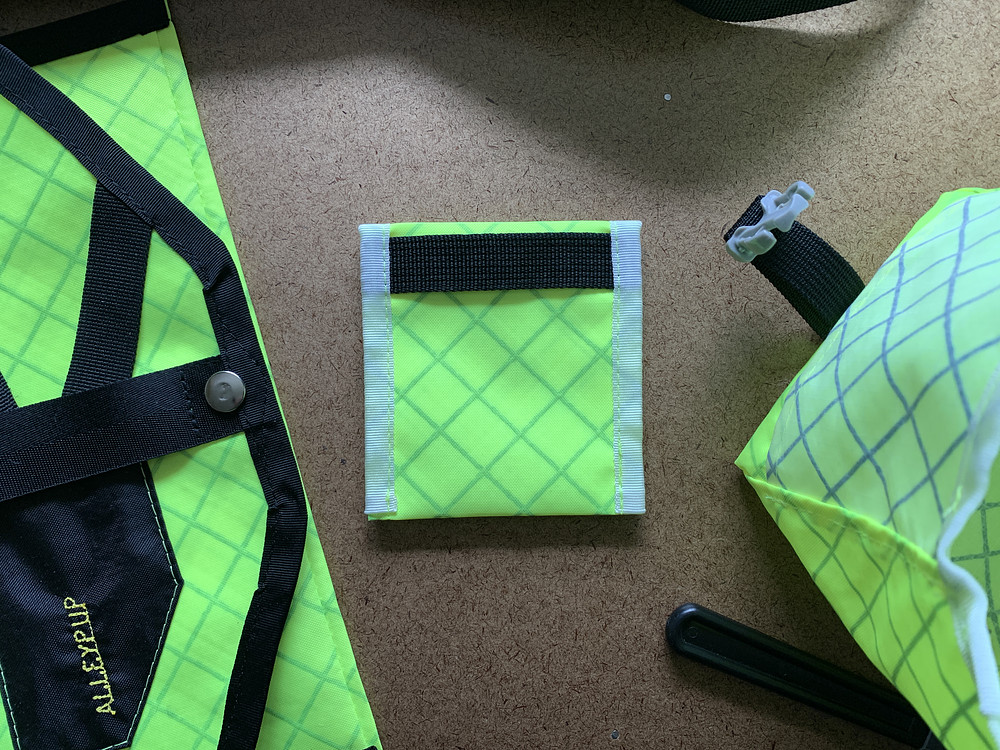
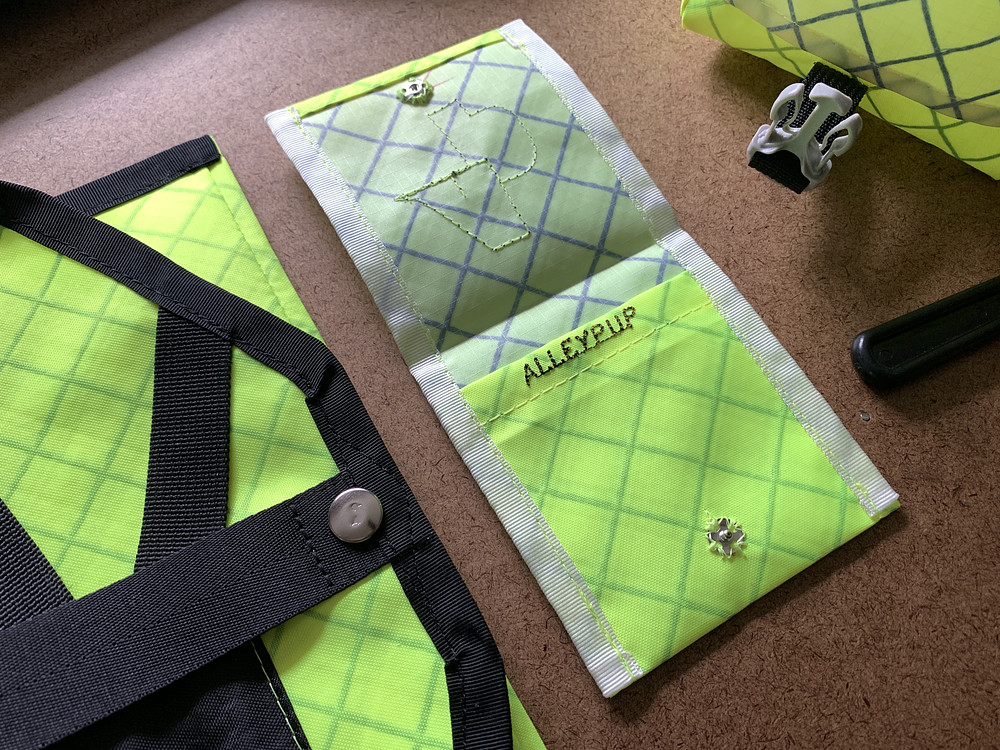
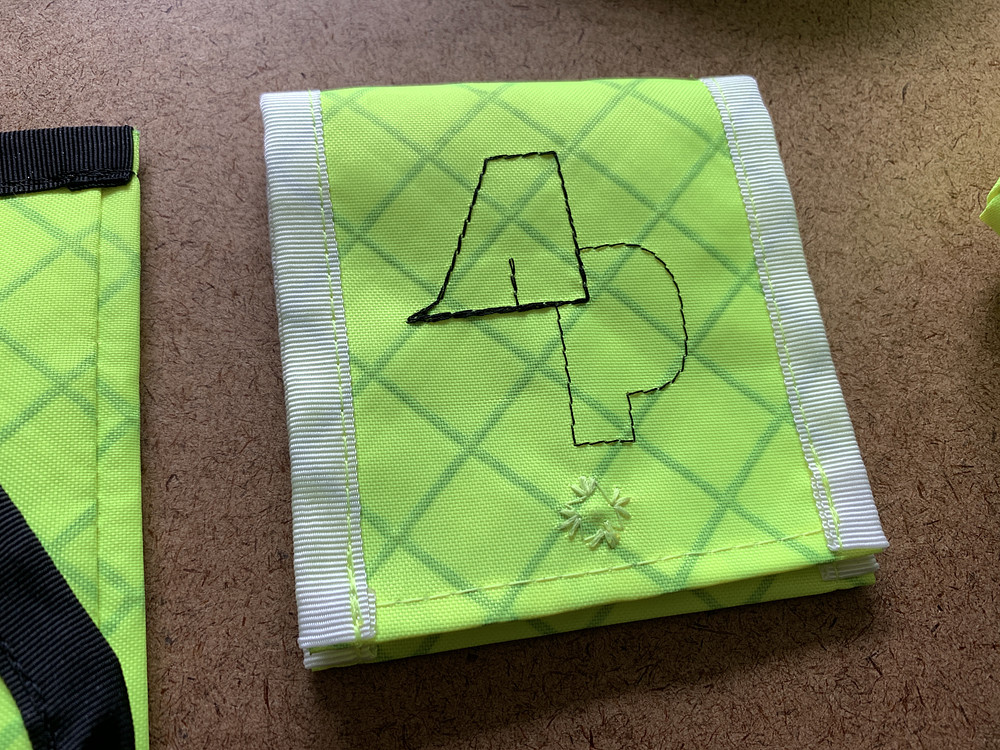
Quick business card / credit card holder from hi viz yellow Challenge ECOPAK EPX200. Snap closure.
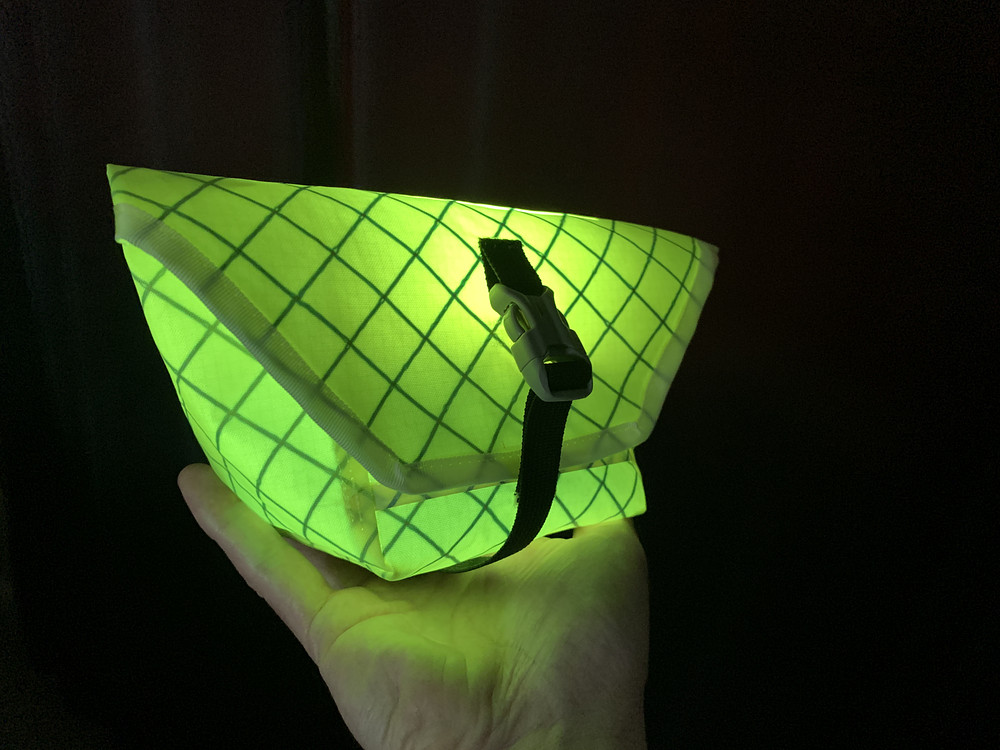
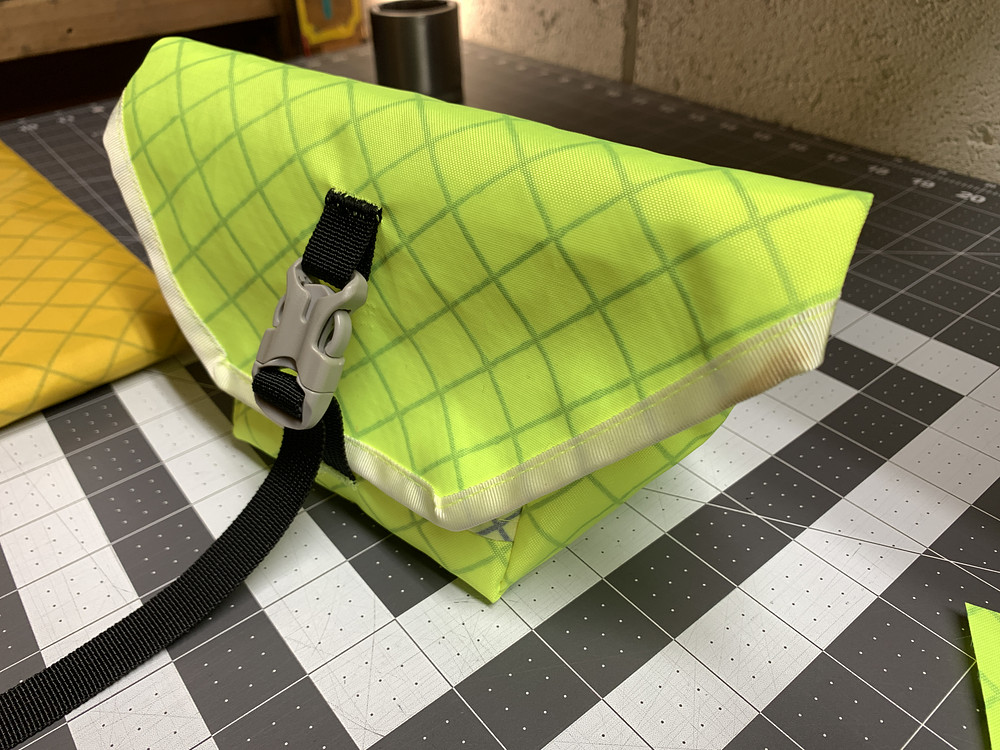
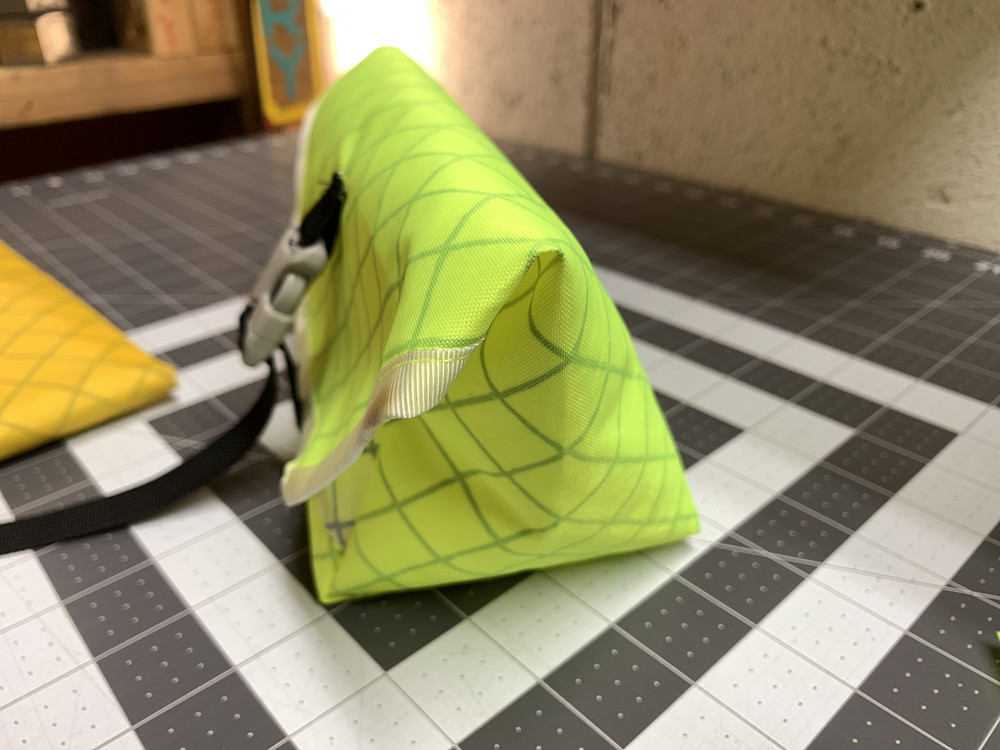
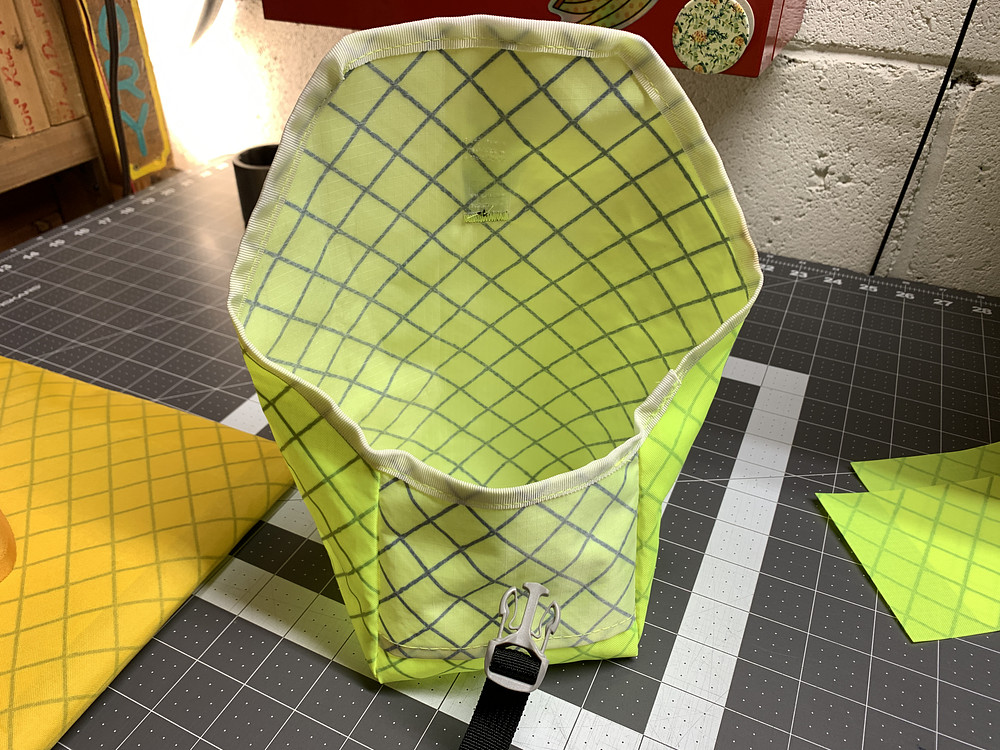
Made a weird bag from the hi viz yellow Challenge ECOPAK EPX200, it's kind of like a messenger-bag style bag but it's very small, like 4x4" on the bottom. Not sure what to do with this...
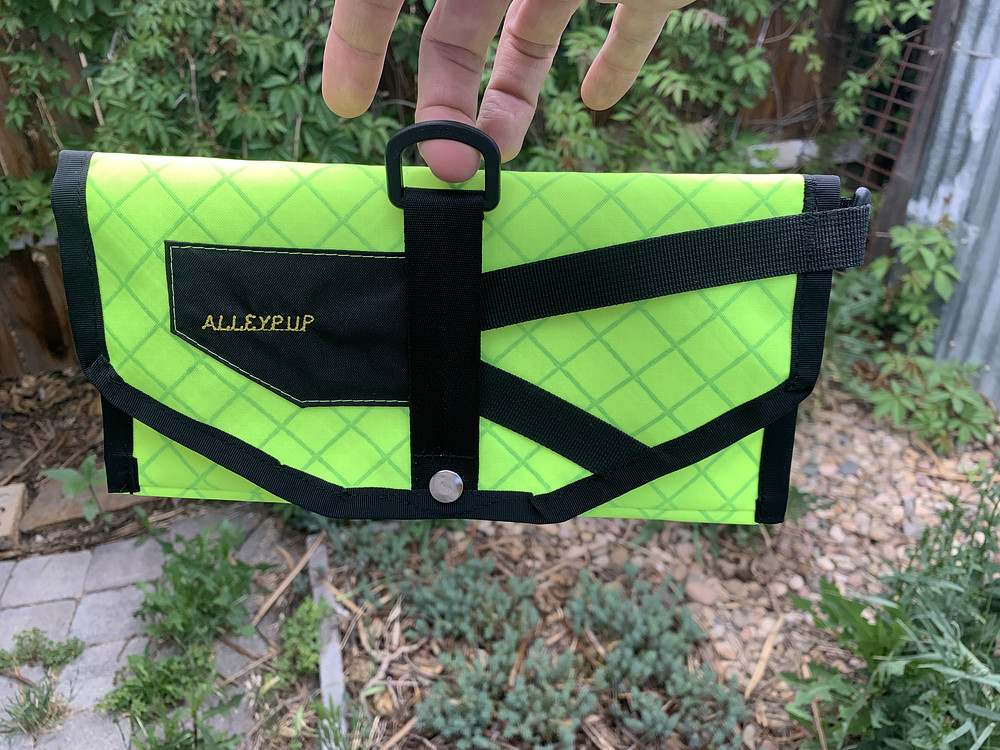
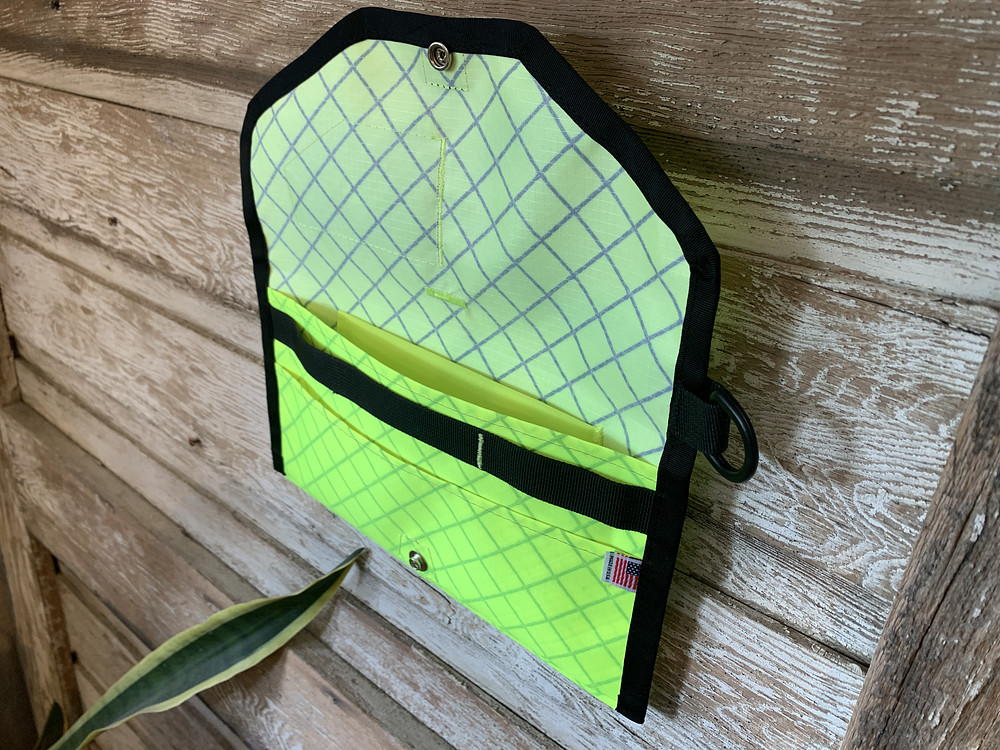
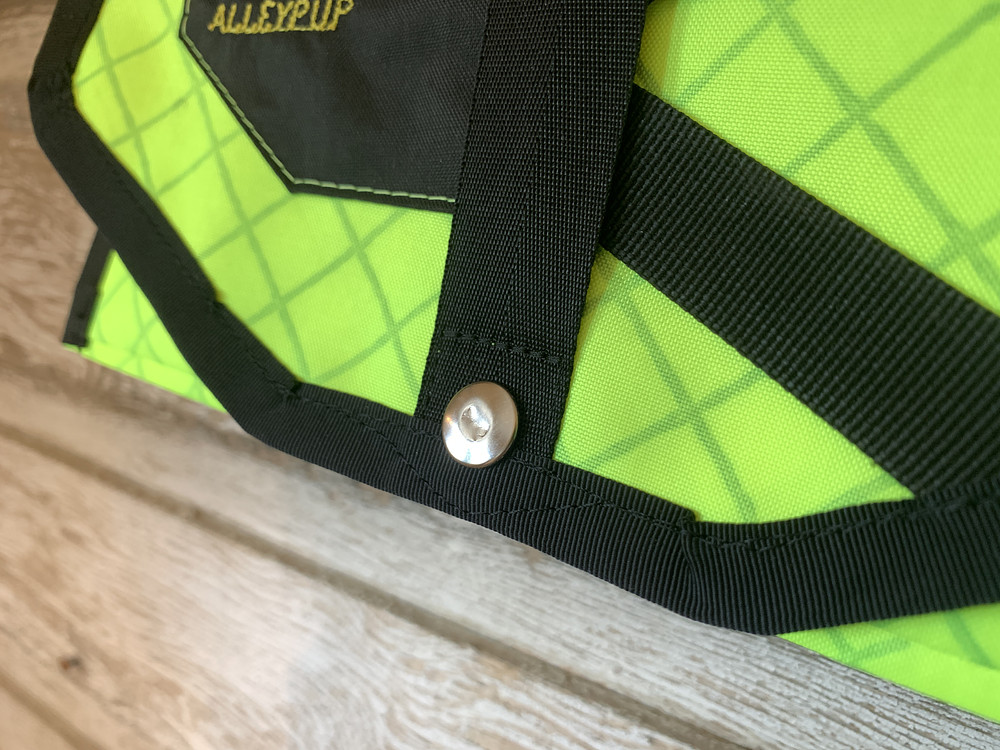
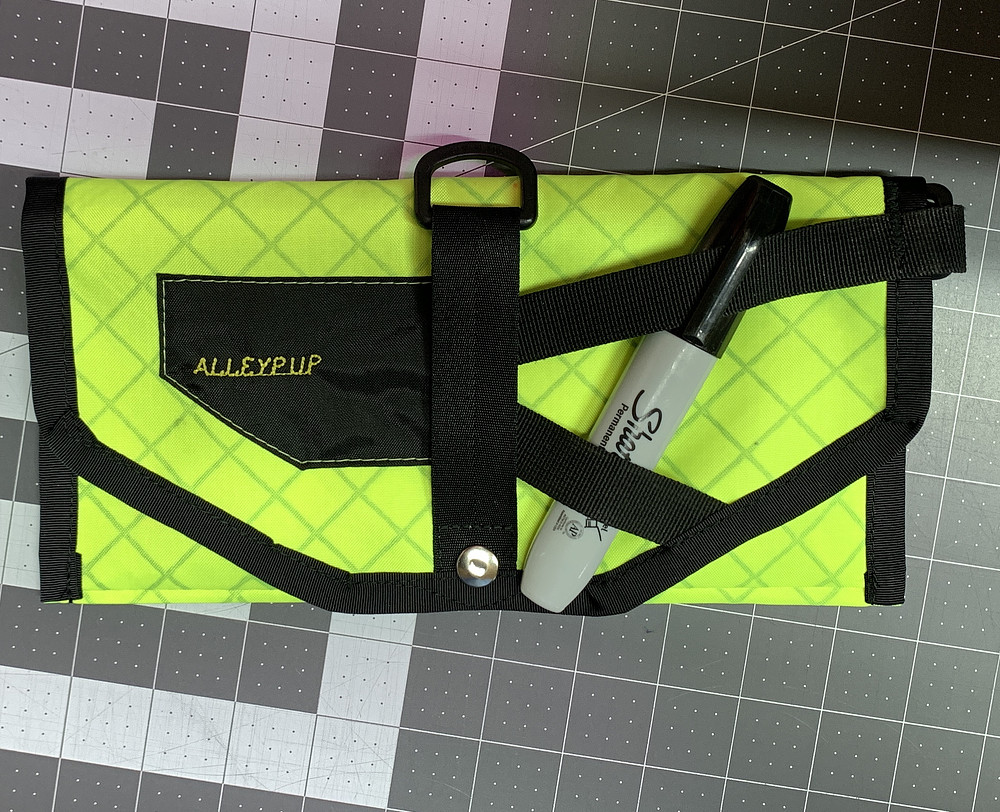
Sewed up a snap pouch to hold scissors and a few other things - was gonna be a quick single pocket pouch but then I added extra pockets, webbing, a patch, D-rings, and it ended up taking more time than I'd like. Turned out decent though.
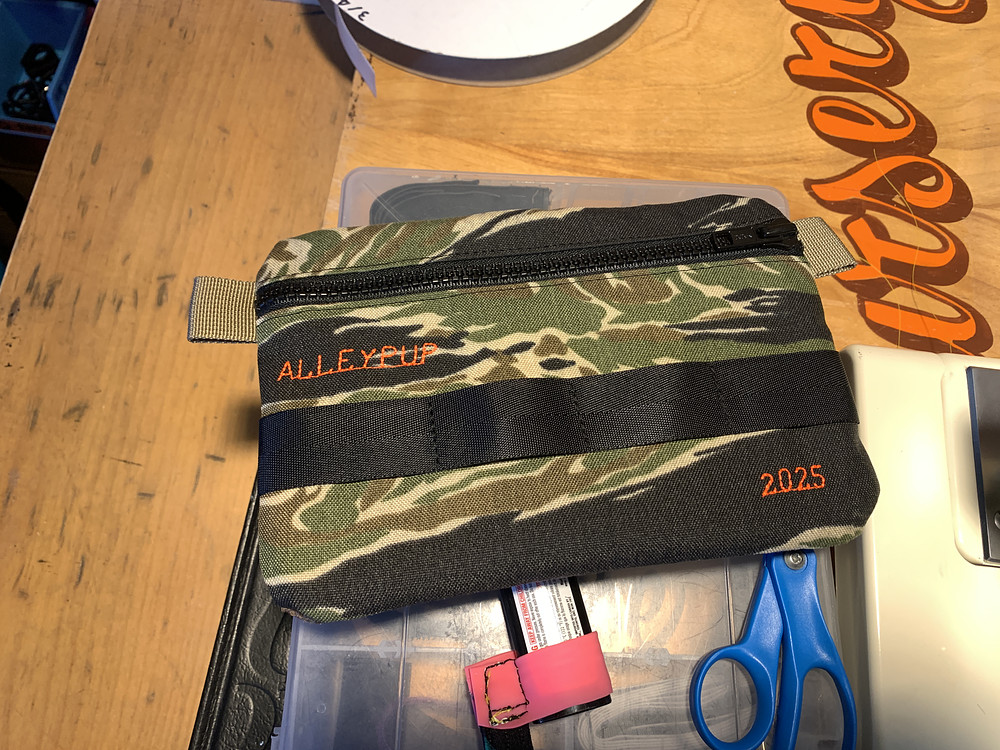
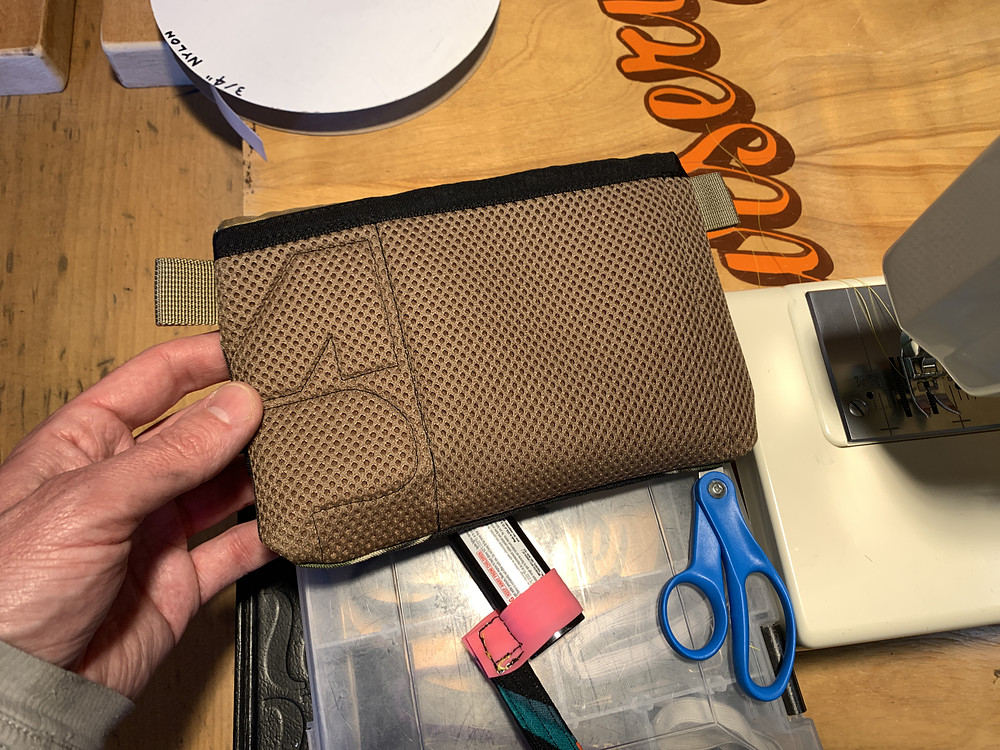
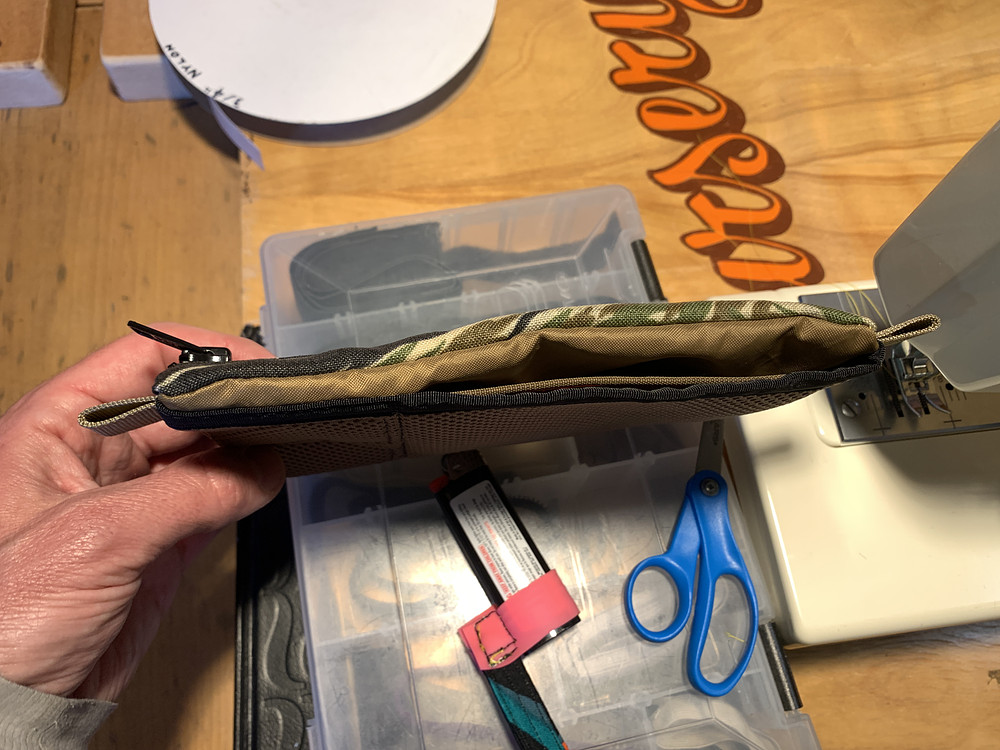
Finally finished up sewing this zipper bag that I started and intended to finish in 2025. Tiger stripe camo Cordura with spacer mesh / Challenge ECOPAK EPX200 padded back.
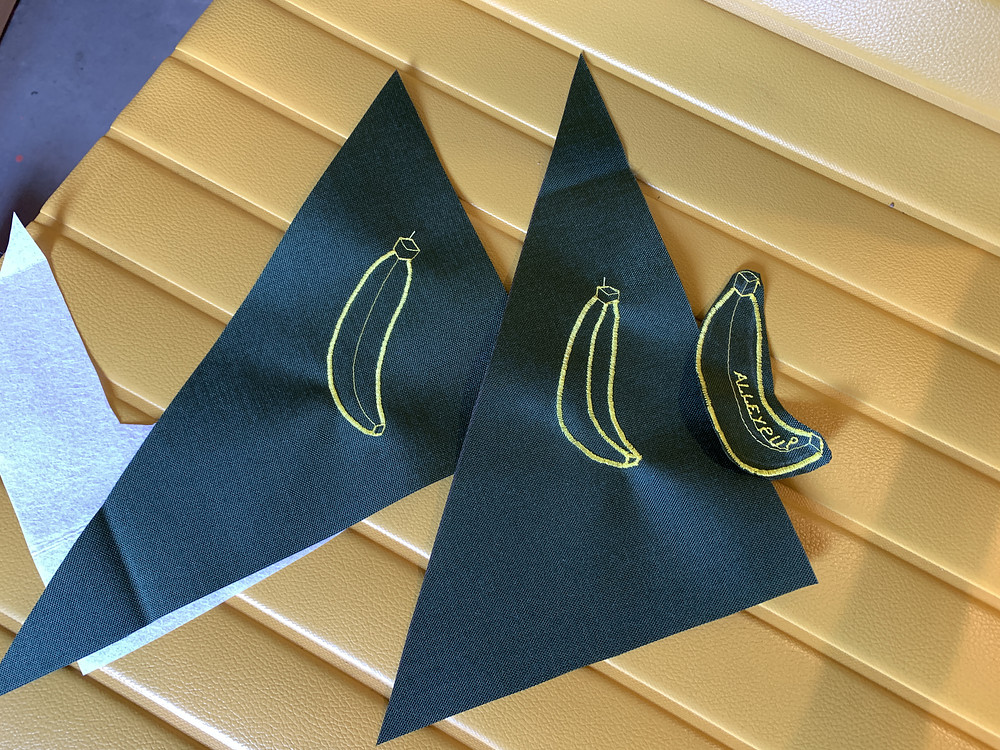
Janky banana embroidery
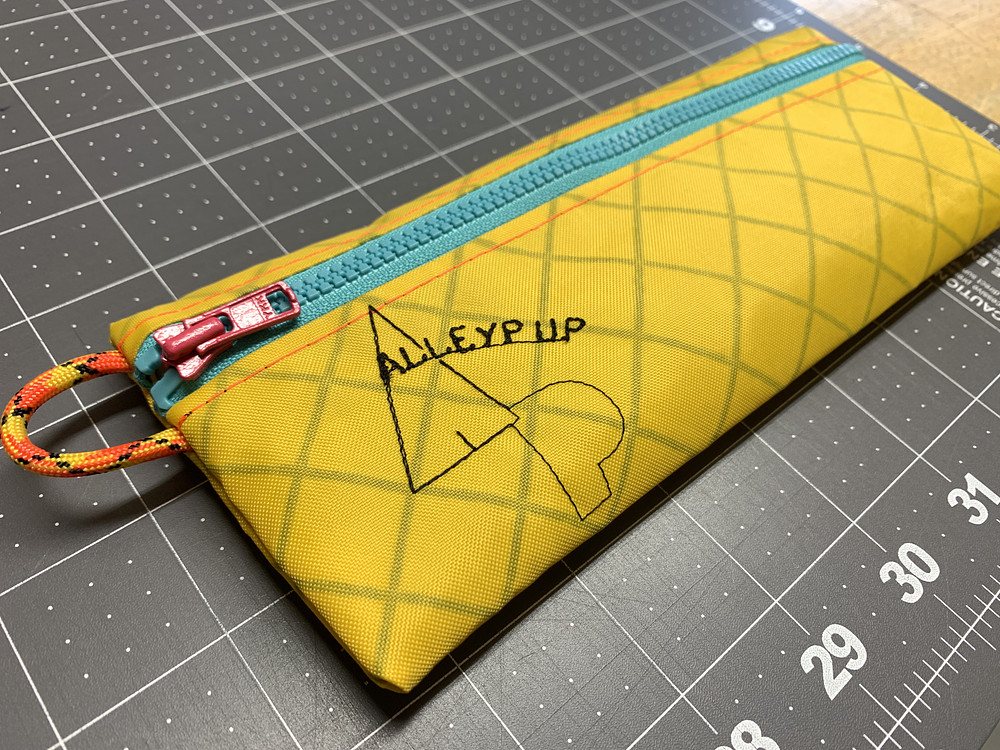
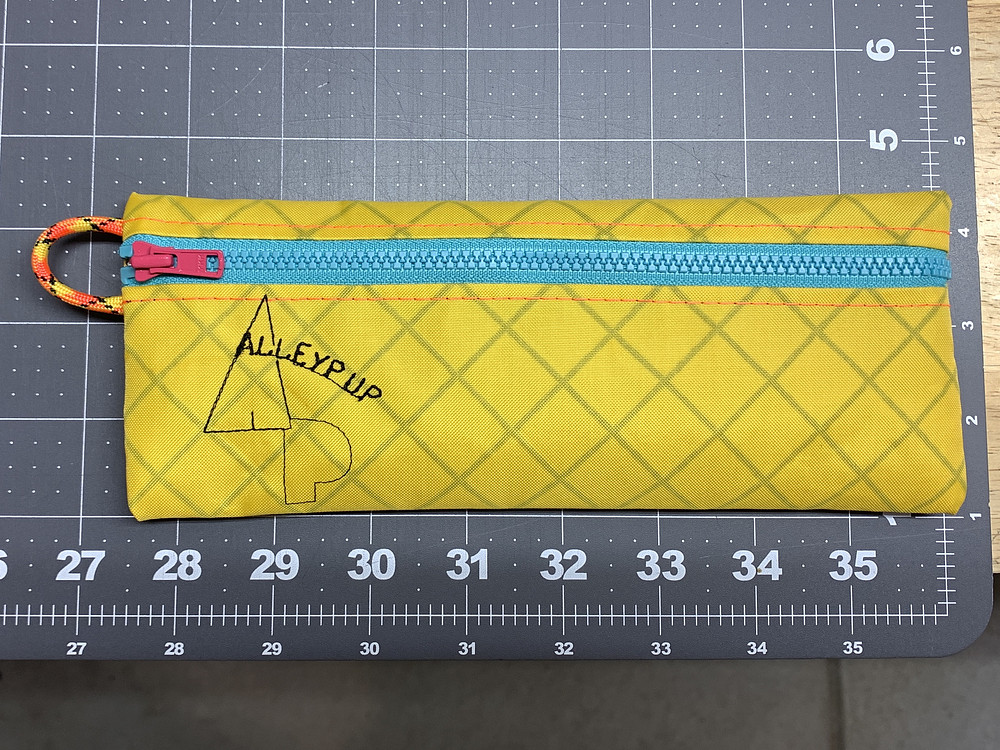
Just finished up another zipper bag to hold my pens and pencils in yellow Challenge ECOPAK EPX200. Turned out well, works well. Nice and light.
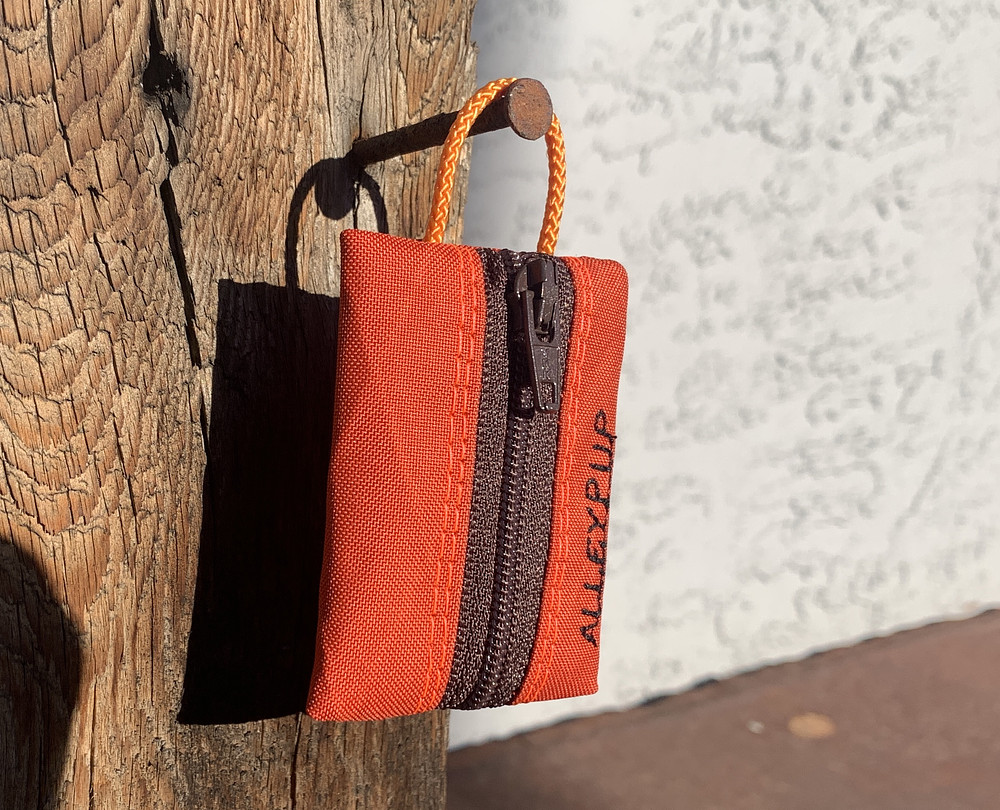
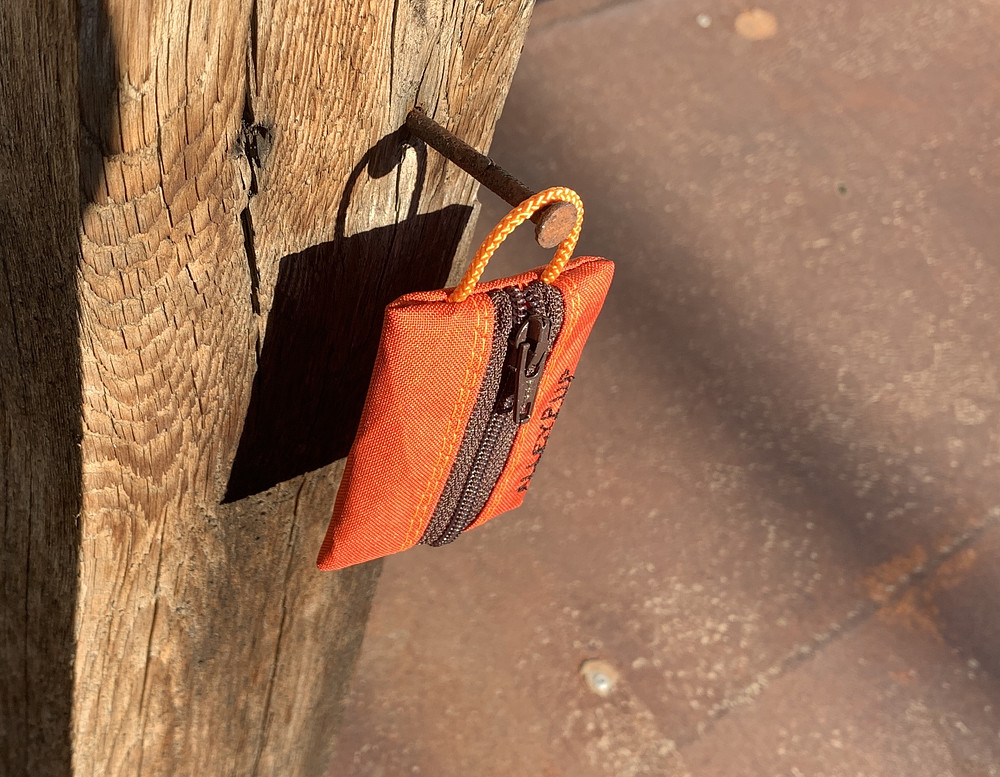
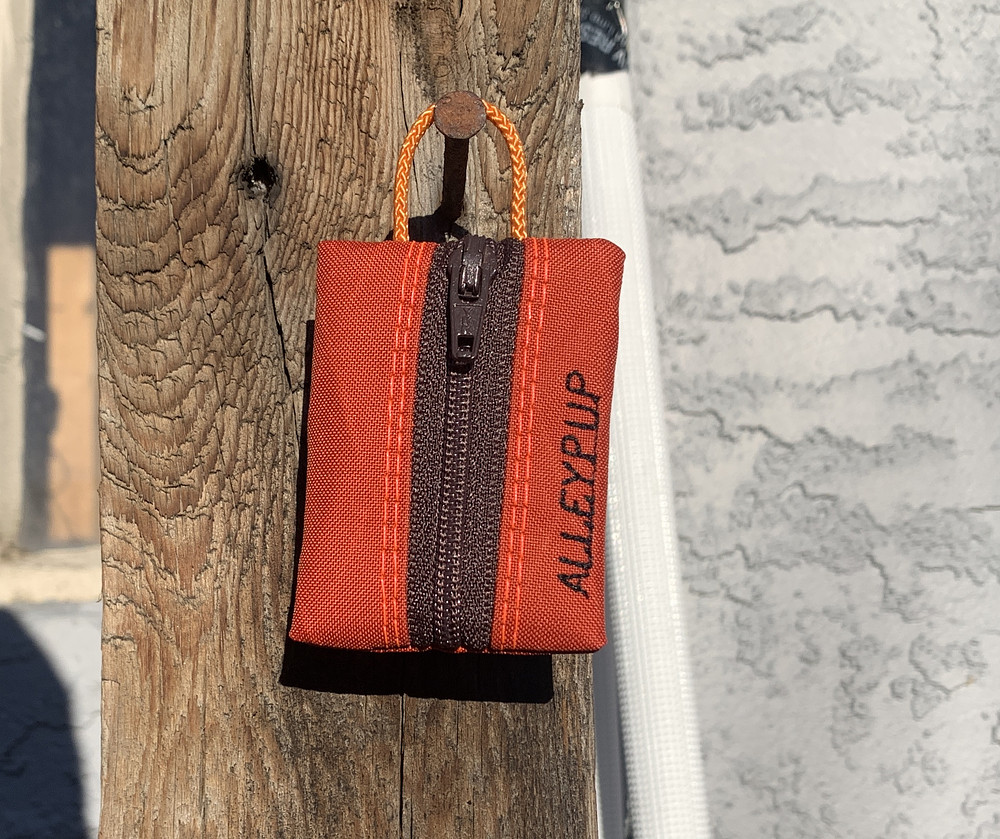
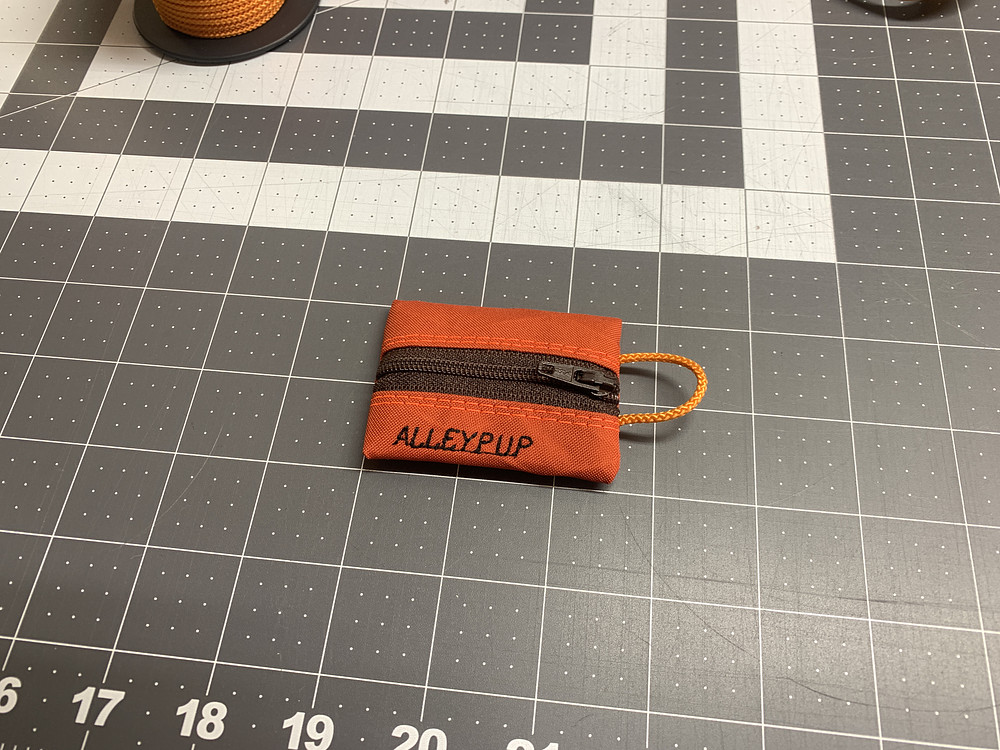
Made another really small zipper bag out of some burnt orange X-Pac.
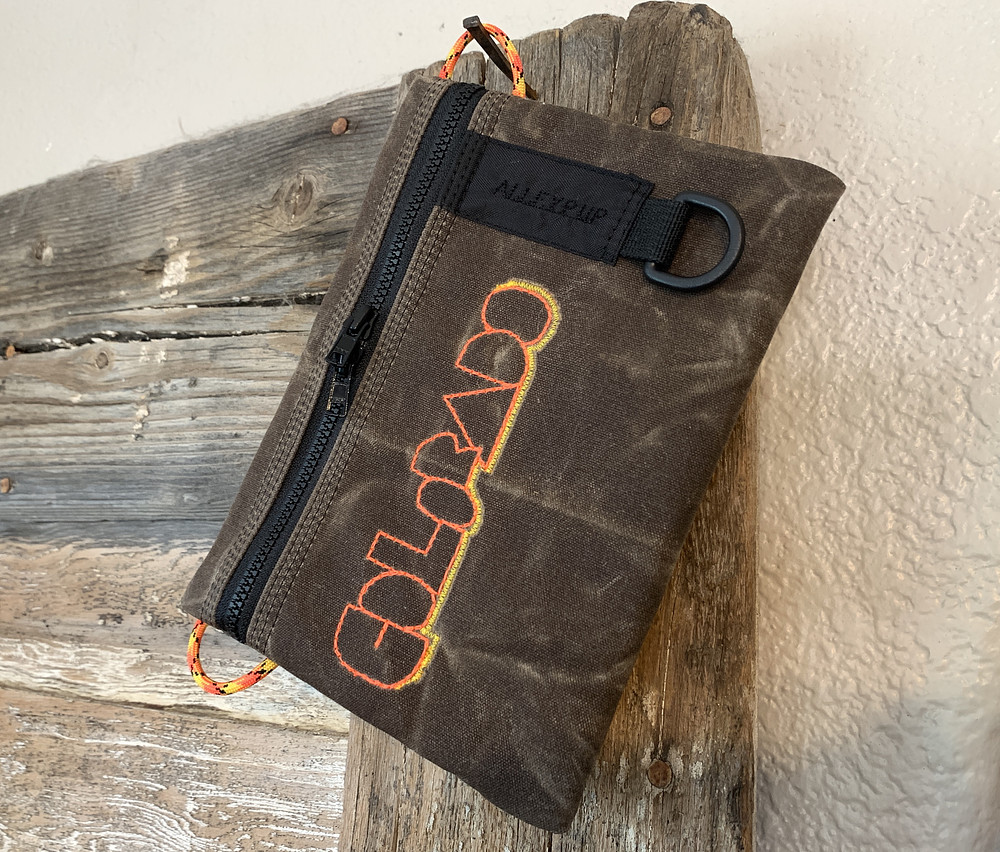
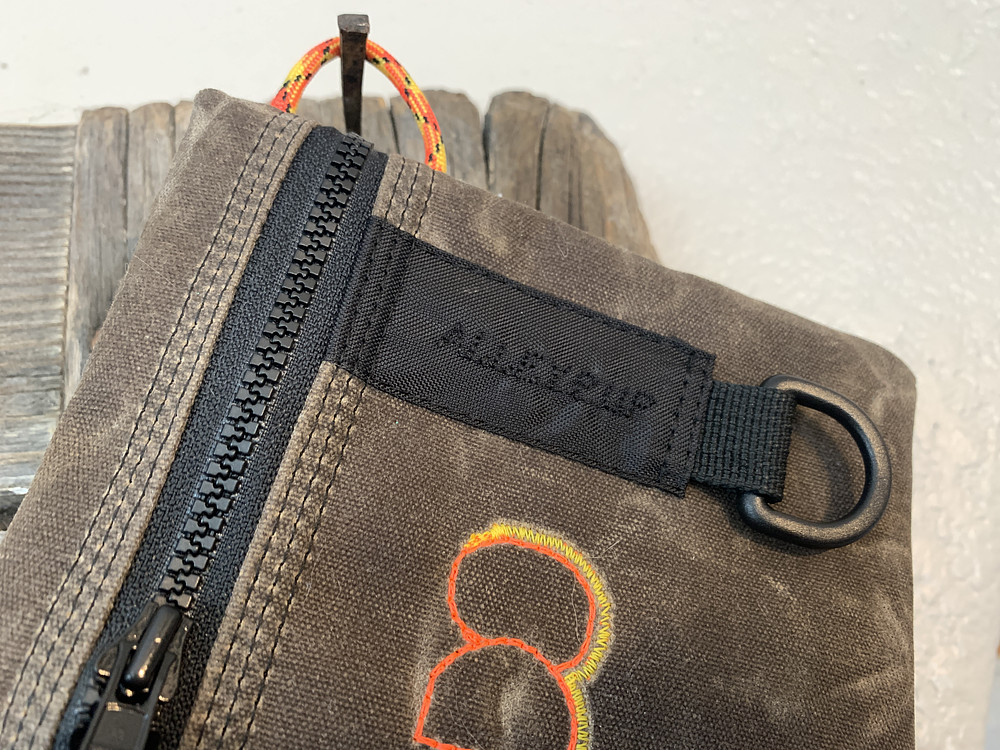
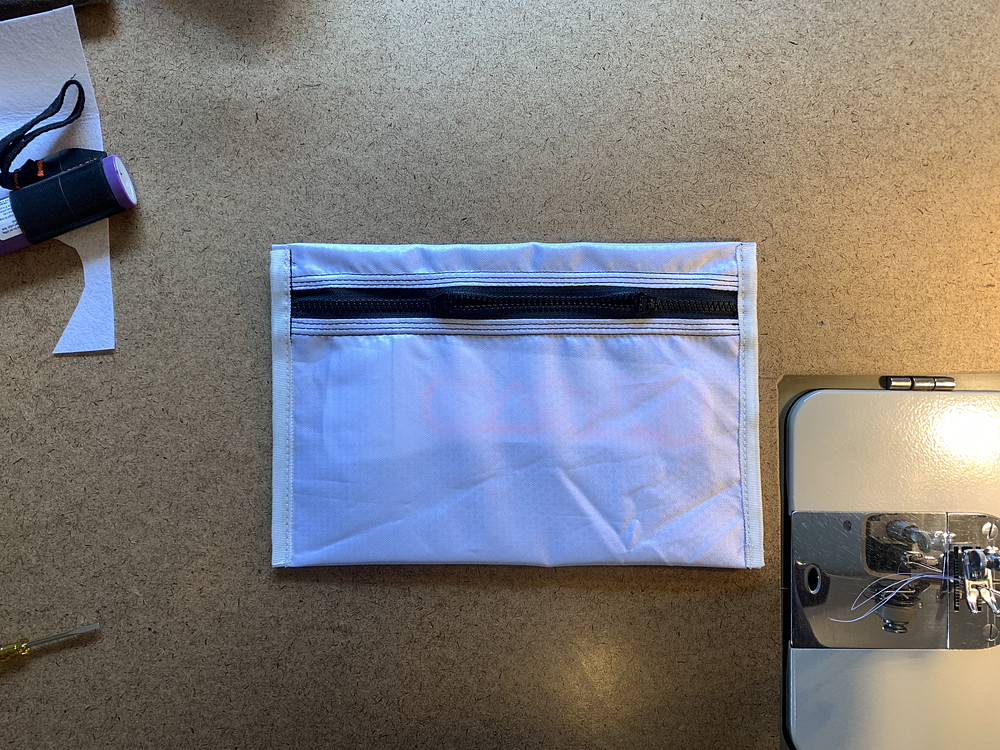
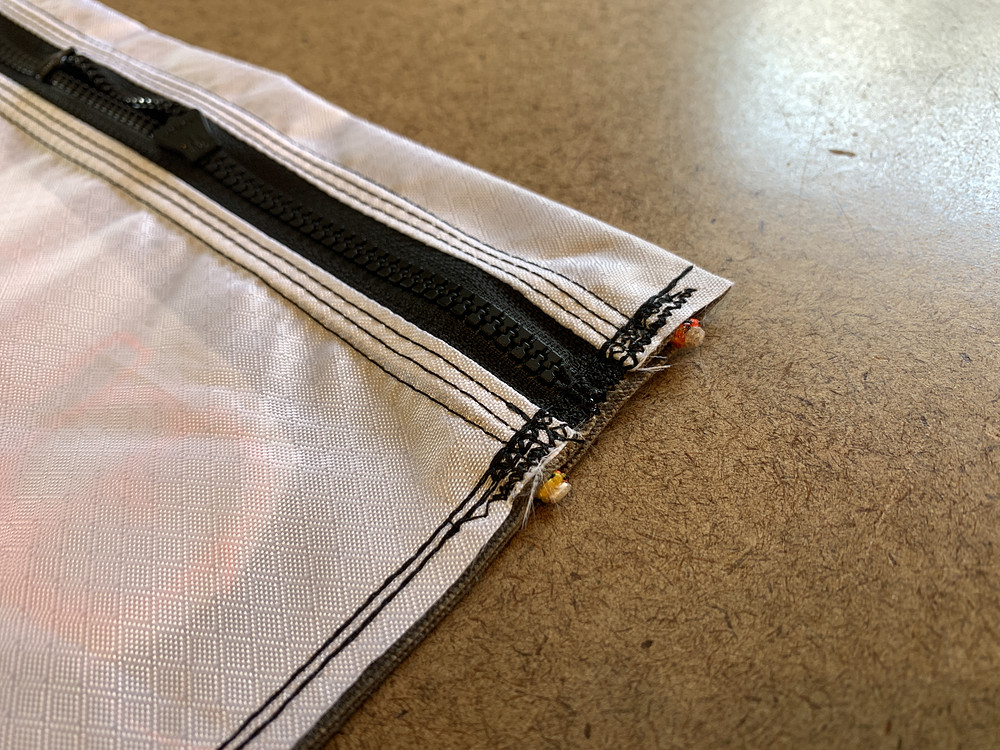
Finished up a fun COLORADO stitched text waxed canvas zipper pouch in brown.
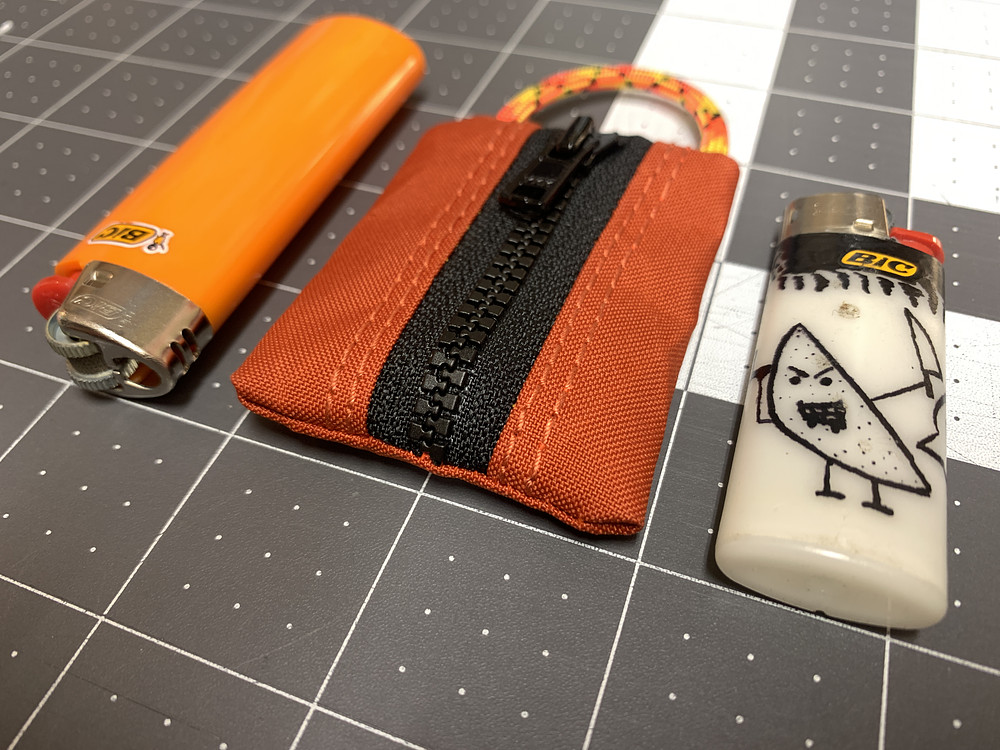
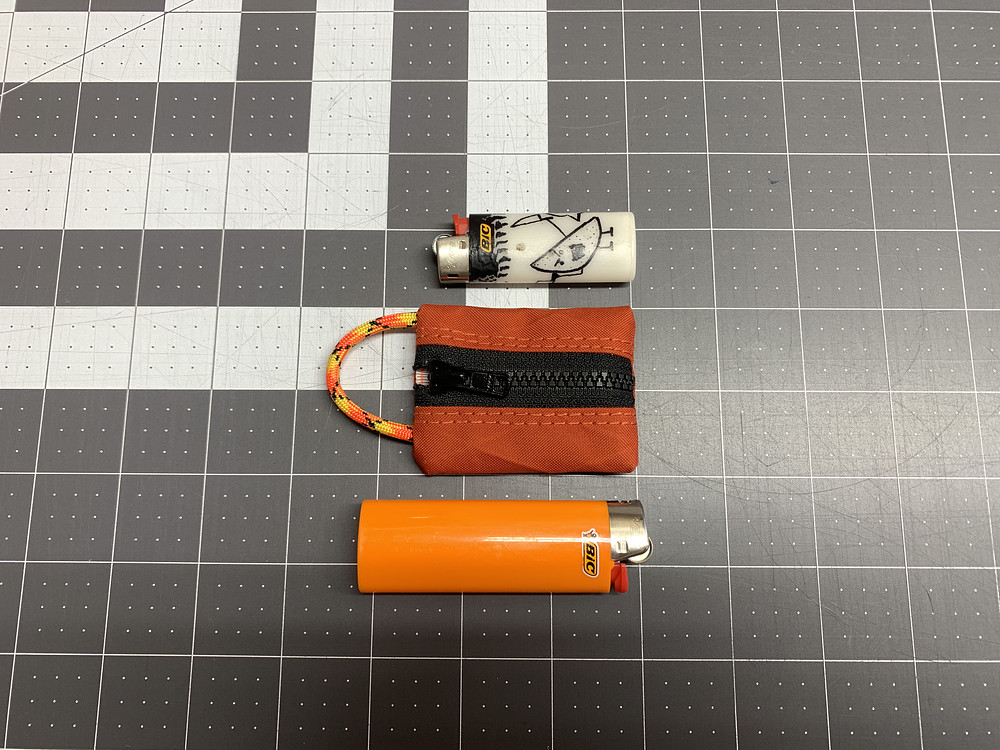
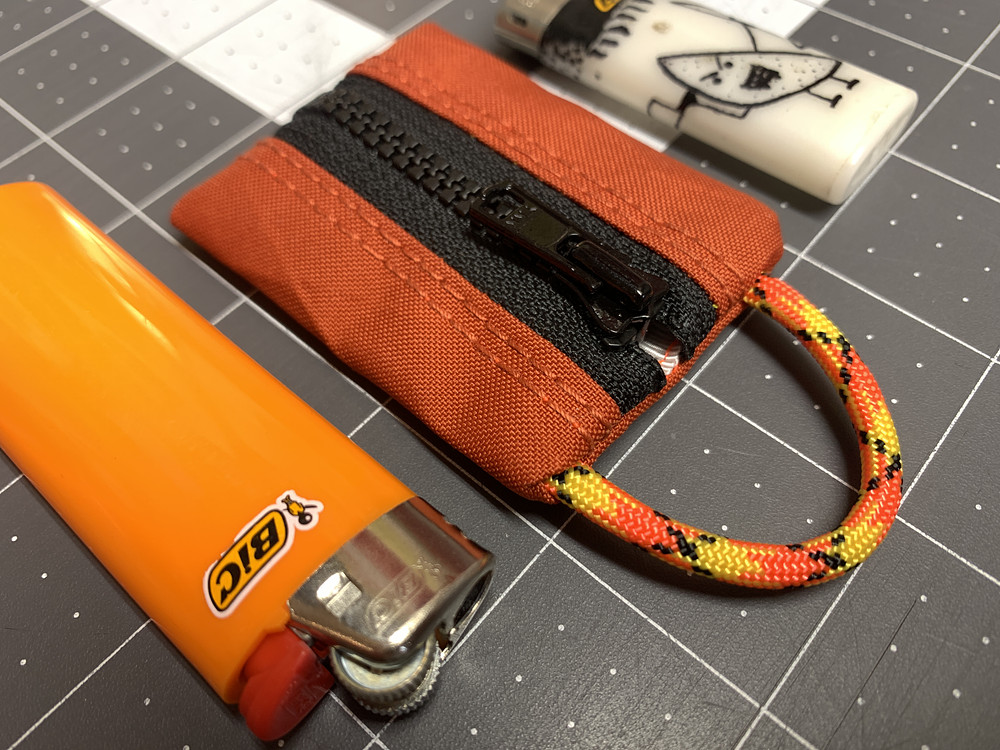
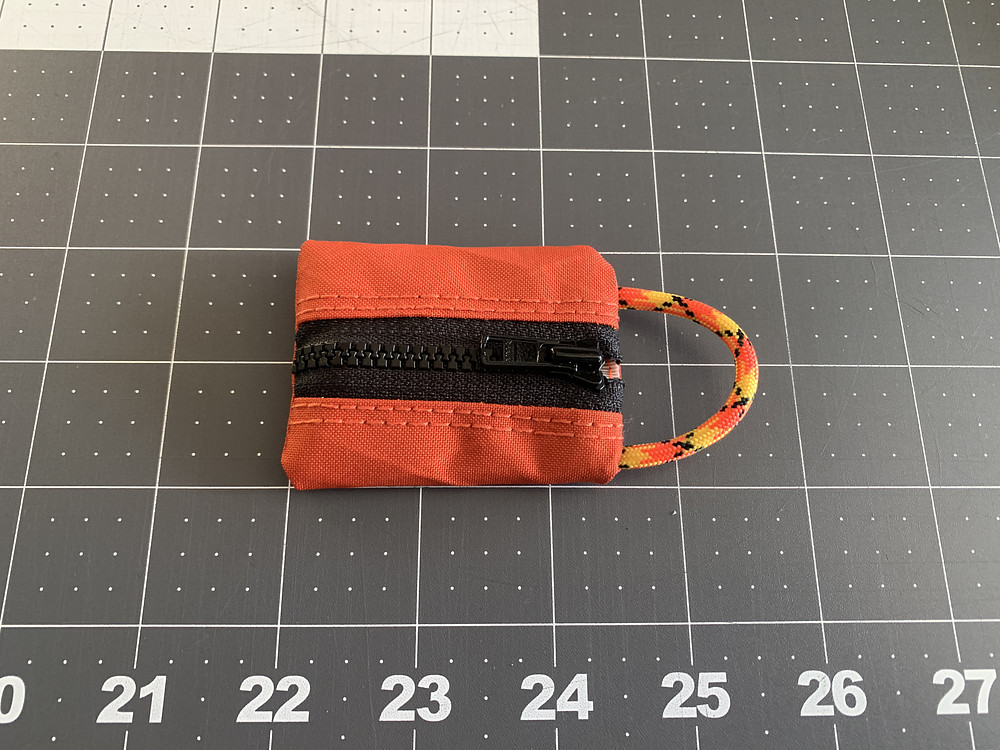
Made a small zipper pack (2.5 x 2") out of some zipper scraps and a scrap of X-pac. Took a little under 30 minutes. A little bit wonky/off center but I'm happy with it - I really like small durable bags like this one.
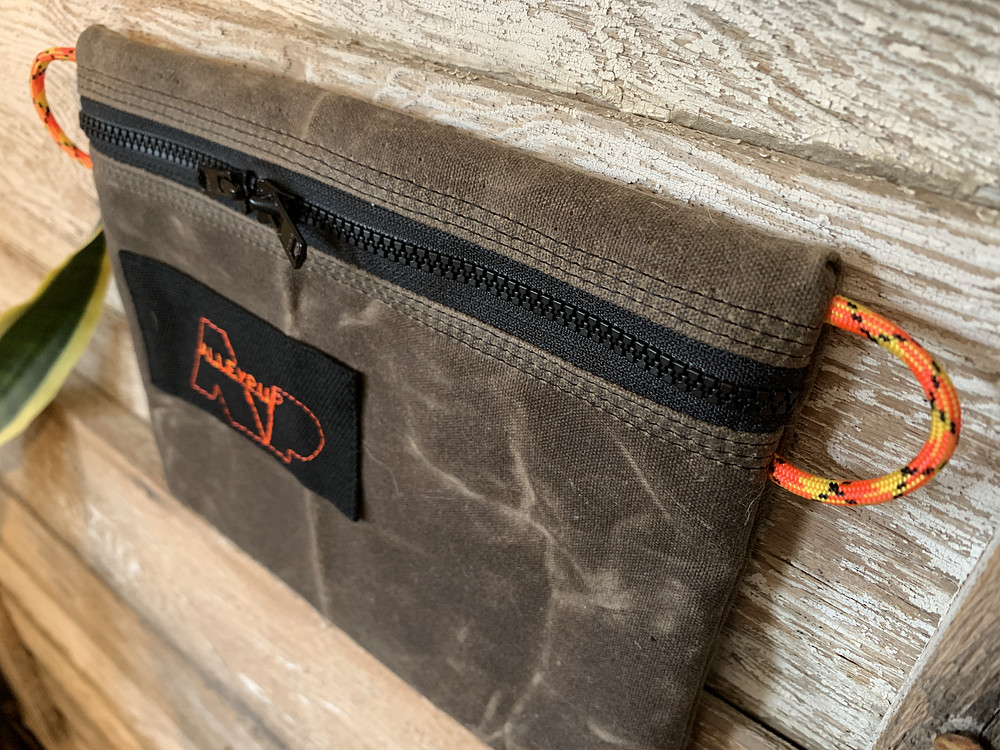
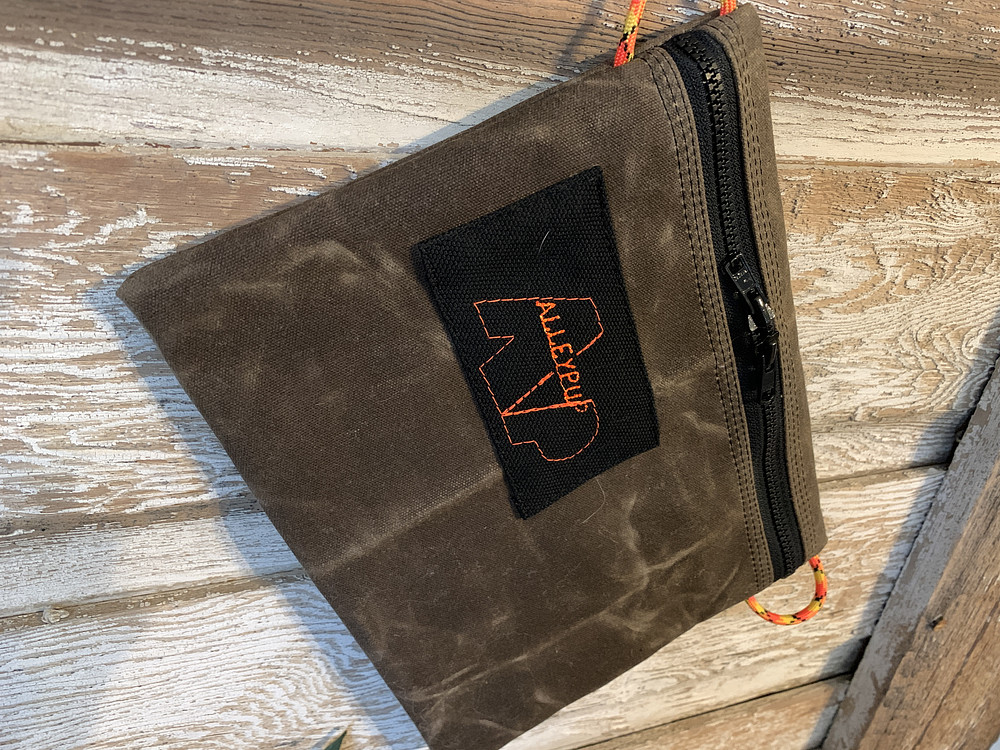
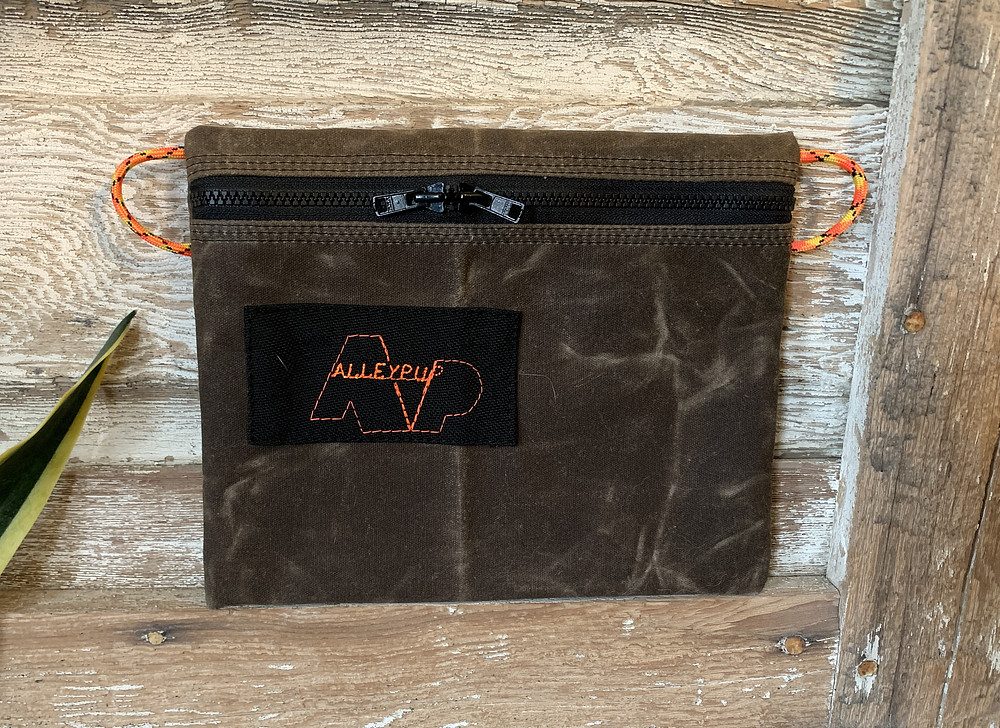
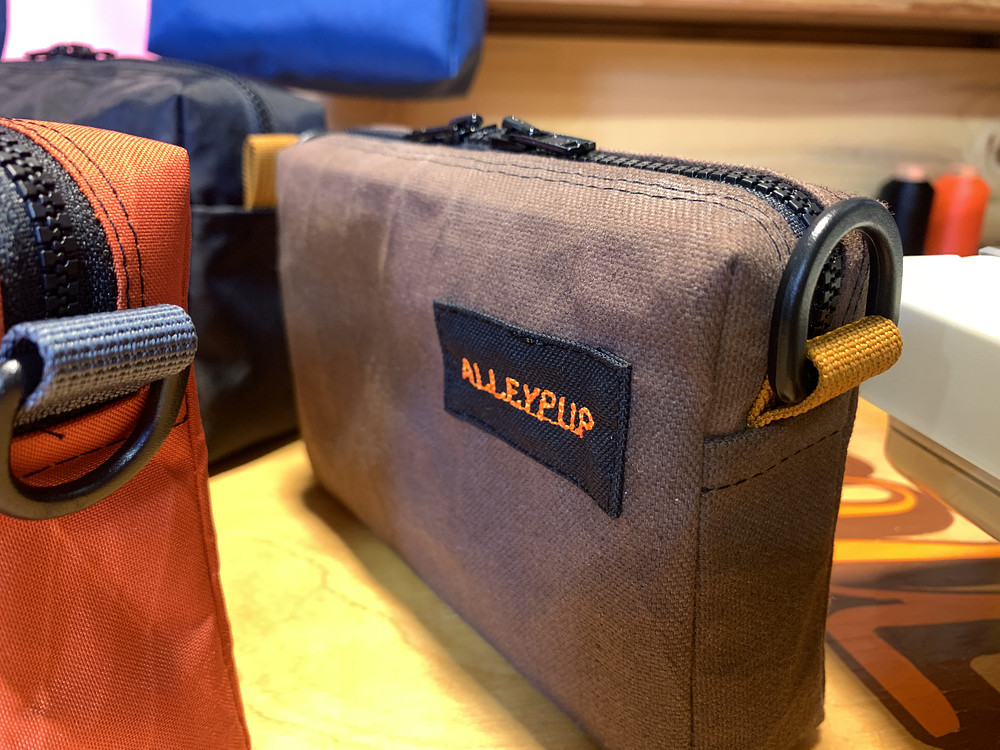
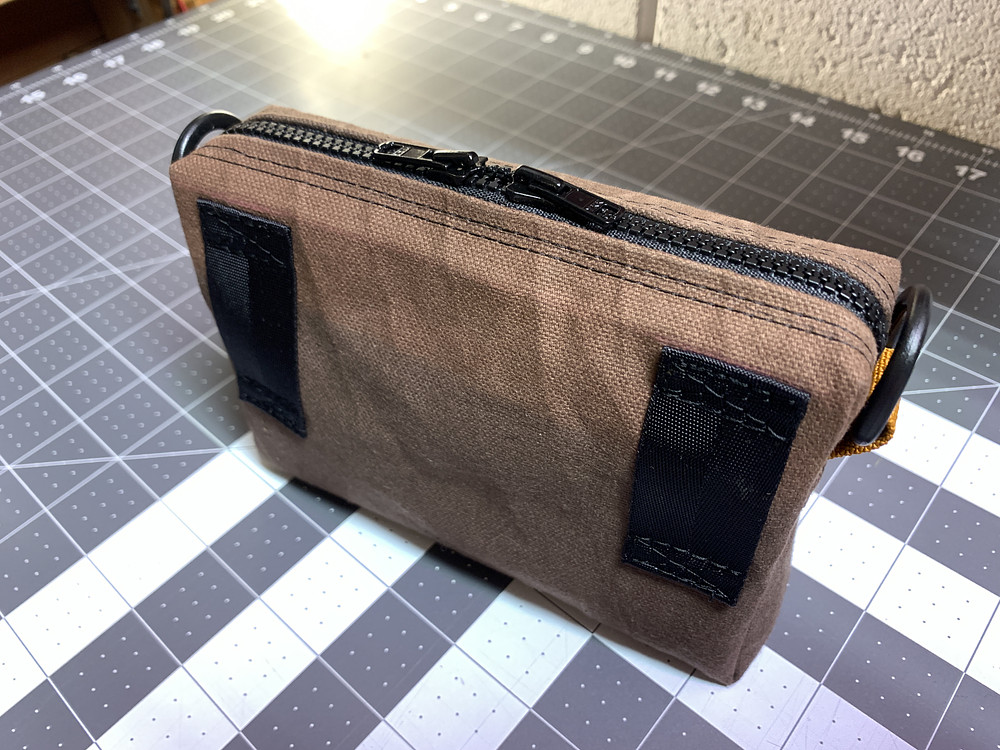
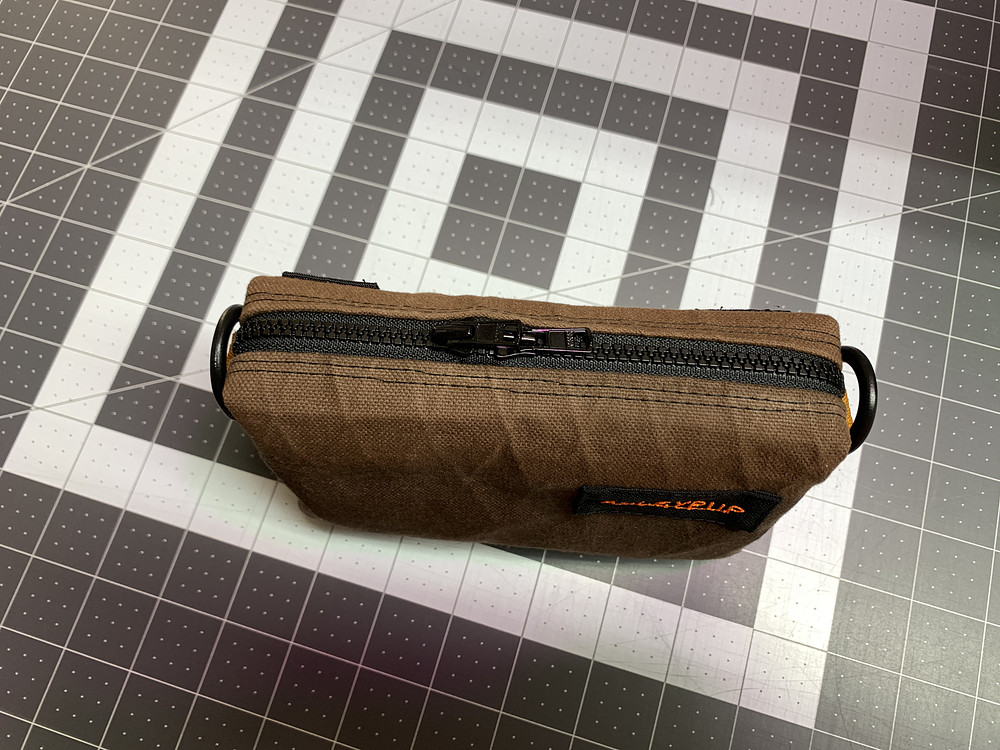
Made a nice brown waxed canvas zipper pouch / crossbody sling / hip pack.
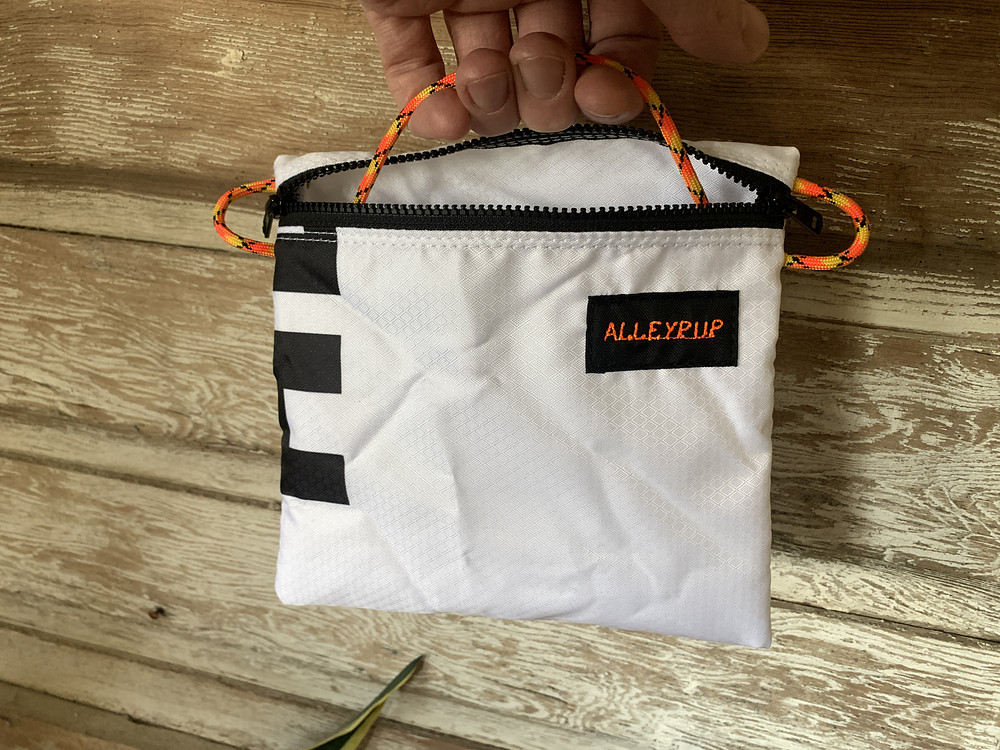
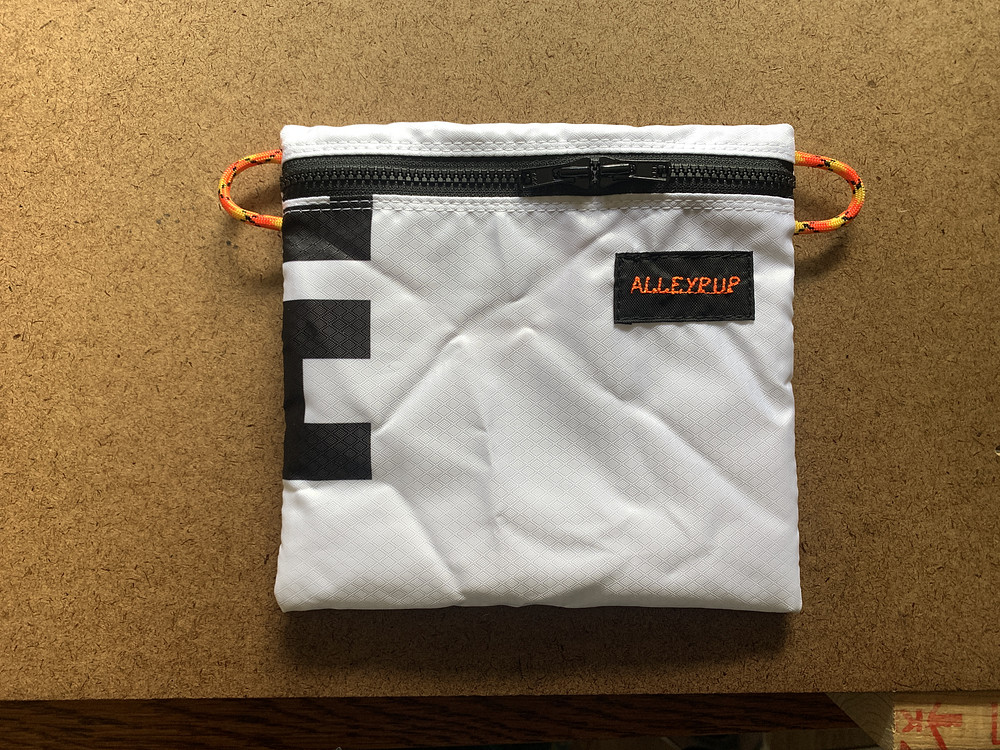
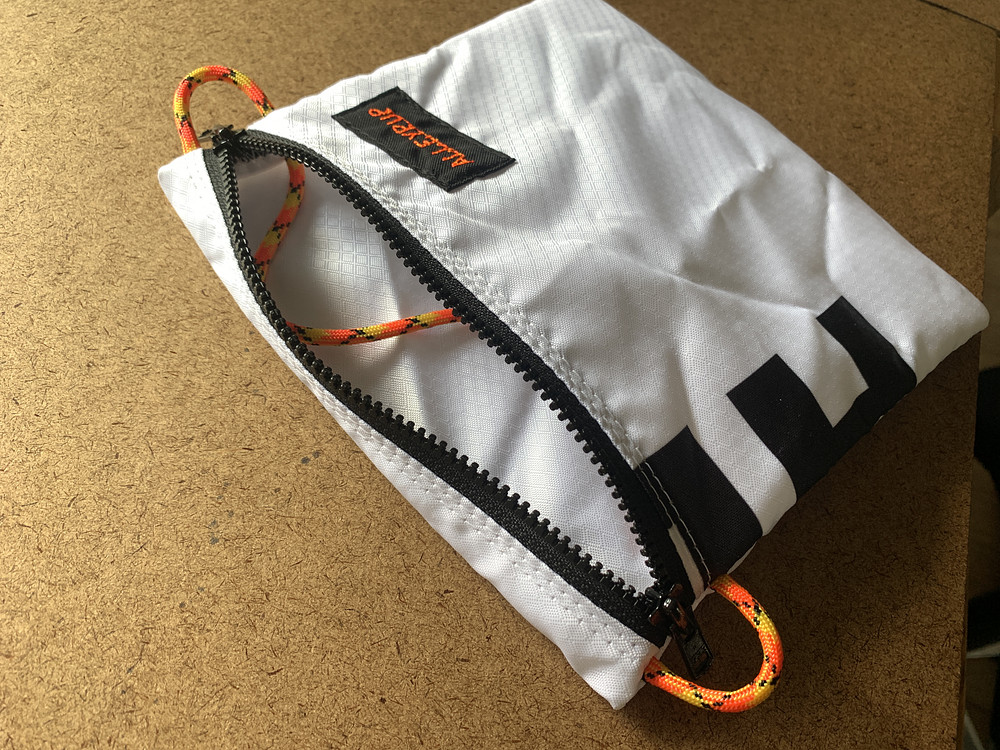
Made one more Hyper D 300 zipper pouch, this one a bit bigger. Turned out well, and has a probably-not-super-useful integrated handle strap when the zipper is open.
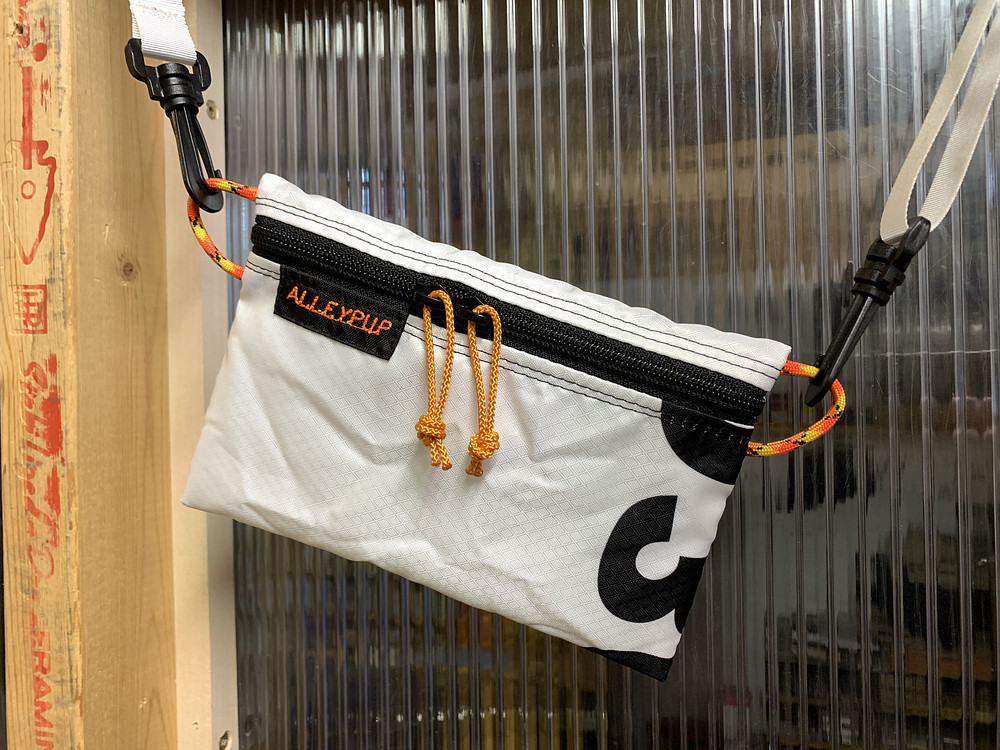
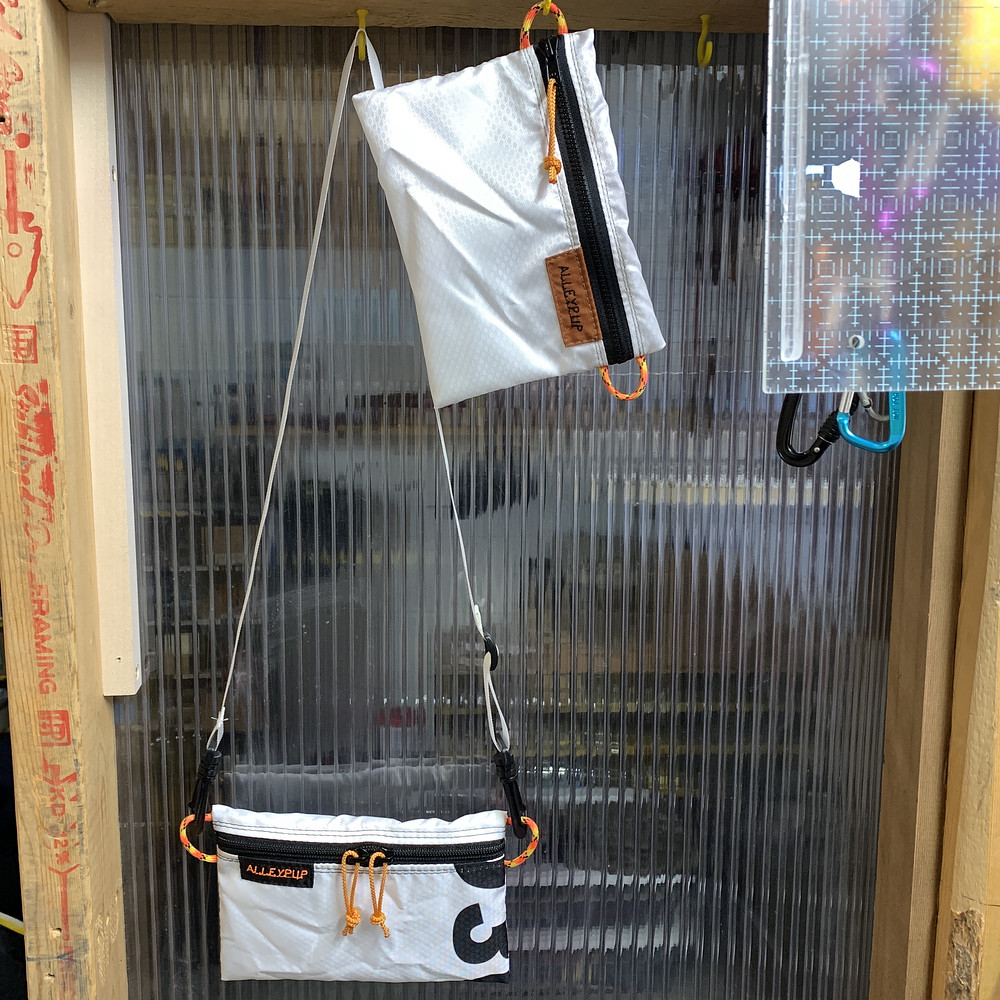
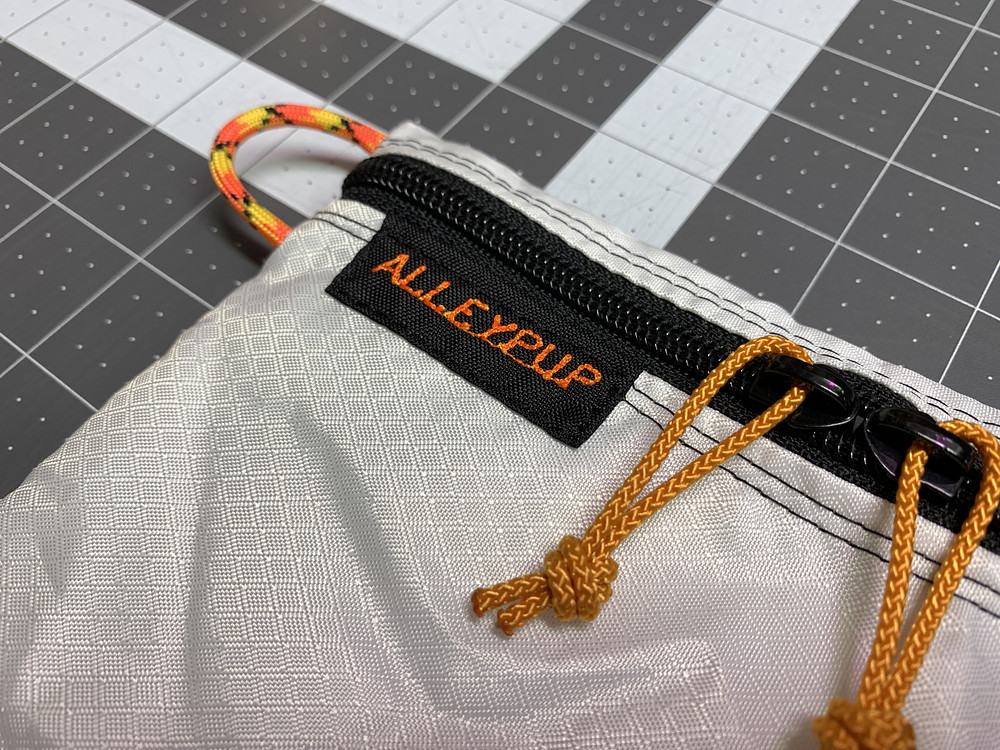
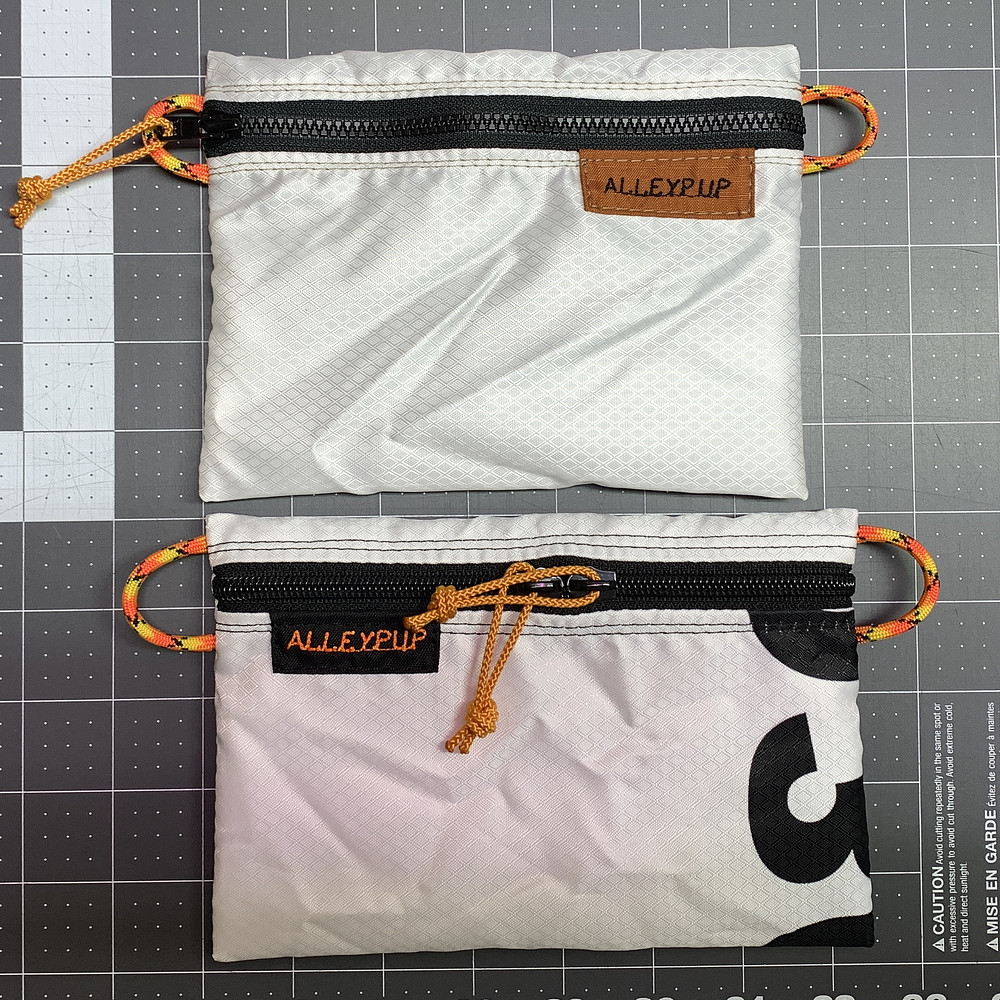
Bought some Hyper D 300 fabric from ReCreative yesterday, and made a couple lightweight zipper pouches with it. Sews pretty well, and I like the feeling of the outside, but not the inside. So the second one is double sided, both right sides out. First one ended up inside out by mistake, but they both look alright.
Fabric is some sort of prototype or sample I believe - it has "HD300" in black text in various spots throughout the fabric piece I bought.
Fabric is some sort of prototype or sample I believe - it has "HD300" in black text in various spots throughout the fabric piece I bought.
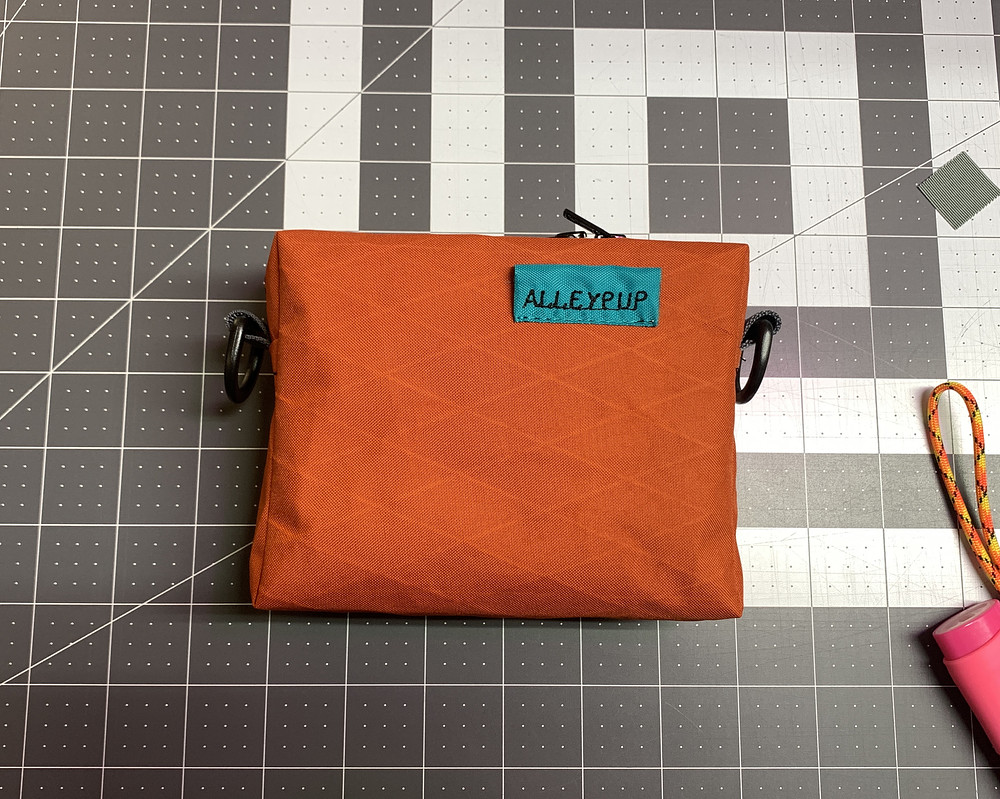
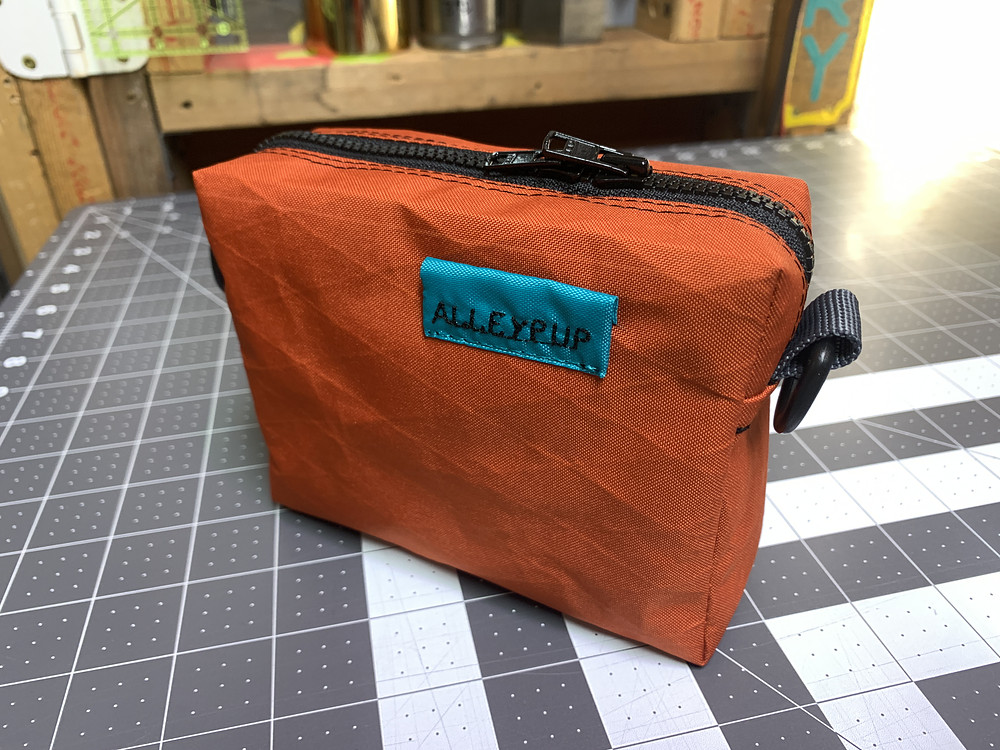
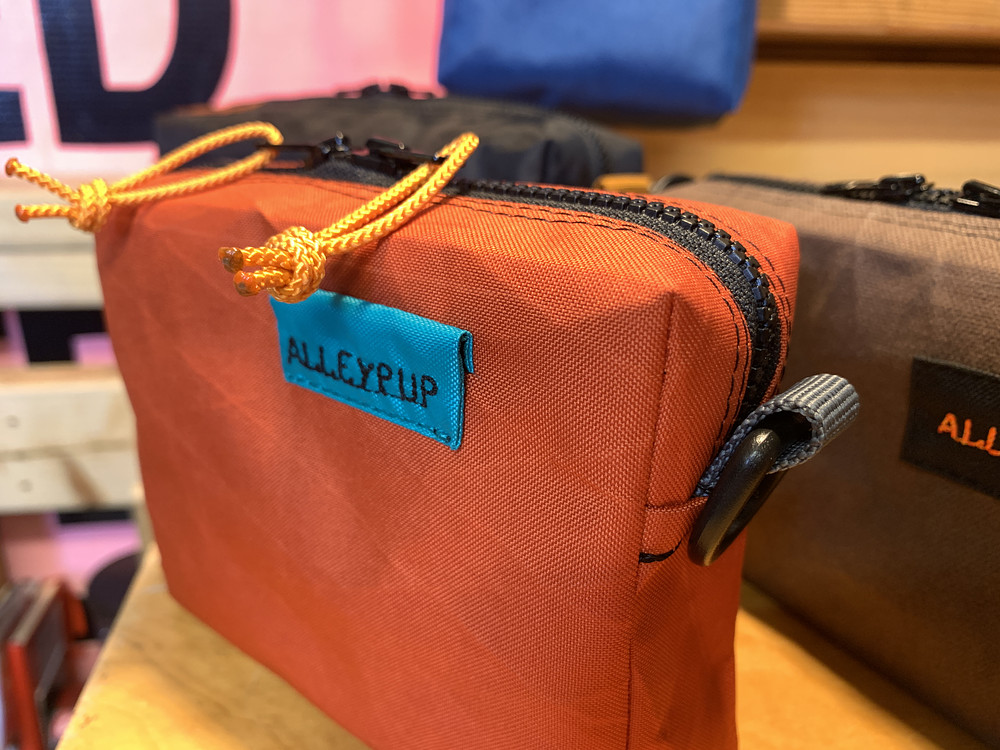
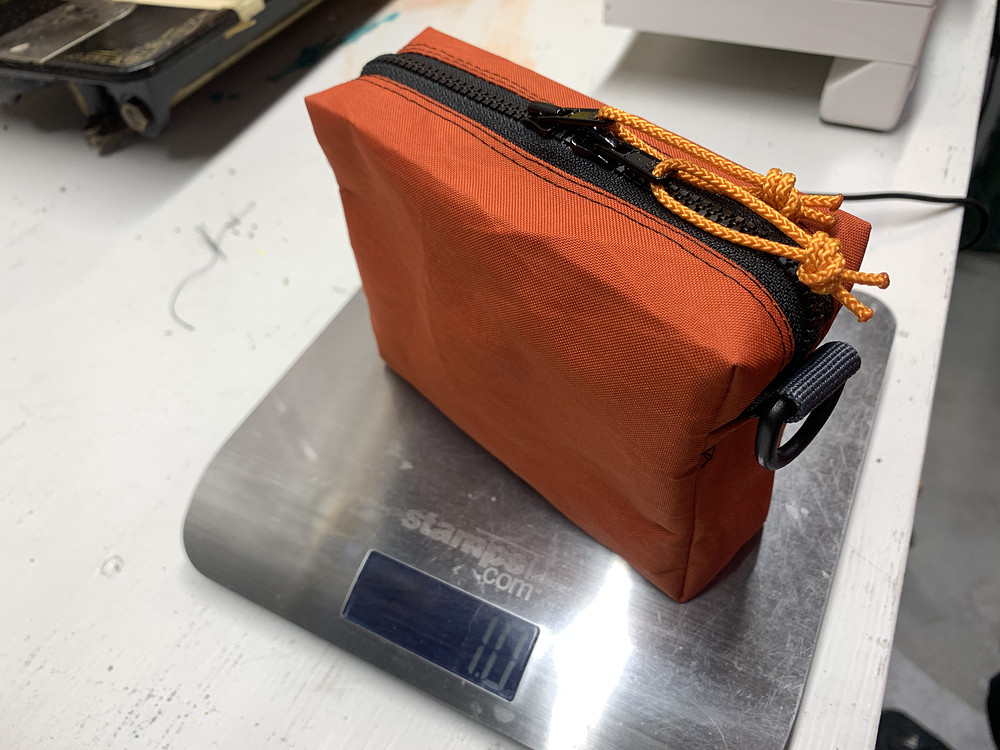
Finished up another single-fabric-piece small zipper pack/bag from burnt orange X-Pac. Weighs 1.0oz.
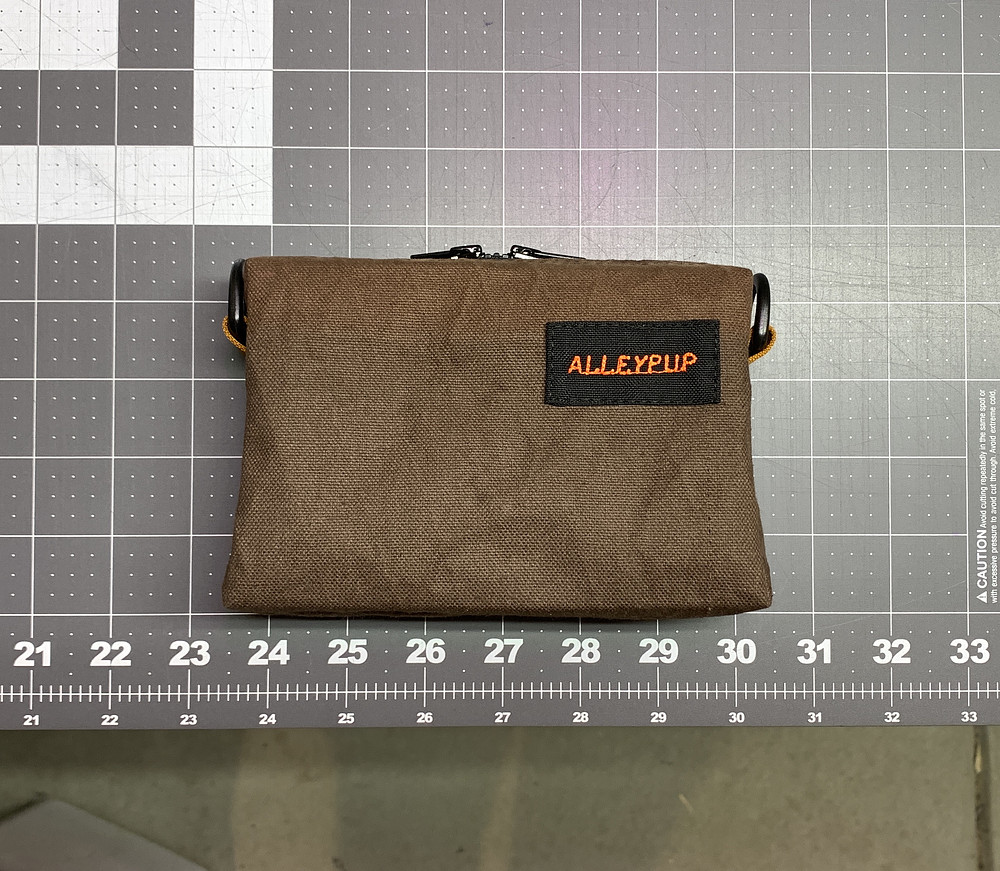
Made a third single-fabric-piece hip pack/small bag. This one is X-Pac from an upcycled bartender's bag. Loops on the back to string a 1" belt through.
Displaying journal posts 1 - 50 of 314 in total.