Single Panel Self Binding Hip Pack
tutorial
•
27 photos
•
8 steps
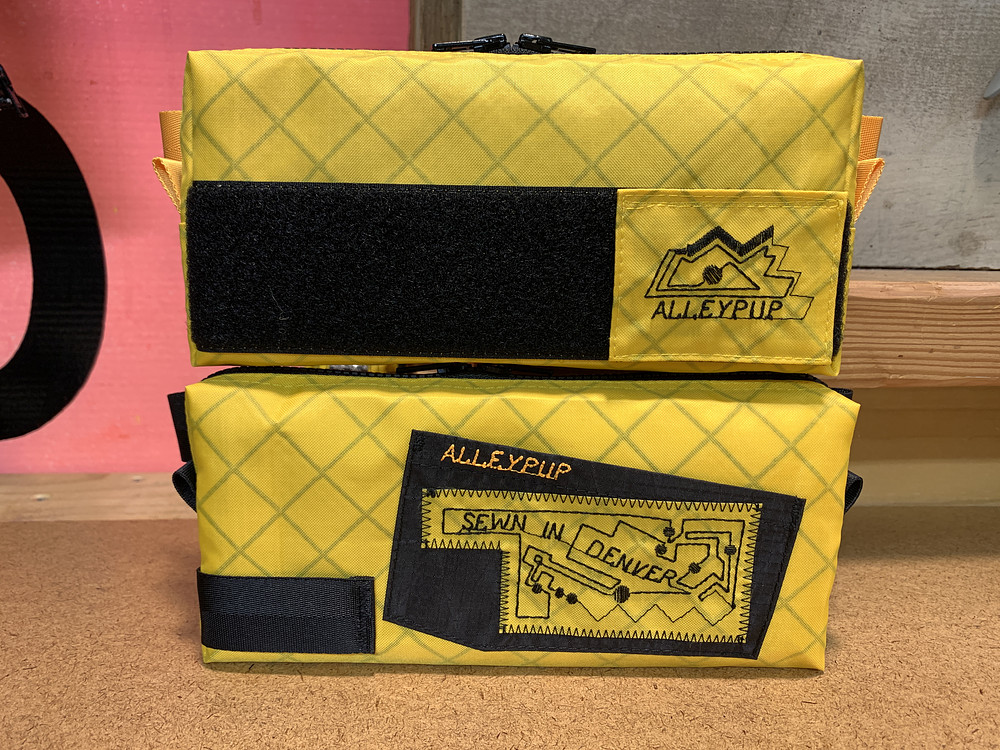
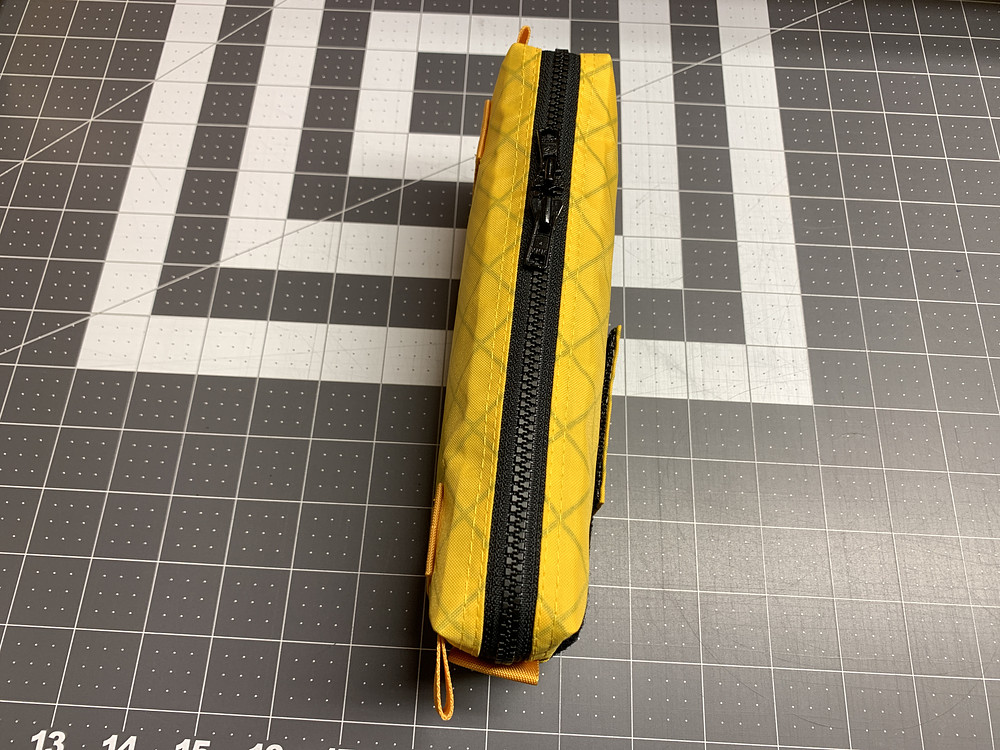
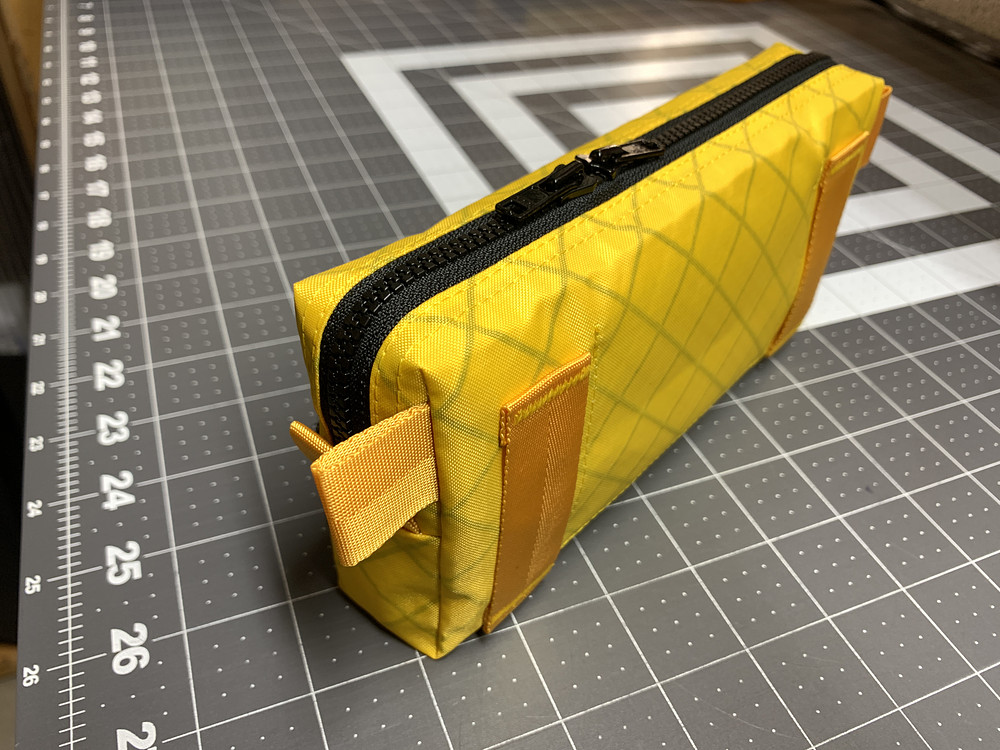
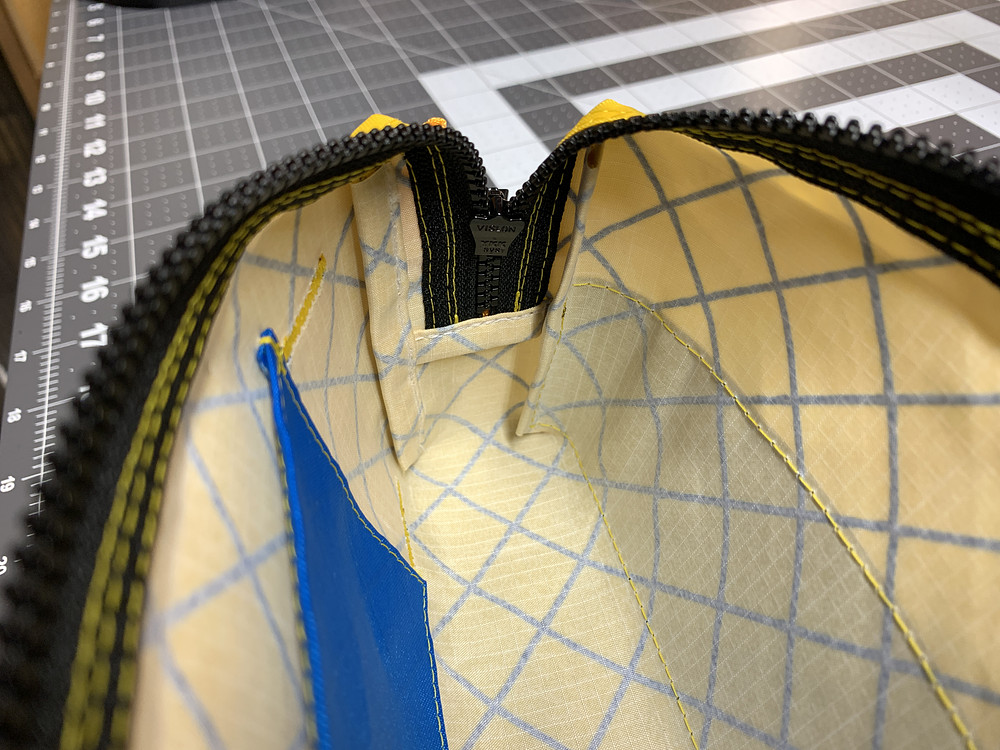
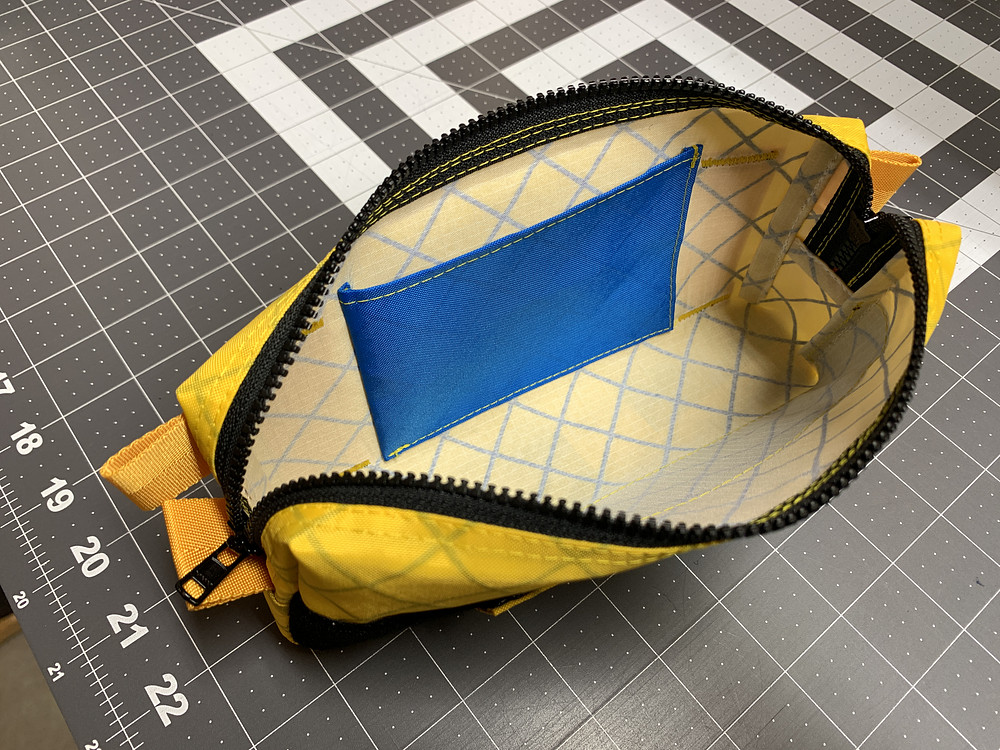
A hip pack / crossbody sling / standalone 3D zipper bag, made from a single panel. All main construction seams are self binding using extra material left in specific areas on the pattern.
Also available as a longer-form video tutorial (about 5 mins)
Pattern
Download PDF (8.5x11" US Letter format)
Jump to:
Step 1: Materials
1. Free pattern available in PDF format via the "Download PDF" button above
2. 13.5" x 10" piece of fabric. Something that doesn't fray and stretch much will make this project easier. In this tutorial, Challenge ECOPAK EPX fabric is used.
3. 12" of zipper tape and 2 zipper sliders for main zipper
4. Webbing for zipper end pull tabs (makes using the zipper easier when you can grab a tab with one hand and pull with the other) and any accessory straps you may want to add
Step 2: Cutting
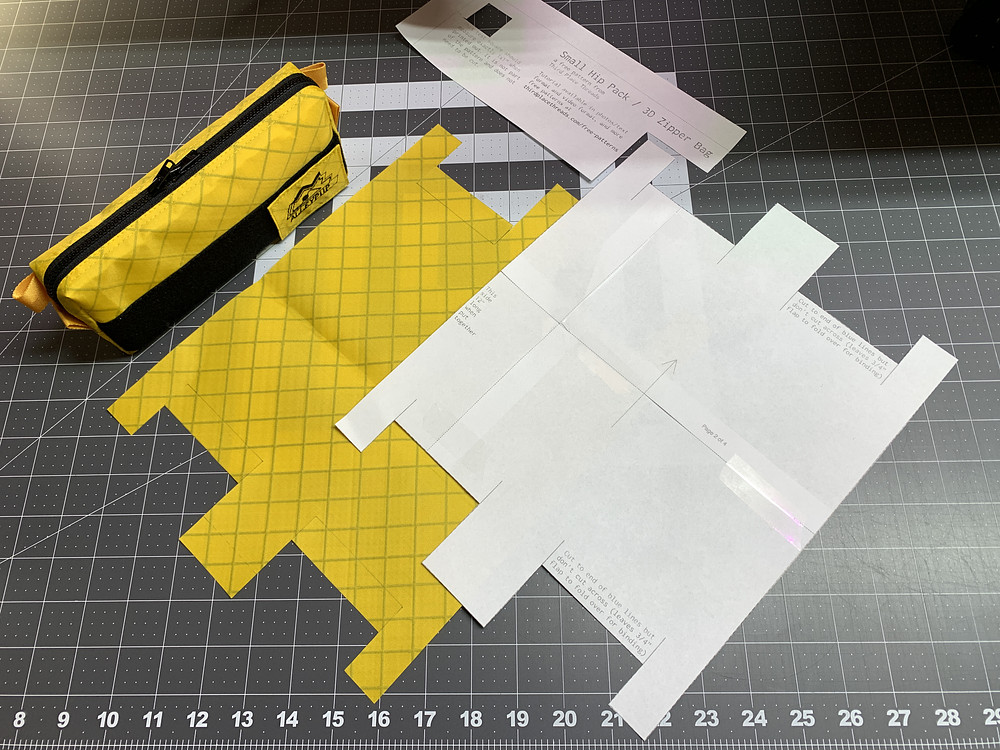
Print the pattern, making sure that it prints at 100% scale. There's a 1x1" square on the pattern that you should measure once printed to ensure it's truly 1x1".
Next, cut out the pieces. Align the pieces, cut along the dashed lines where they join together, and then tape them together. At this point, the pattern should sit perfectly on a 13.5x10" rectangle of fabric.
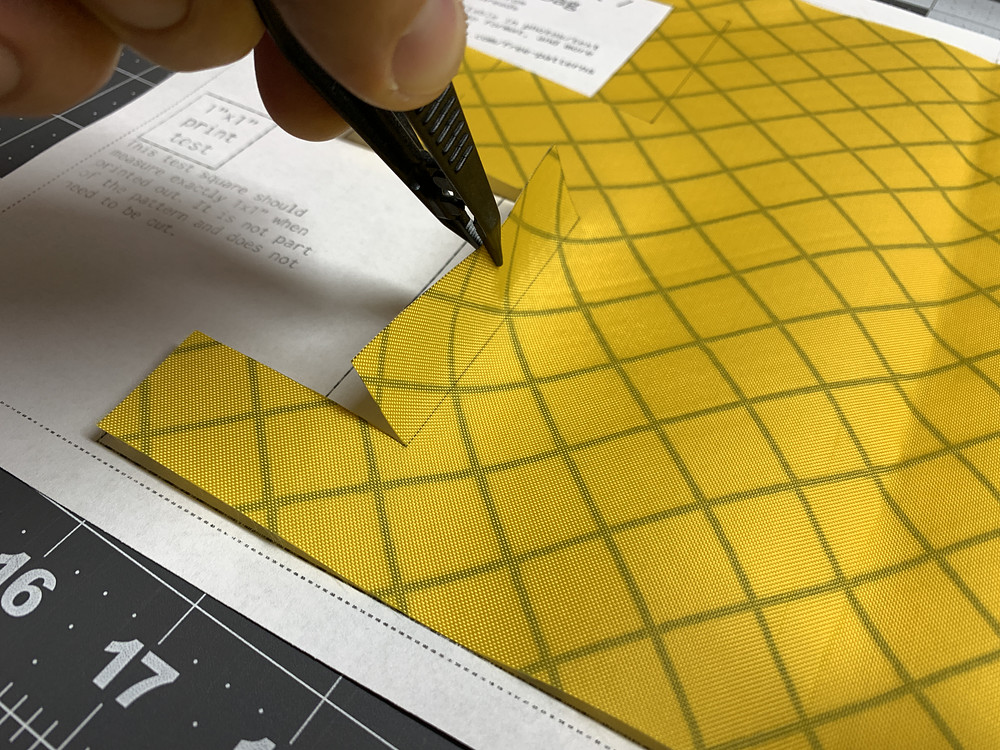
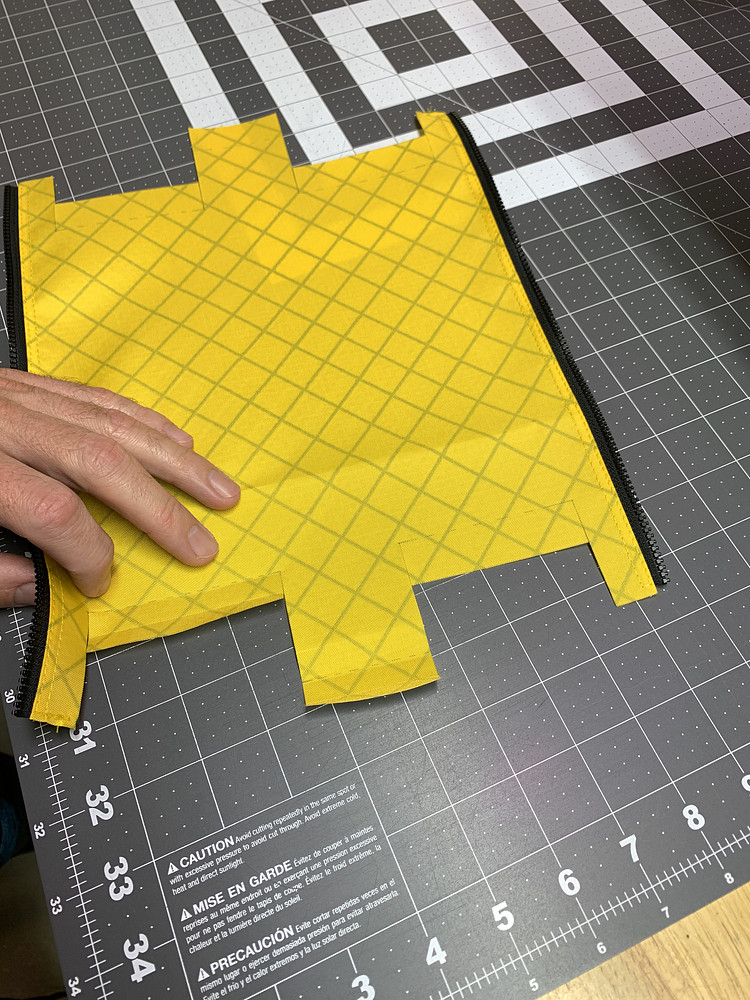
Trace and cut out your pattern on your fabric, being very careful to cut along the cut lines, but leaving a 3/4" flap on the 4 deep indentations in the bag. This flap will fold over twice to self-bind the raw edges of the bag.
Step 3: Sew Zipper Tape
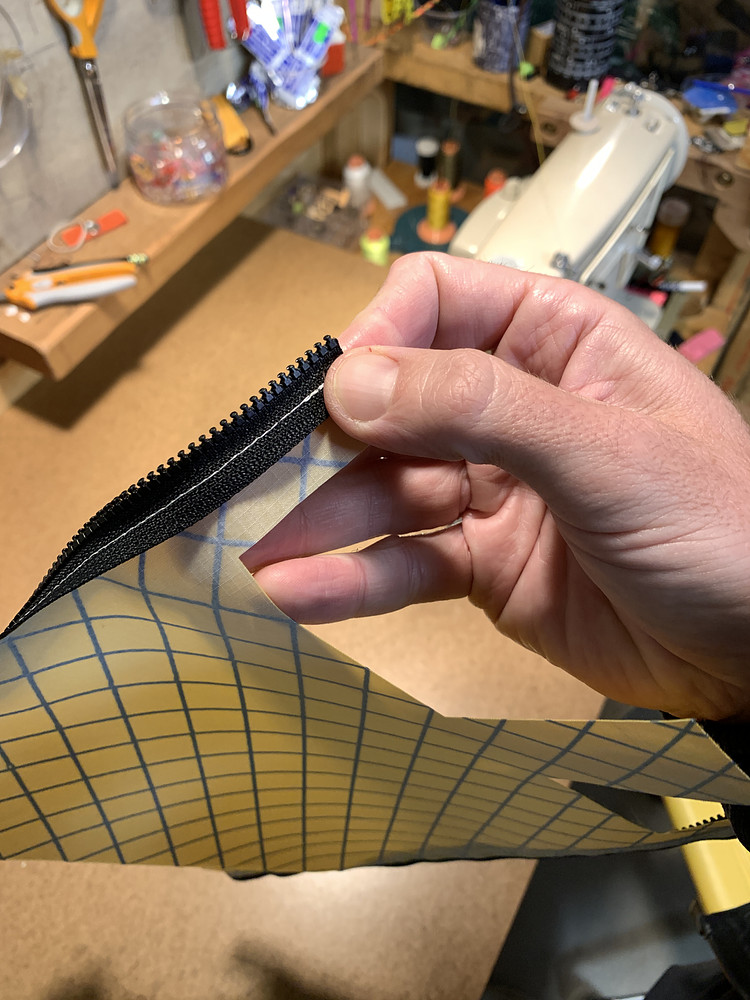
First, separate your zipper tape into two halves. Each side will be sewn onto the straight sides of the pattern piece that we cut out.
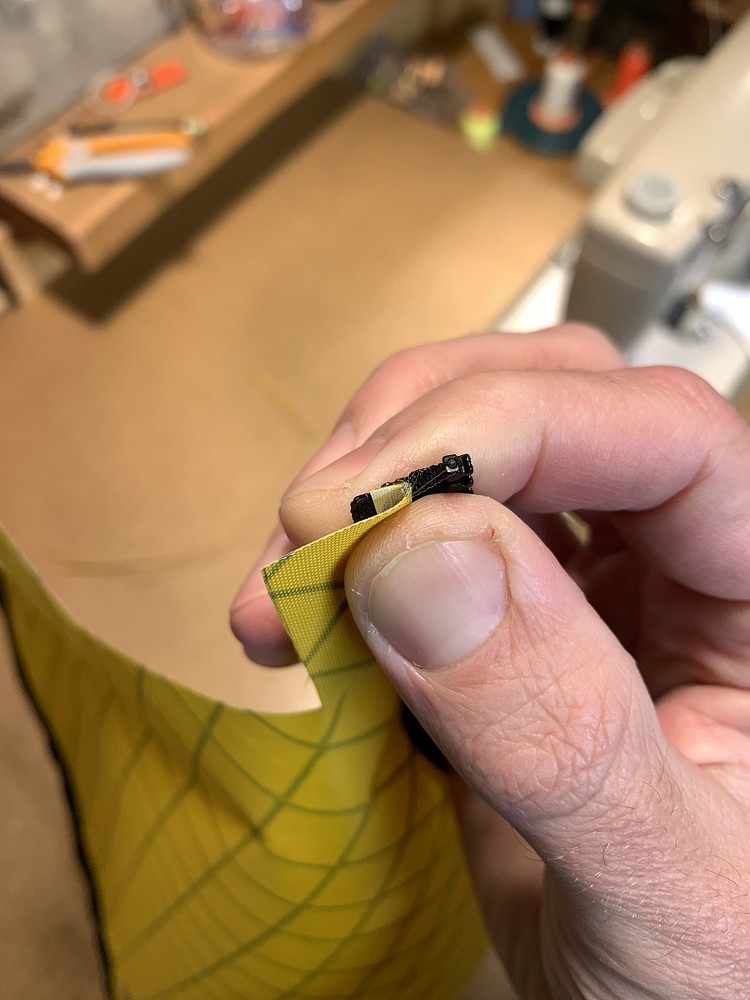
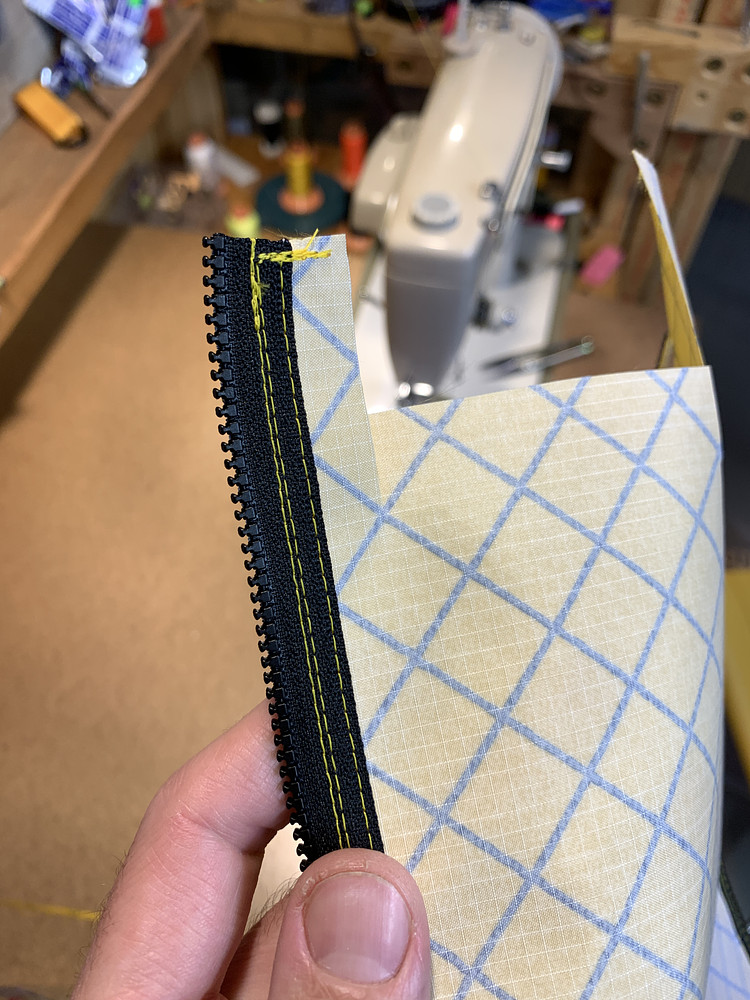
The top of the zipper will be facing the outside of the fabric. Clip the zipper in place if you want (makes things easier with the zipper held in place), then sew the zipper on. Ideally, sew with a zipper foot so you can sew a line of stitching that's half the width of the zipper tape. This way, when the fabric is folded over to topstitch, the total width of the piece will remain unchanged.
Once the first stitch is done to hold the zipper in place, optionally, you can cut off some of the excess material on your main panel piece. This is only recommended with fabrics that don't fray much, and I wouldn't cut much. Make sure you leave enough material so that your line of topstitching grabs the panel fabric.
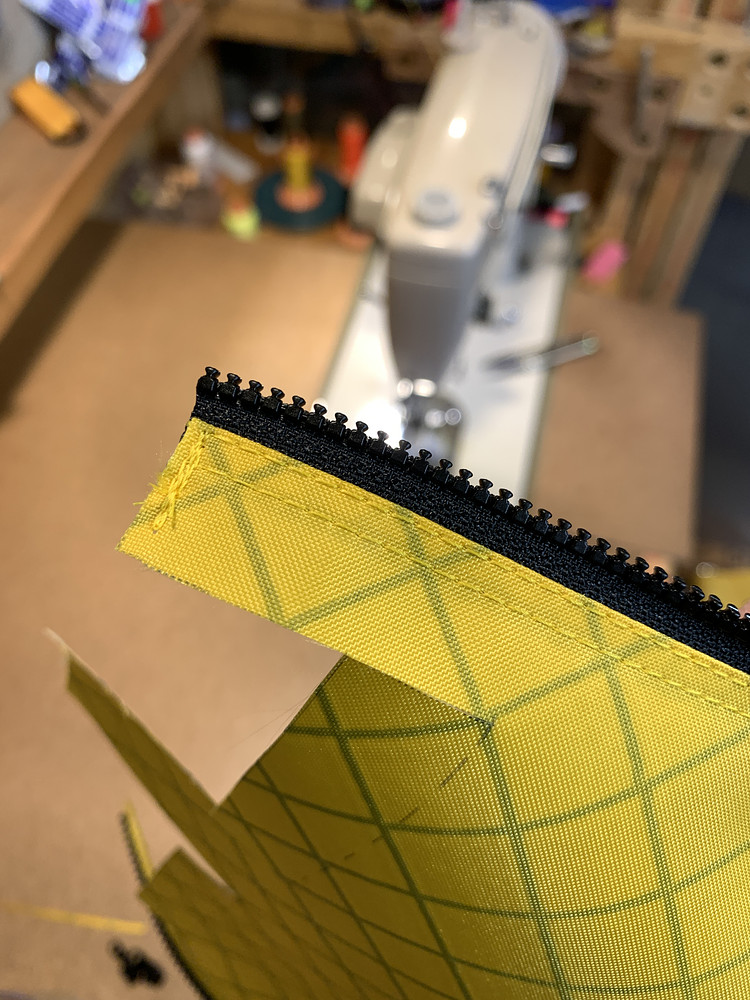
Topstitching is next. Fold your main fabric panel over on itself and crease/press it. The entire backside of the zipper tape should be visible on the back and should not be folded. Then sew a line of stitching close to the edge of your folded over fabric along the length of the zipper. This stitch is called topstitching and it adds strength as well as makes the zipper sit well on the main panel piece.
Do the same for the other side.
Step 4: Add Optional Pockets/Accessories
Now is the time to add any pockets inside or out, webbing loops that are on flat areas of the bag (not in seams), patches, velcro, etc. Once the bag is closed up in the next step, adding various design elements becomes difficult or impossible without tearing the bag back apart.
This is where I often add vertical webbing loops on the rear panel of the pack, so it can slide onto a belt and be worn on the hip.
Or if I'm adding a hook-and-loop (velcro) soft loop panel to attach patches to later, or anything else, now is the time to add it while the bag is flat.
This is where I often add vertical webbing loops on the rear panel of the pack, so it can slide onto a belt and be worn on the hip.
Or if I'm adding a hook-and-loop (velcro) soft loop panel to attach patches to later, or anything else, now is the time to add it while the bag is flat.
Step 5: Install Zipper
If you're working with a molded tooth zipper, teeth can be cut off in the 3/8" seam allowance area with cutters to make sewing easier so your needle doesn't hit teeth. On coil zippers, cutting the teeth off can't be done easily, and instead you'll just sew over the coils.
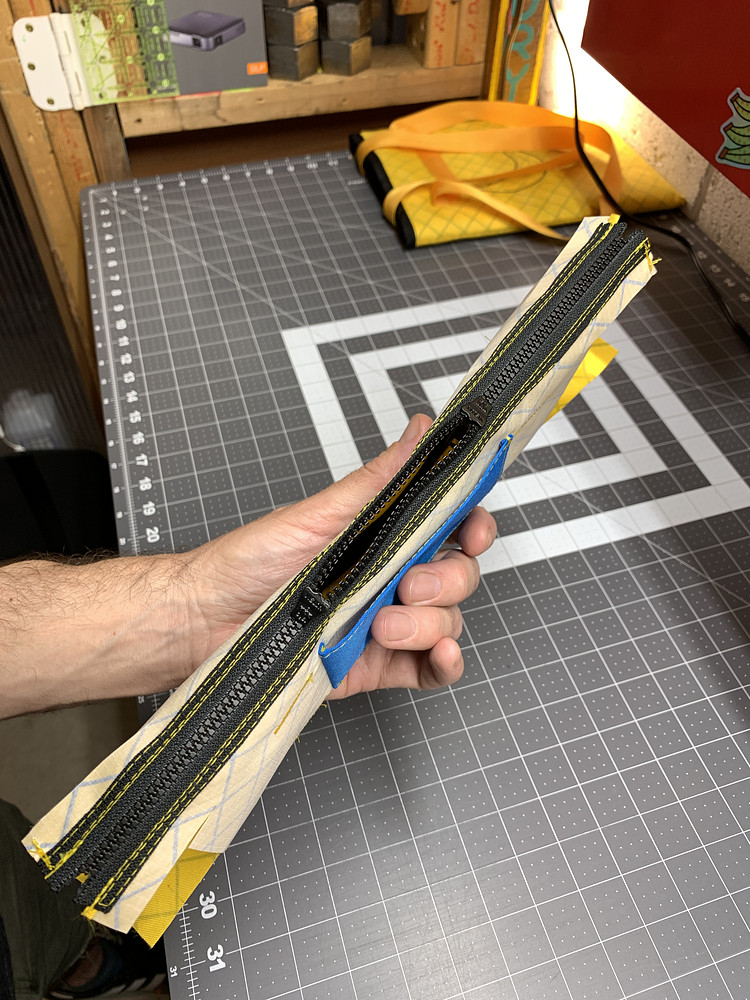
With the fabric facing inside out, roll your main panel around so the zipper tape ends meet. Then install your zipper, making sure your pull faces the inside of your tube (which is the outside of the bag.) Do the same for the other side.
With the fabric facing inside out, roll your main panel around so the zipper tape ends meet. Then install your zipper, making sure your pull faces the inside of your tube (which is the outside of the bag.) Do the same for the other side.
Step 6: Sew Zipper Ends of Bag
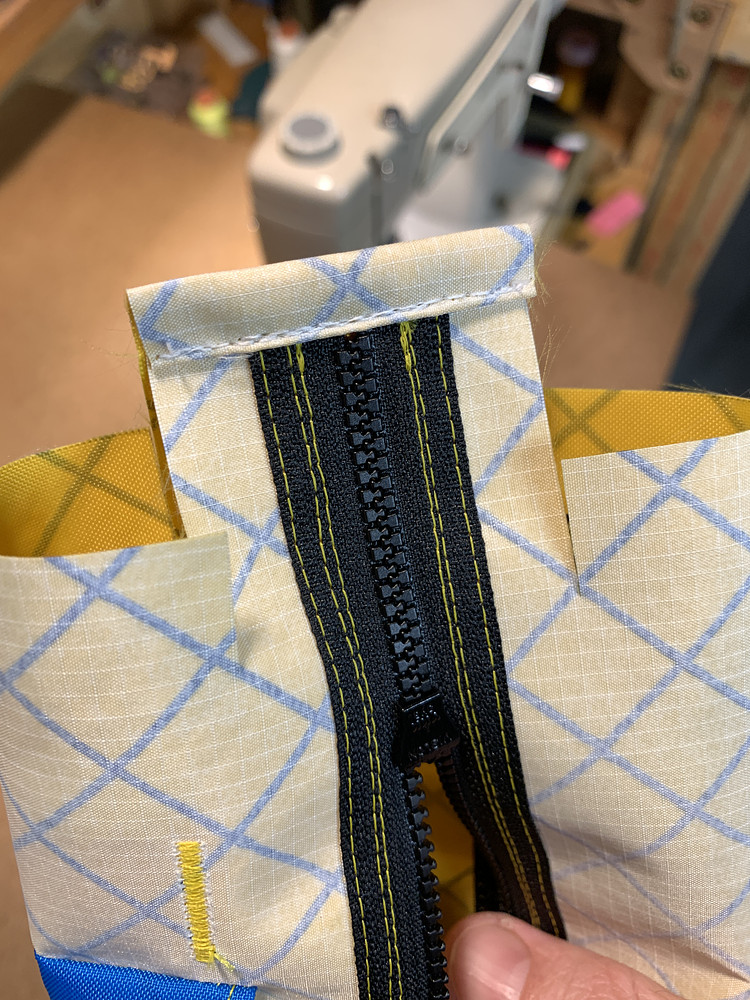
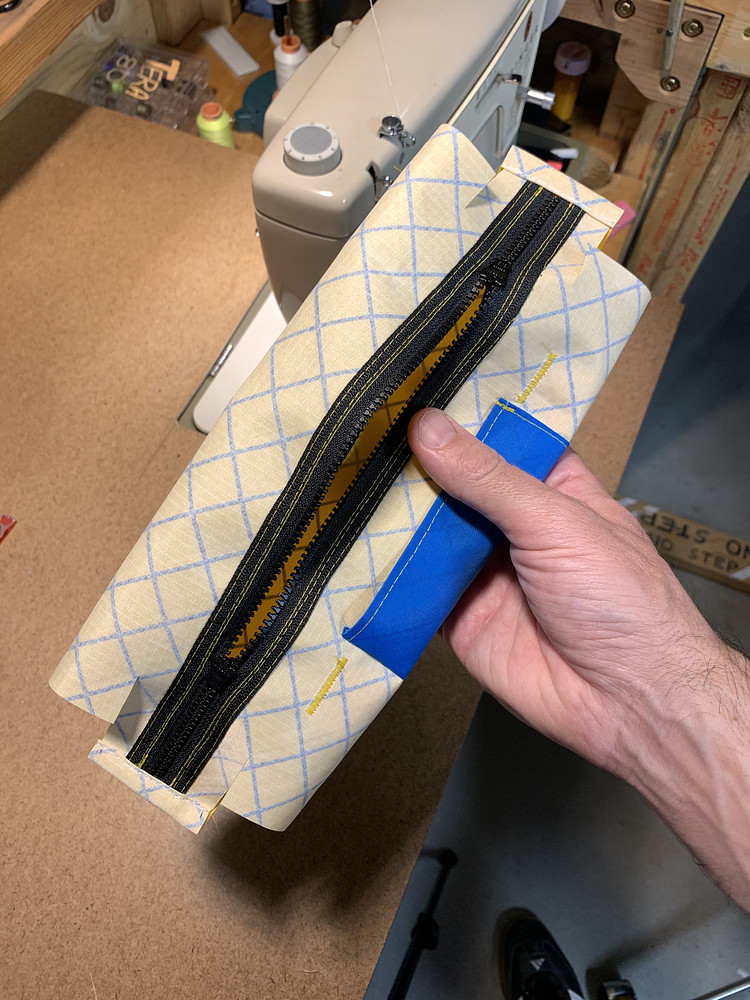
With the zipper sliders installed (so your zipper is closed on both ends), you'll position the zipper side of the bag with the opposite flat part of the main panel. Because this bag has self-binding edges, the zipper part of the panel will be 3/4" in from the other side. It can help to draw a line 3/4" in on the opposing side, as it will be hidden when binding is done anyway.
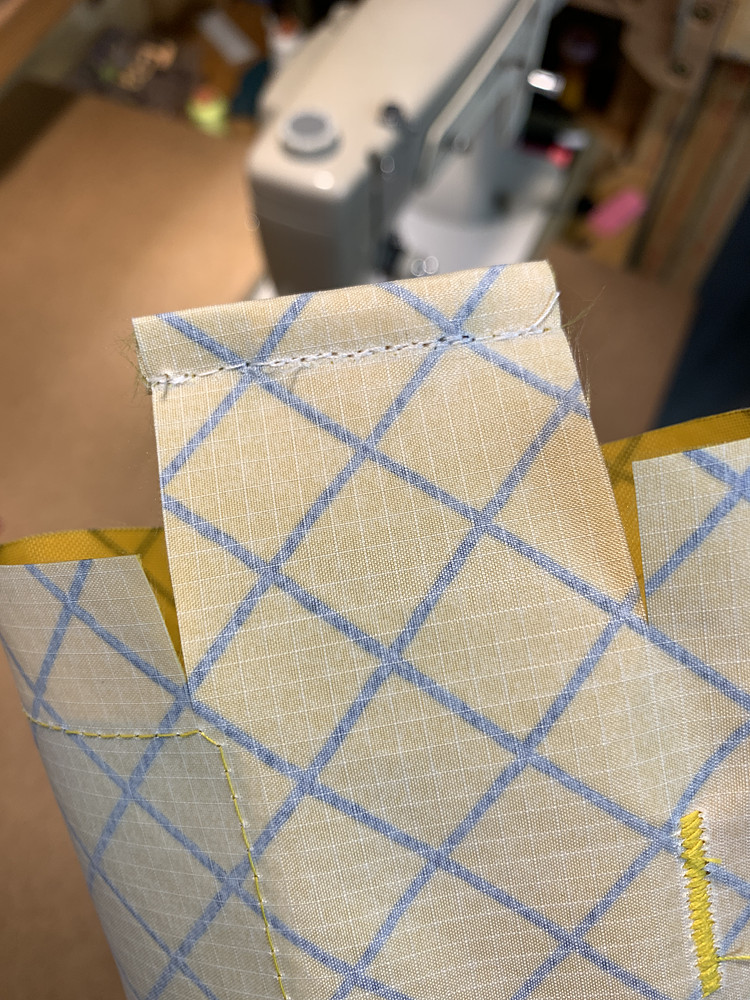
This 3/4" extra flap of fabric will fold over in half (3/8" in), then fold over again to create a double rolled hem that covers the other zipper panel, and a webbing loop zipper pull tabs you'll add in between.
Once everything is in place and aligned well, you can sew close to the edge of the double rolled hem, making sure to securely sew everything in place. Over the zipper and webbing, I often go back and forth with a couple lines of stitching to better secure everything in place and strengthen the bag.
Do this on both sides. This is the most difficult step for most home sewing machines to power through, but it can usually be done. If your fabric is very heavy, your webbing is very solid, and/or your machine isn't powerful, you may run into issues with piercing through everything here. To make things easier on your machine if things aren't working, You can always cut off the 3/4" self-binding flap and bind with lightweight grosgrain or something similar. You can also use lighter grosgrain for the pull tab instead of webbing, or skip it altogether, though having the pull tabs is usually nice.
Step 7: Sew Final 4 Seams
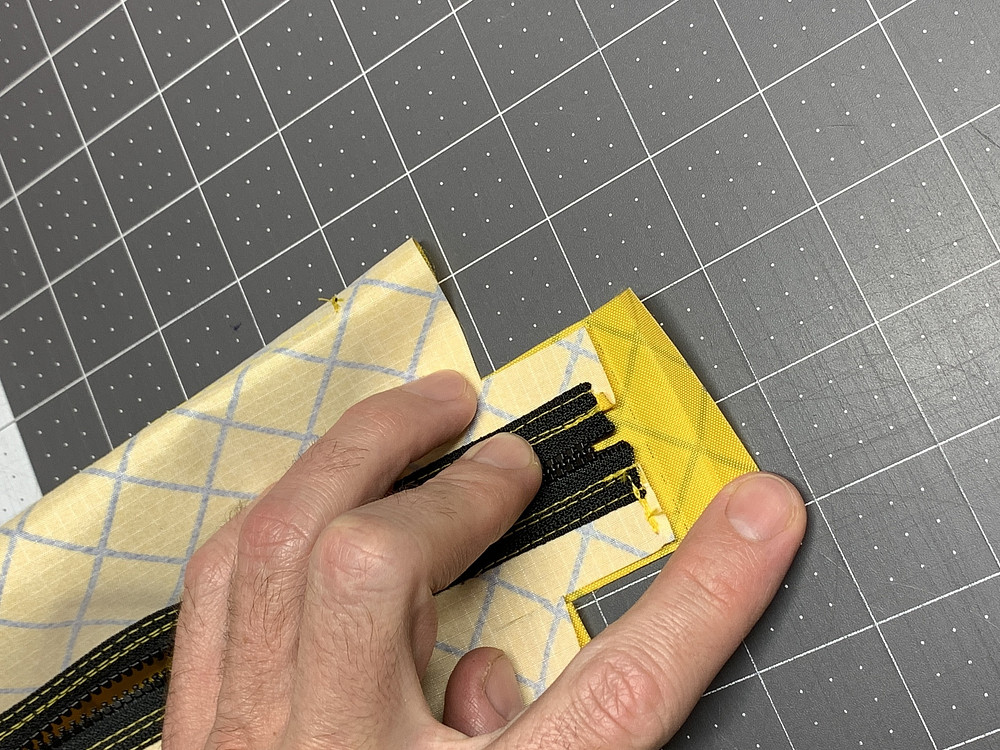
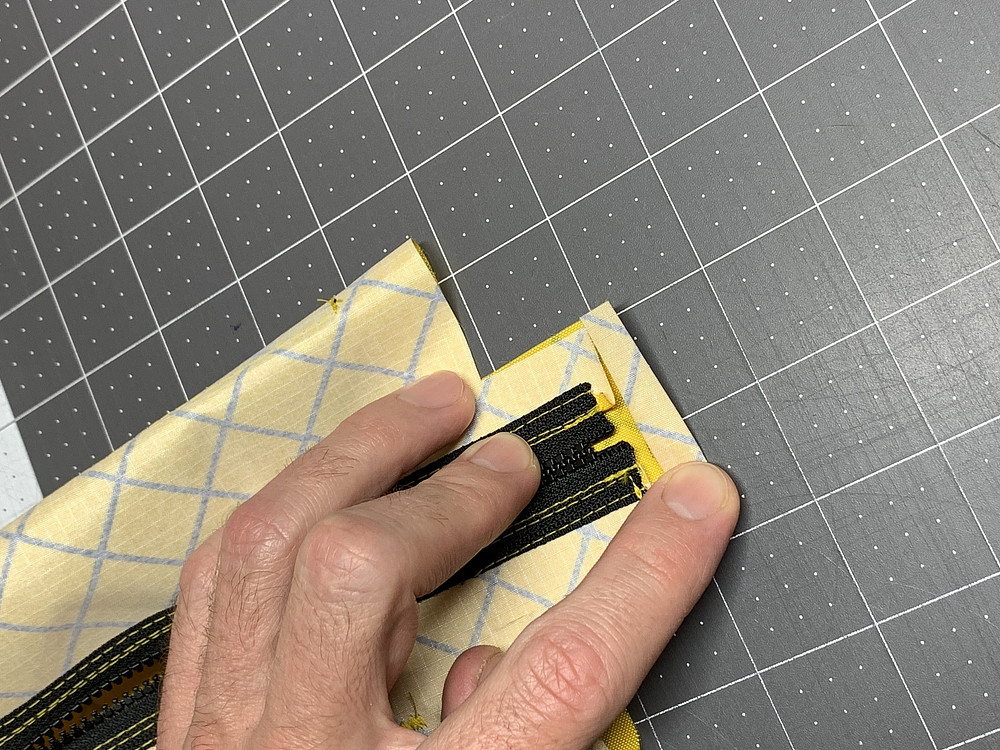
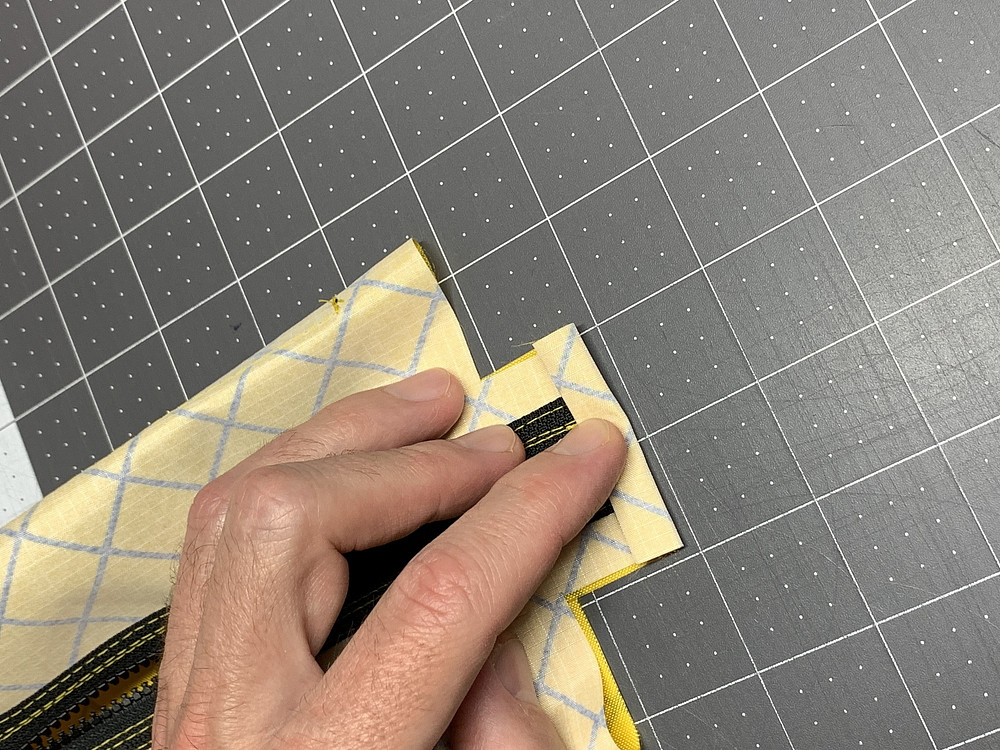
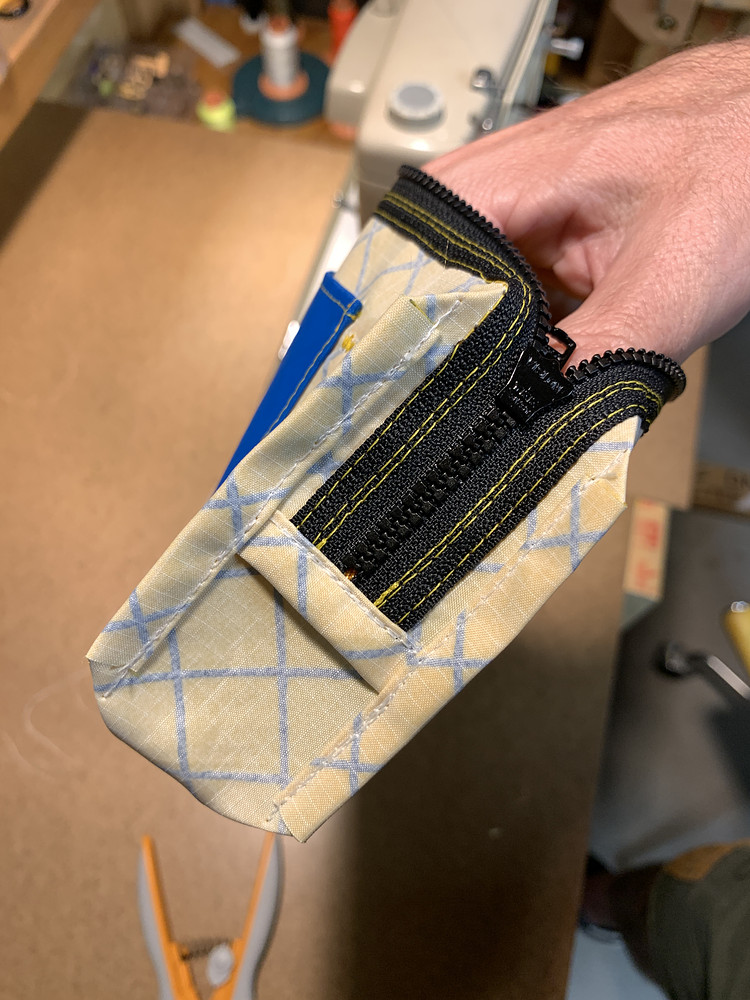
The final four seams will be the vertical seams in the finished bag, and construction is very similar to the previous step.
I grab the corners and pinch them flat across the vertical length of the seam. If they're not aligned perfectly, it's usually fine, and then sew the seam just like in the last step. If you want things in the vertical seams like webbing loops or webbing for a waist belt / crossbody strap, now is the time to insert these in the seams when sewing.
I grab the corners and pinch them flat across the vertical length of the seam. If they're not aligned perfectly, it's usually fine, and then sew the seam just like in the last step. If you want things in the vertical seams like webbing loops or webbing for a waist belt / crossbody strap, now is the time to insert these in the seams when sewing.
Step 8: Done
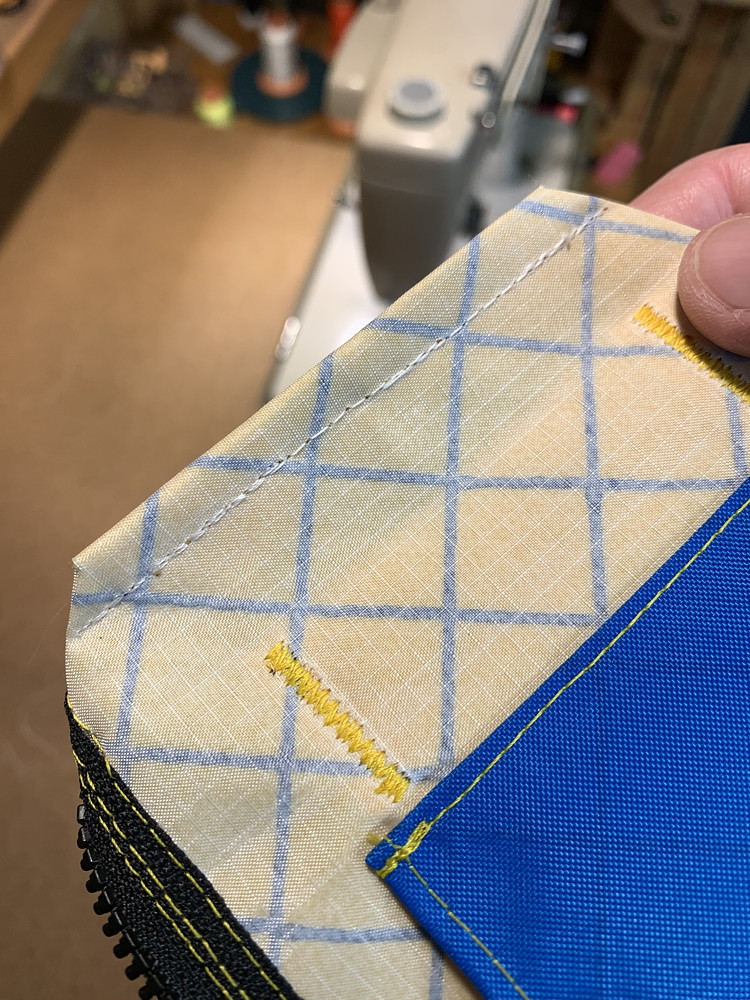
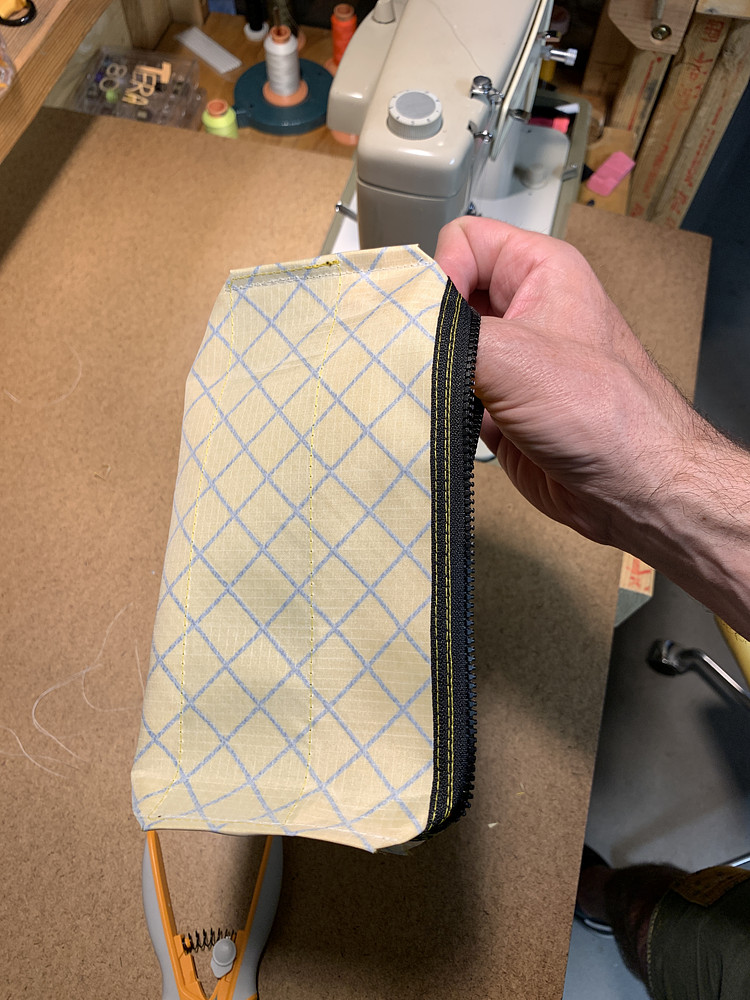
Turn your bag inside out and admire your finished bag.
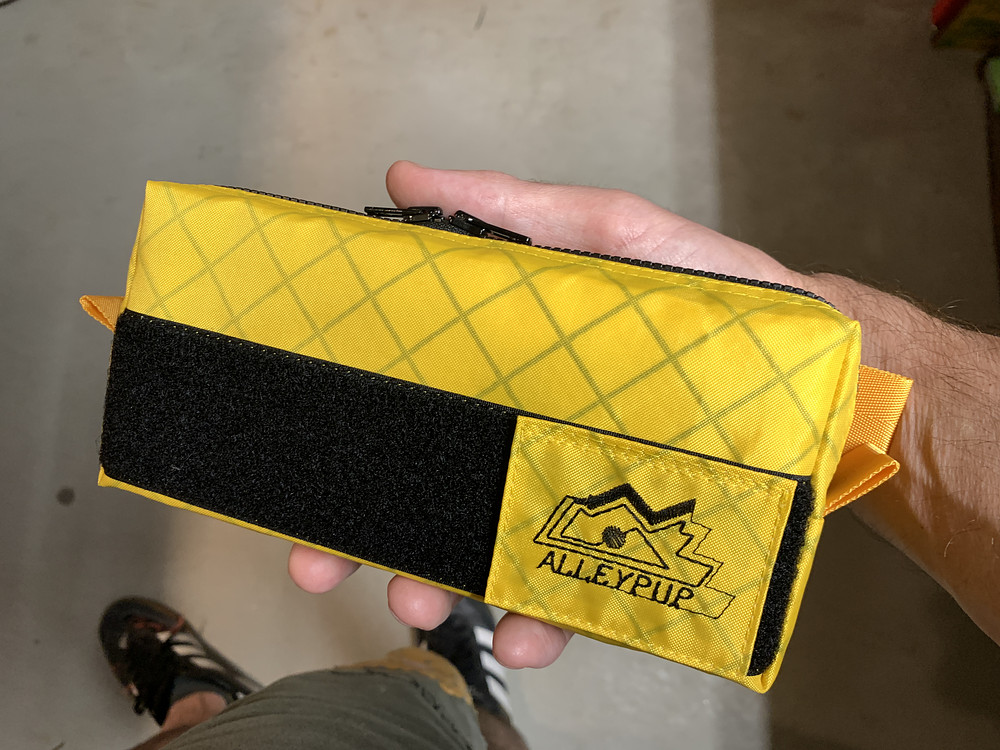
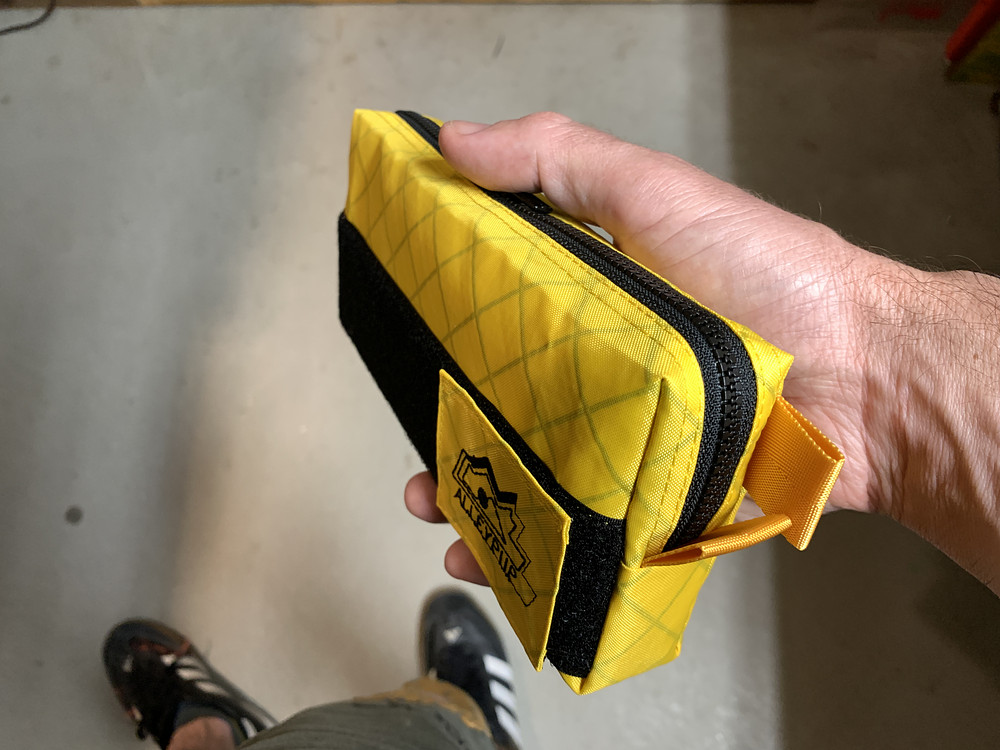
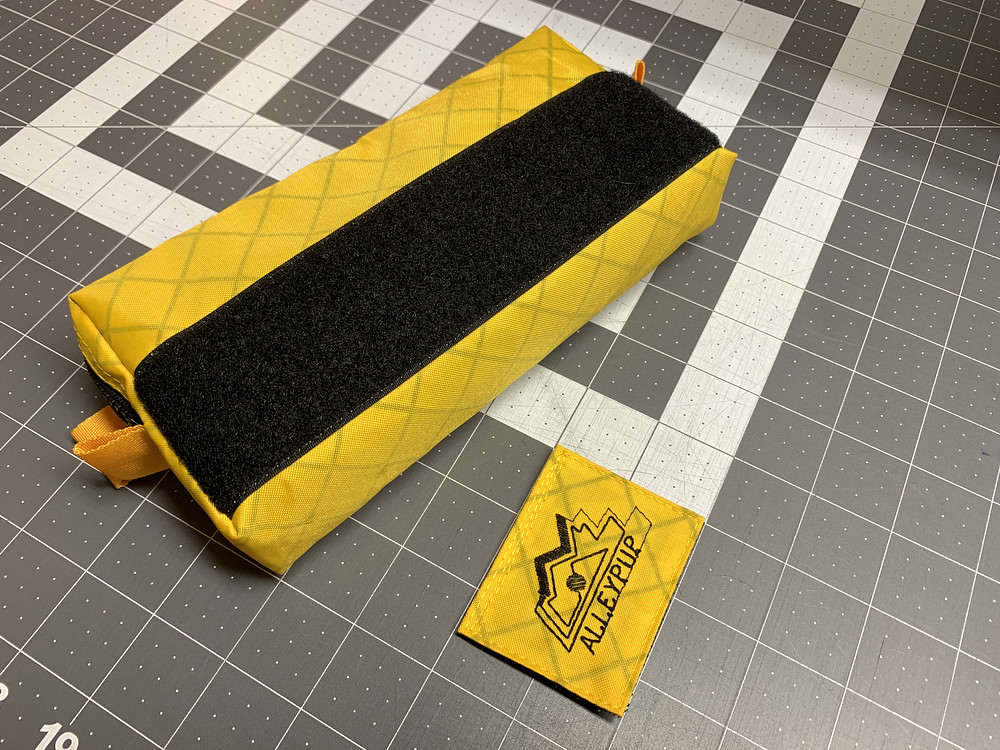
More Photos
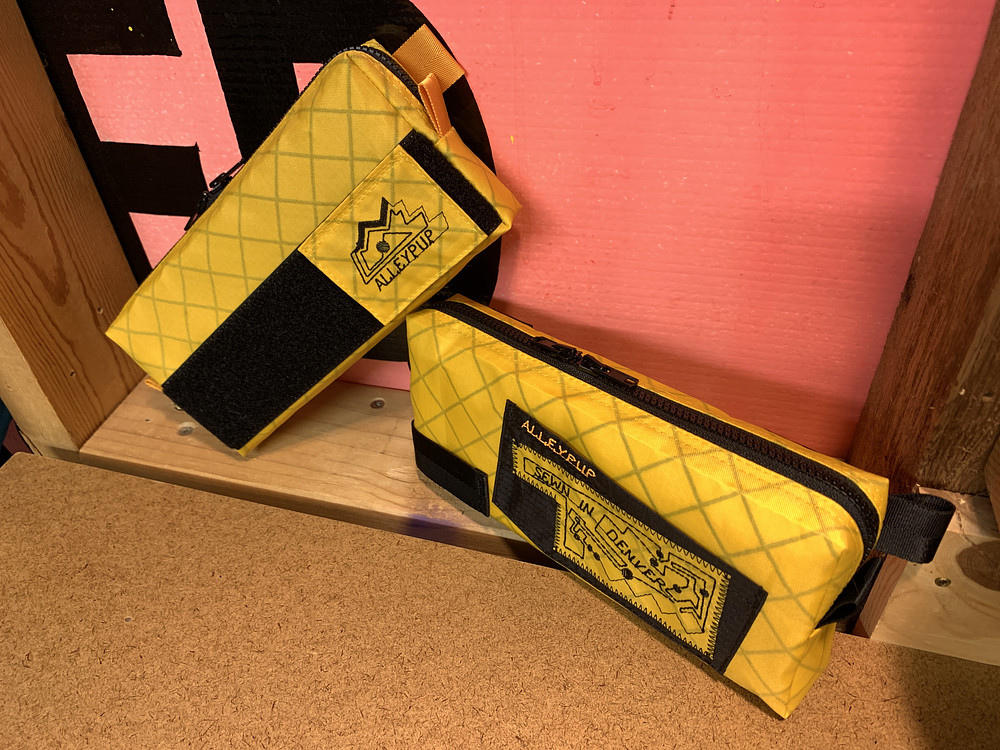
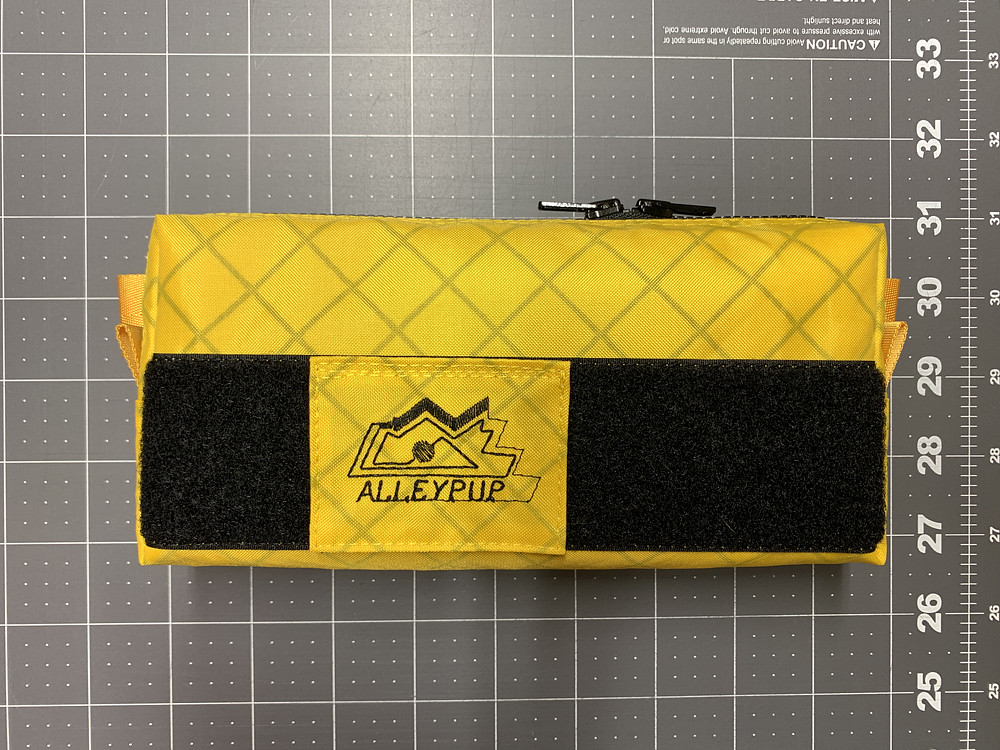
(these photos are not associated with any specific step)
Tools Used
Tags
Comments
Nothing yet.