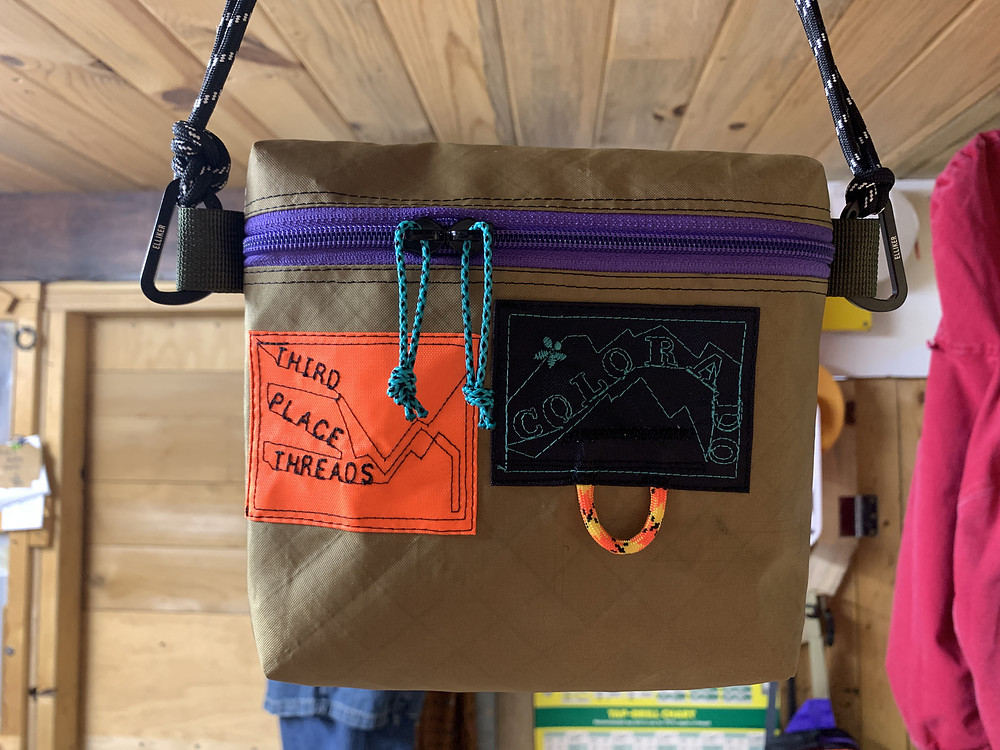
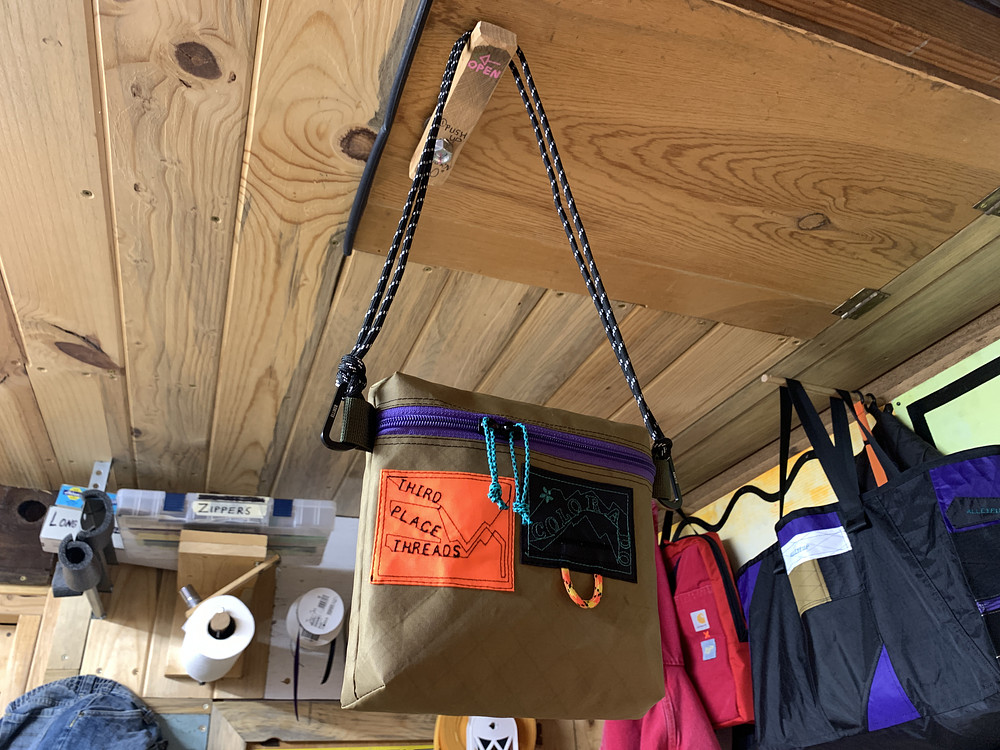
Single Panel Angled Bottom Hip Pack / Crossbody Sling
tutorial
•
17 photos
•
5 steps
A basic crossbody sling / hip pack with a zipper and an angled bottom that angles up from the back of the bag towards the front.
Jump to:
Step 1: Prep/Materials Requirements
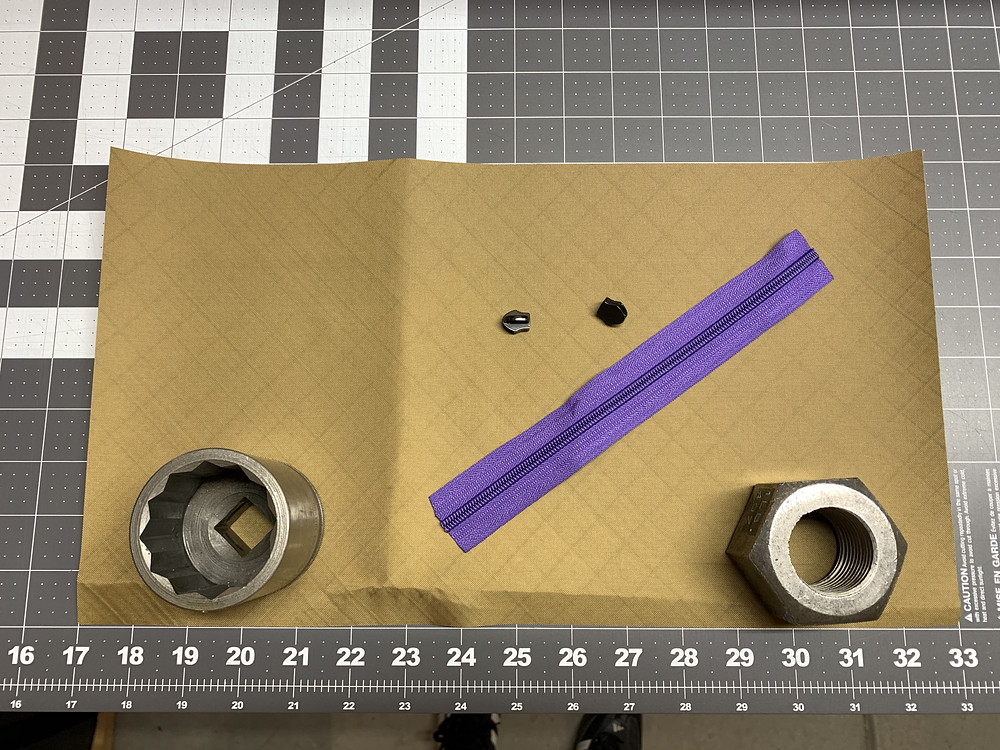
Cut a rectangular piece of fabric, and gather a piece of zipper tape the length of one of the sides of your rectangle (the sides you want the zipper on.) You'll need one or two zipper sliders, and 2 ~3" portions of webbing for zipper pull tabs / strap attachment points.
Optional is binding material like bias tape, grosgrain ribbon, or webbing.
Optional is binding material like bias tape, grosgrain ribbon, or webbing.
Step 2: Install Zipper
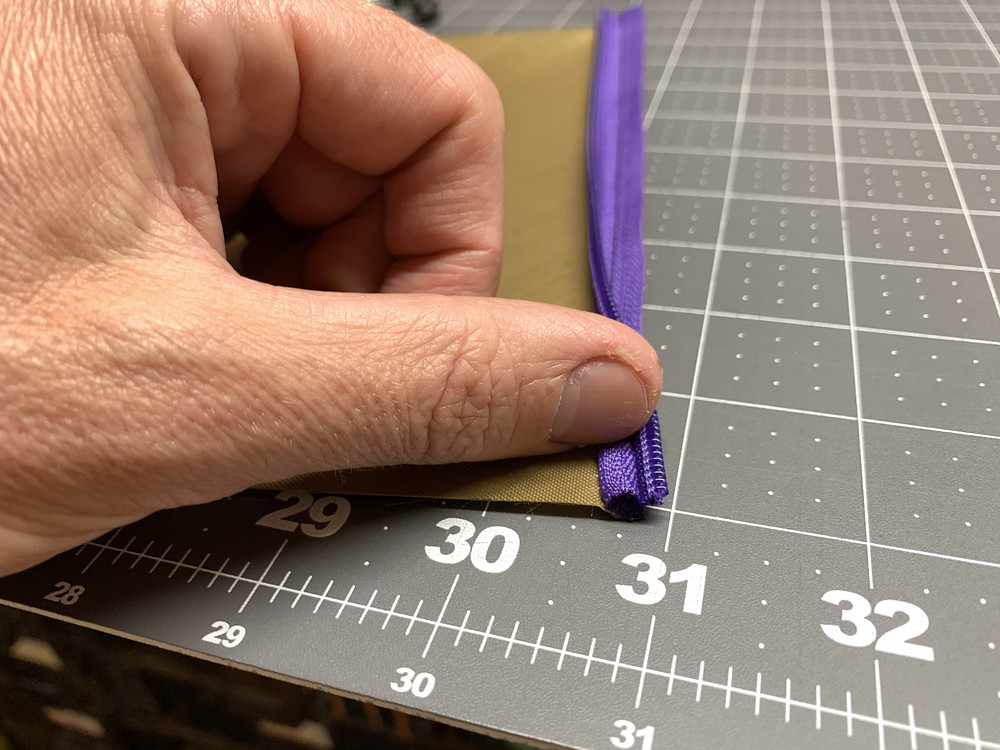
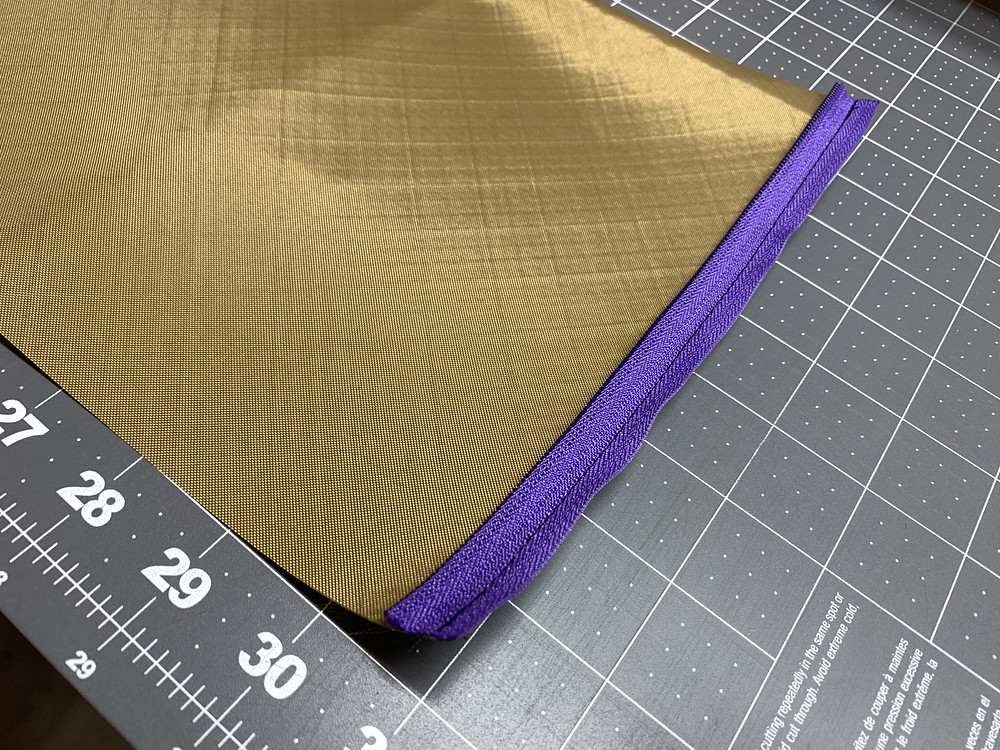
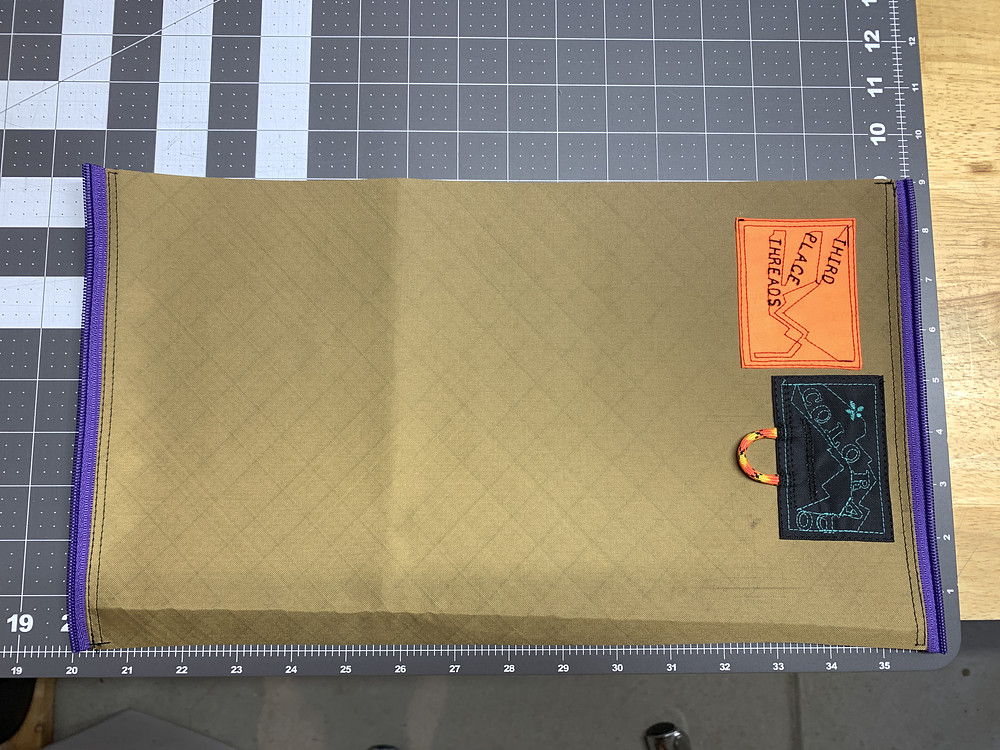
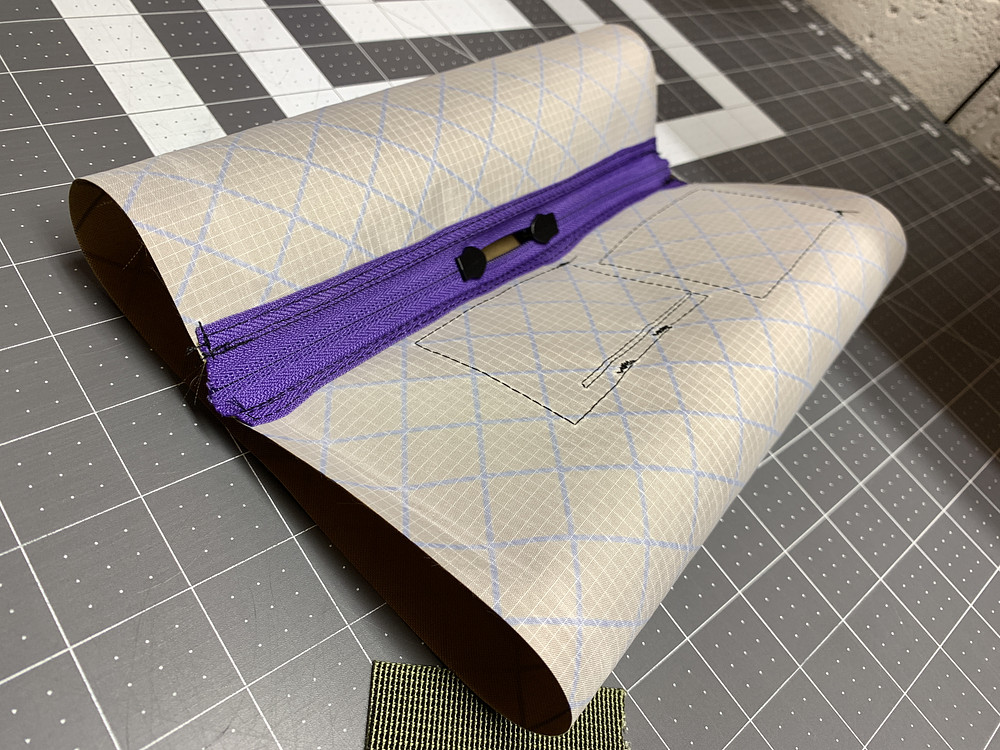
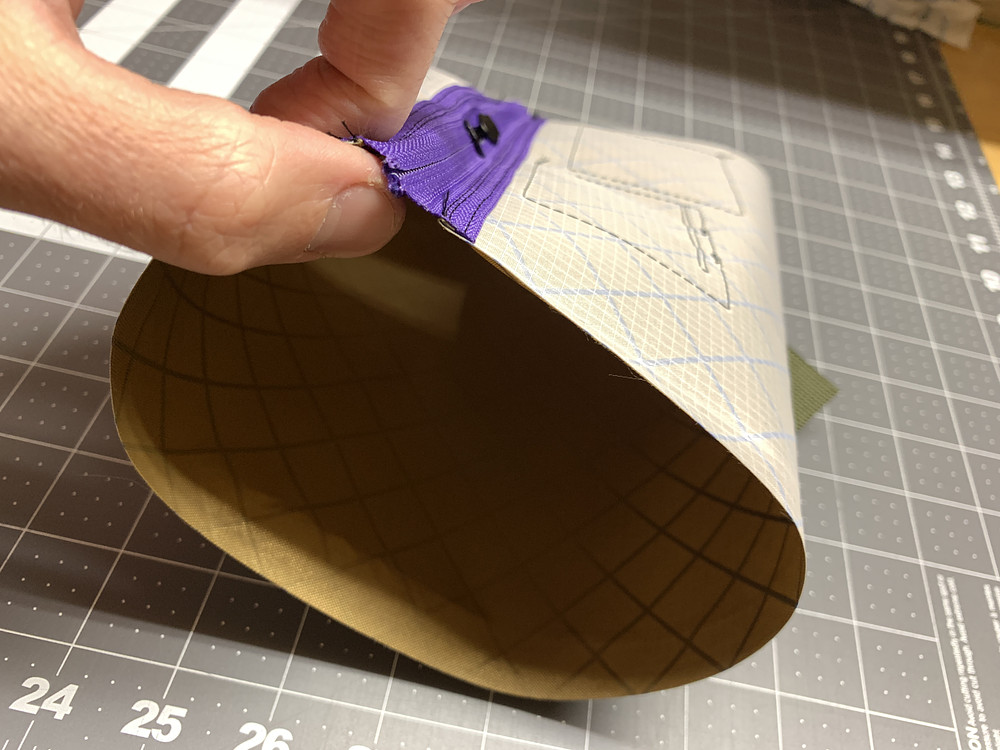
Separate your zipper tape, then stitch each side of the zipper to the ends of a rectangular panel, right sides (the side that faces out when the bag is done) facing each other. Fold the main fabric over so you can see the outside of the fabric and outside of the zipper, then topstitch.
Once done topstitching both sides, then add the zipper pulls to make a tube.
Once done topstitching both sides, then add the zipper pulls to make a tube.
Step 3: Sew Into a Flat Bag
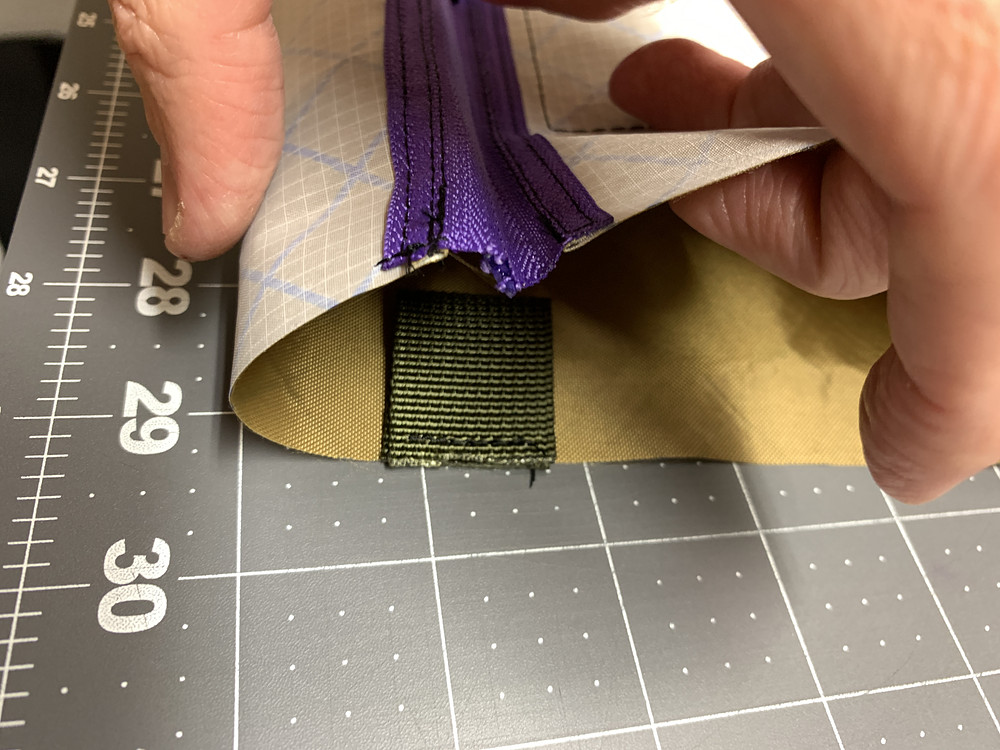
Take two small (~3") pieces of webbing and fold them in half. These will form the zipper pull tabs on the ends of the zipper, which make the zipper easier to operate, and add strength to the ends of the zipper. Additionally, these can be used to attach a strap or hang the bag from.
Press your tube of a bag flat with your zipper laying where you want it, then carefully insert the webbing into the bag, making sure it's centered on the center of the zipper and aligned straight into the bag, perpendicular to your seam you're about to sew.
Then sew the sides together. Make sure your zipper is open so you can turn the bag inside out.
Optionally, bind the seams that were just sewn with grosgrain ribbon or something similar. The seams will be sewn over in the next step, so the time to do this is now if you want the edges bound.
Press your tube of a bag flat with your zipper laying where you want it, then carefully insert the webbing into the bag, making sure it's centered on the center of the zipper and aligned straight into the bag, perpendicular to your seam you're about to sew.
Then sew the sides together. Make sure your zipper is open so you can turn the bag inside out.
Optionally, bind the seams that were just sewn with grosgrain ribbon or something similar. The seams will be sewn over in the next step, so the time to do this is now if you want the edges bound.
Step 4: Sew 3D Shape
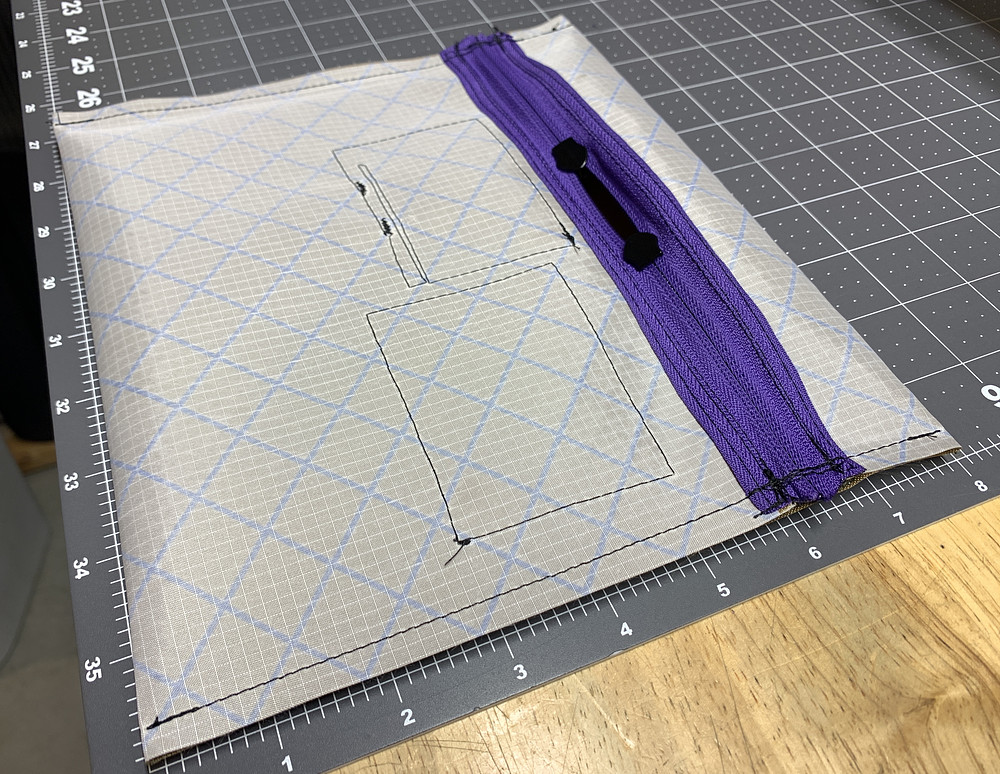
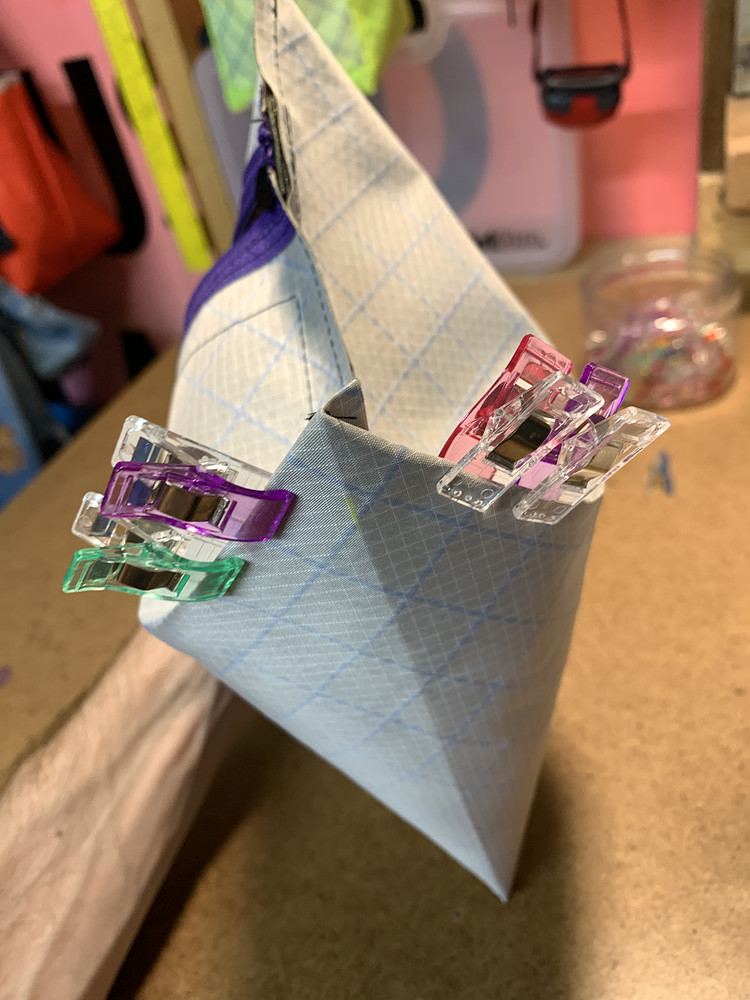
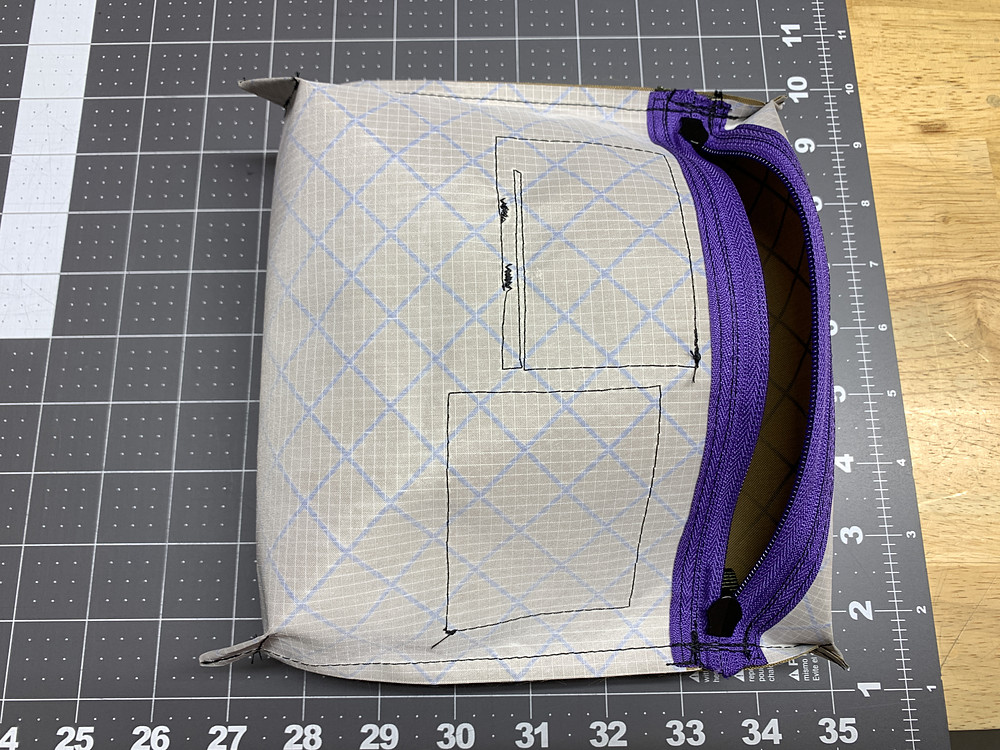
Pull the sewn sides apart in the corners to pop the corners out and press flat so that the stretched out side-seam is on top of the center of the bottom or top of the bag. Chalk to mark the center of the bag bottom/top can help here.
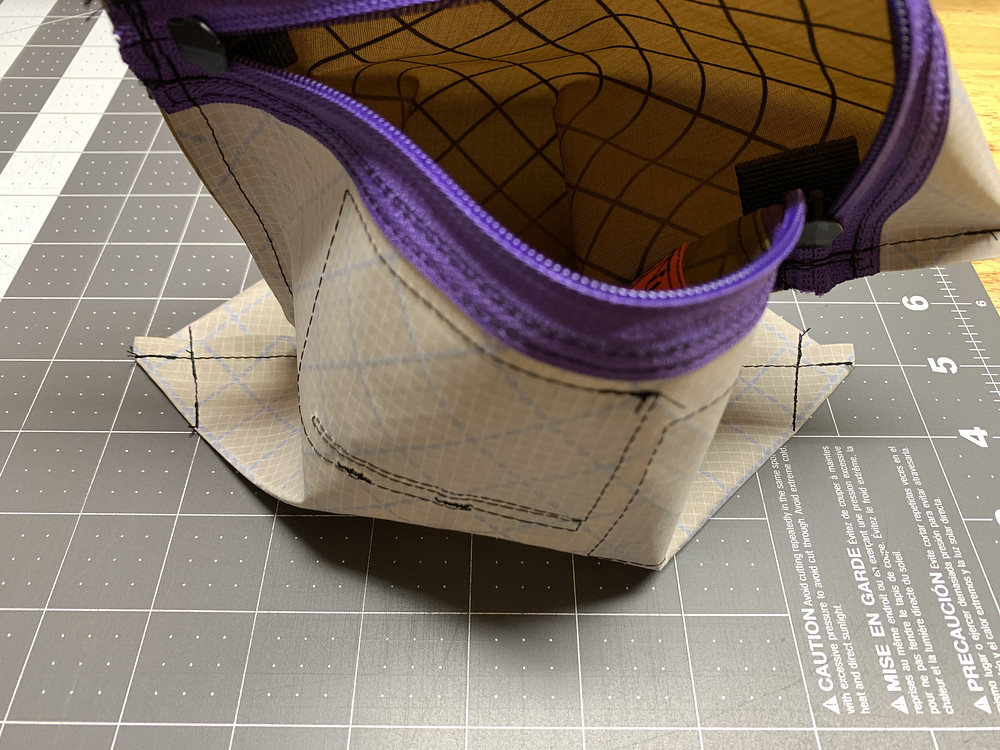
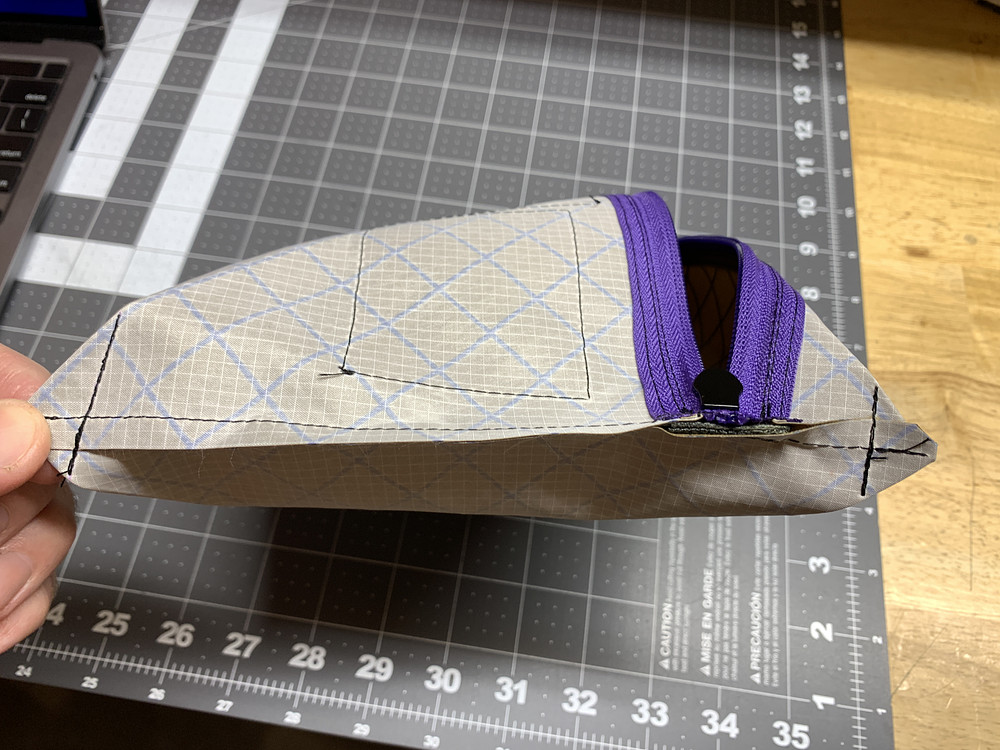
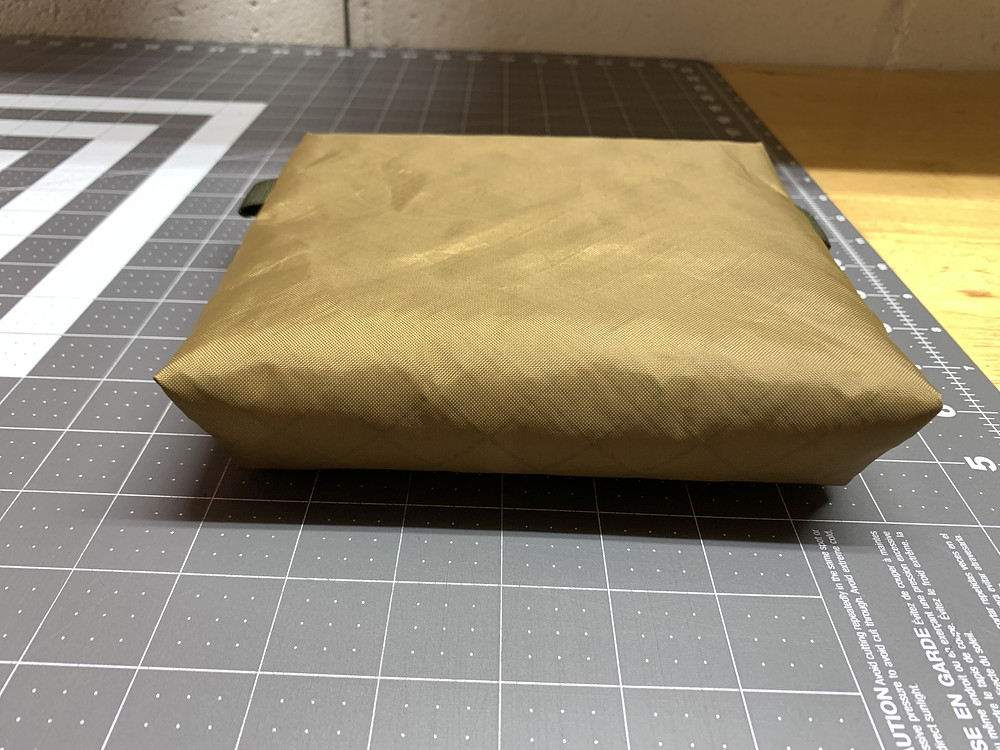
On the top of the bag, sew perpendicular stitches the desired depth of your bag. Sew the same stitch on the bottom, except at an angle. Angling in towards the front of the bag will make the front shorter than the rear, which will make the bag have a slanted/angled bottom.
On the top of the bag, sew perpendicular stitches the desired depth of your bag. Sew the same stitch on the bottom, except at an angle. Angling in towards the front of the bag will make the front shorter than the rear, which will make the bag have a slanted/angled bottom.
Step 5: Done
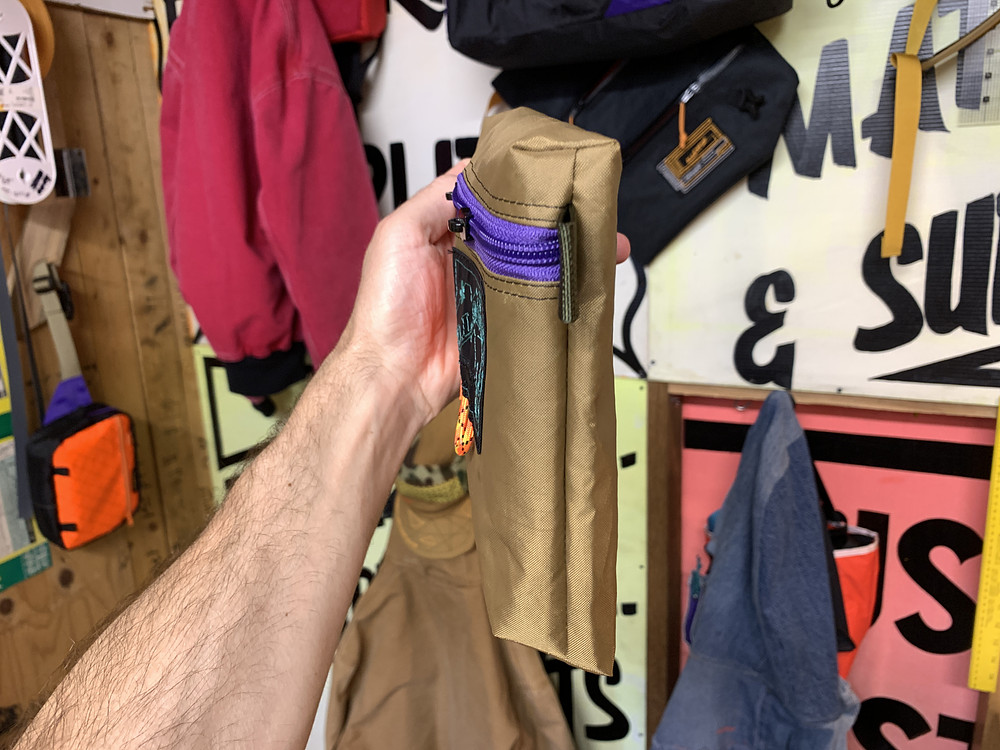
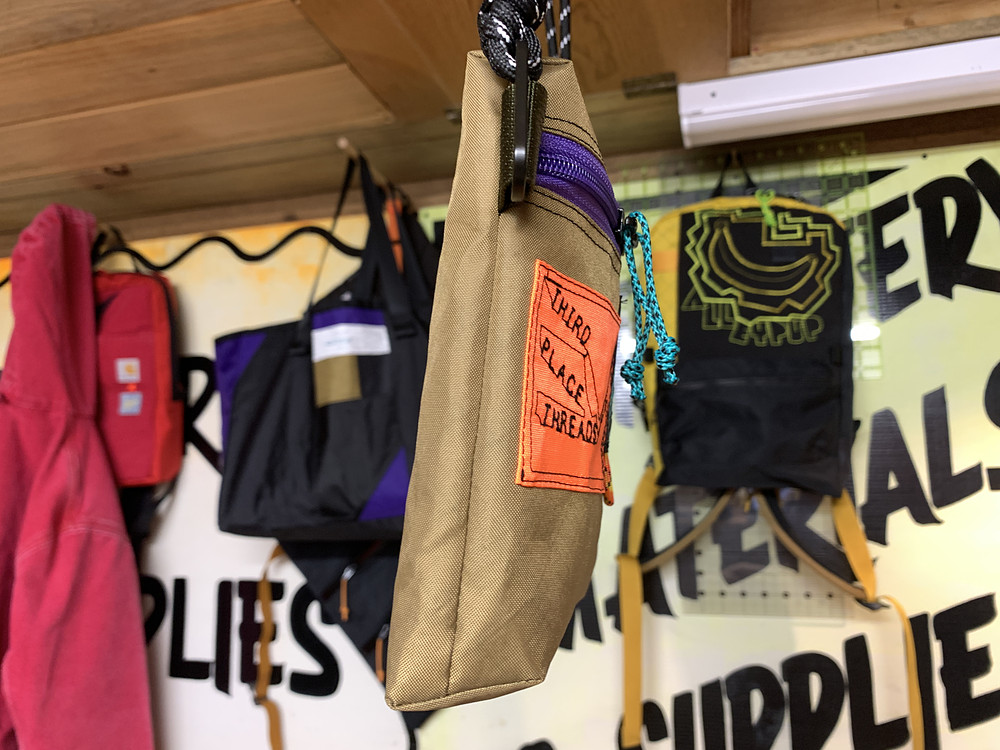
Turn the bag inside out through the zipper opening and admire your finished bag.
Optionally, bind the seams on the inside of the bag with grosgrain ribbon or something similar, so it looks better, doesn't fray, and will be stronger.
Optionally, bind the seams on the inside of the bag with grosgrain ribbon or something similar, so it looks better, doesn't fray, and will be stronger.
Tools Used
Comments
Nothing yet.