Minimal Wallet w Self Binding Edges
tutorial
•
33 photos
•
8 steps
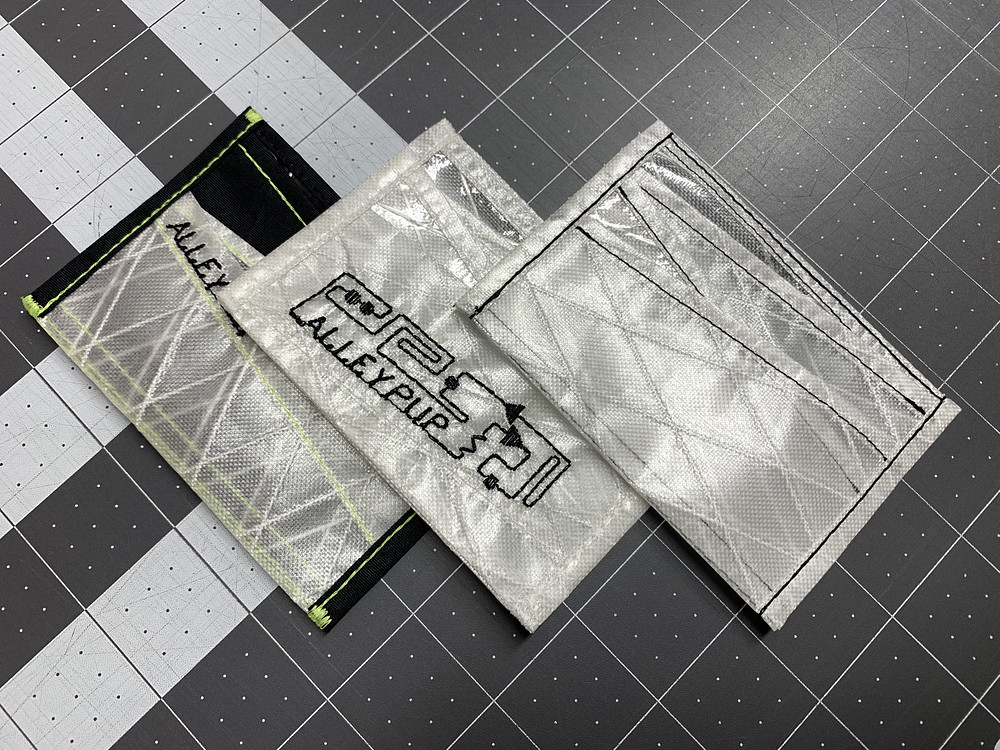
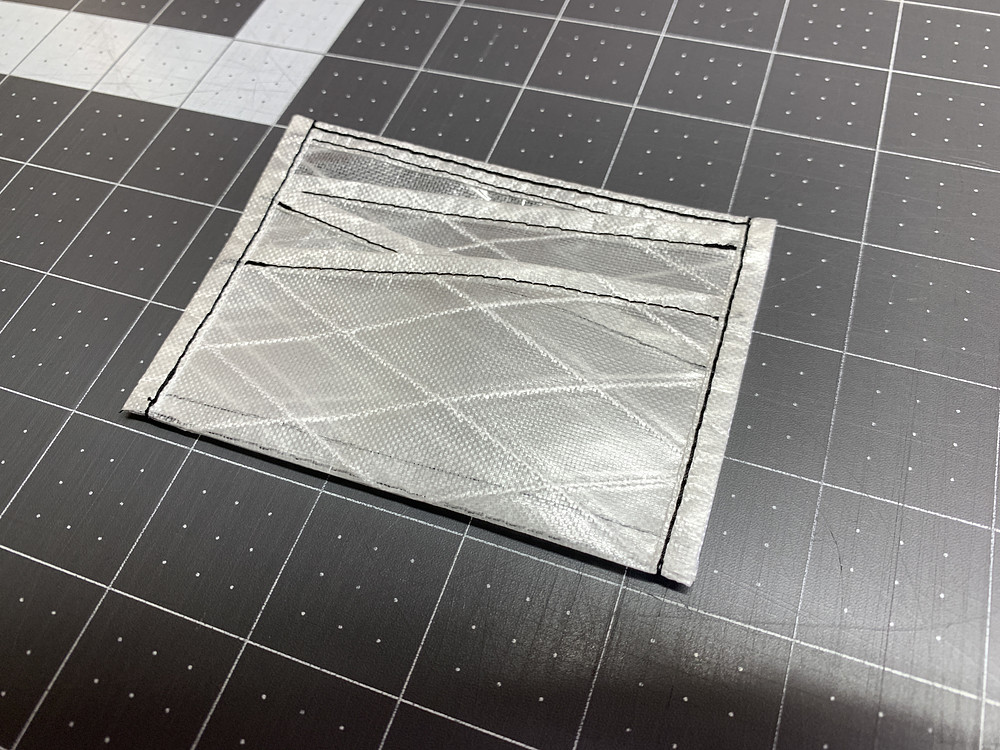
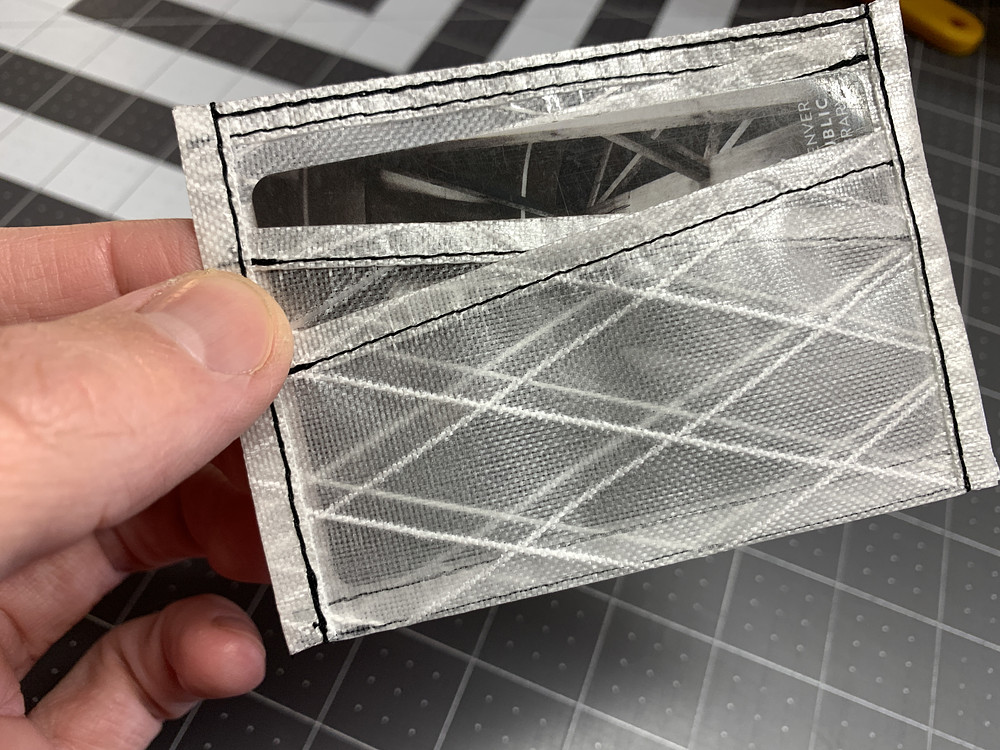
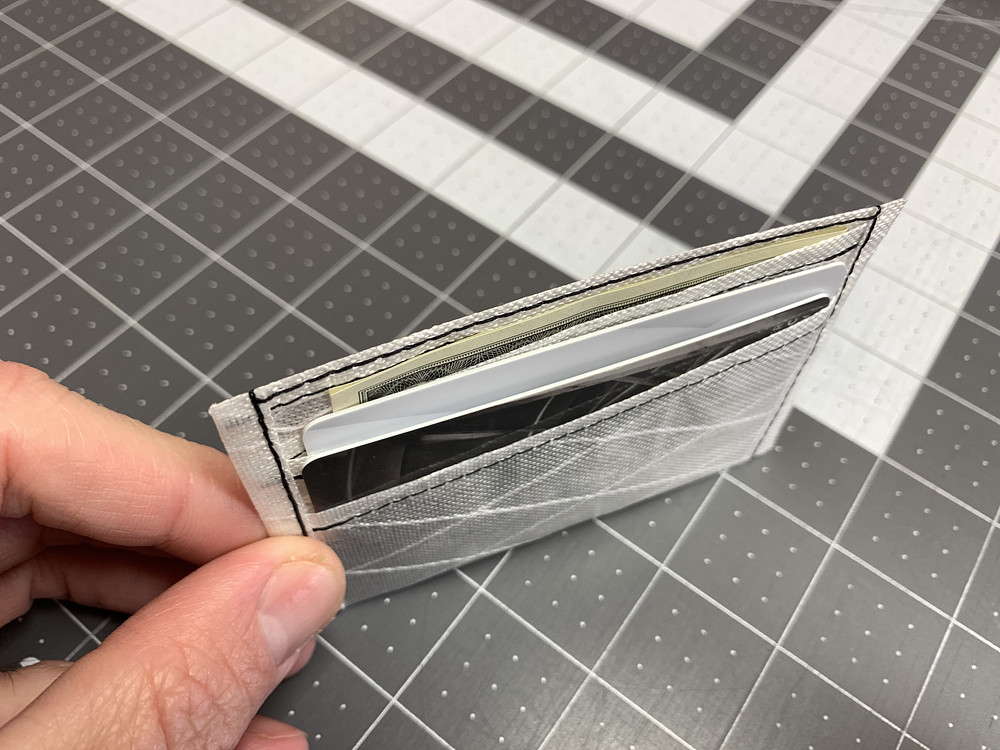
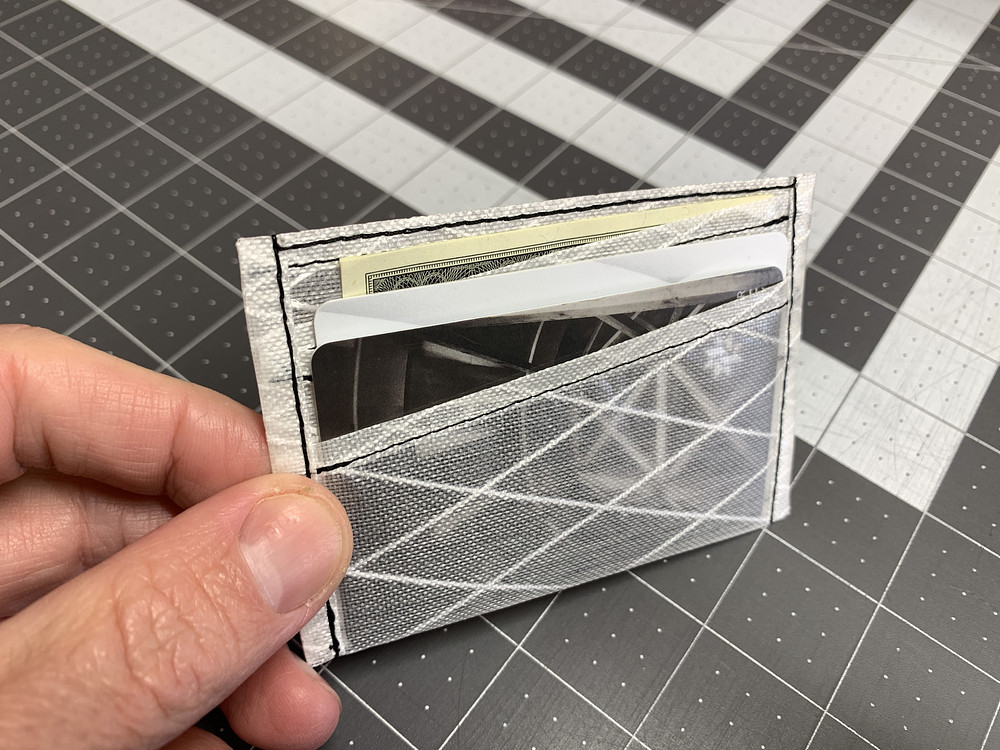
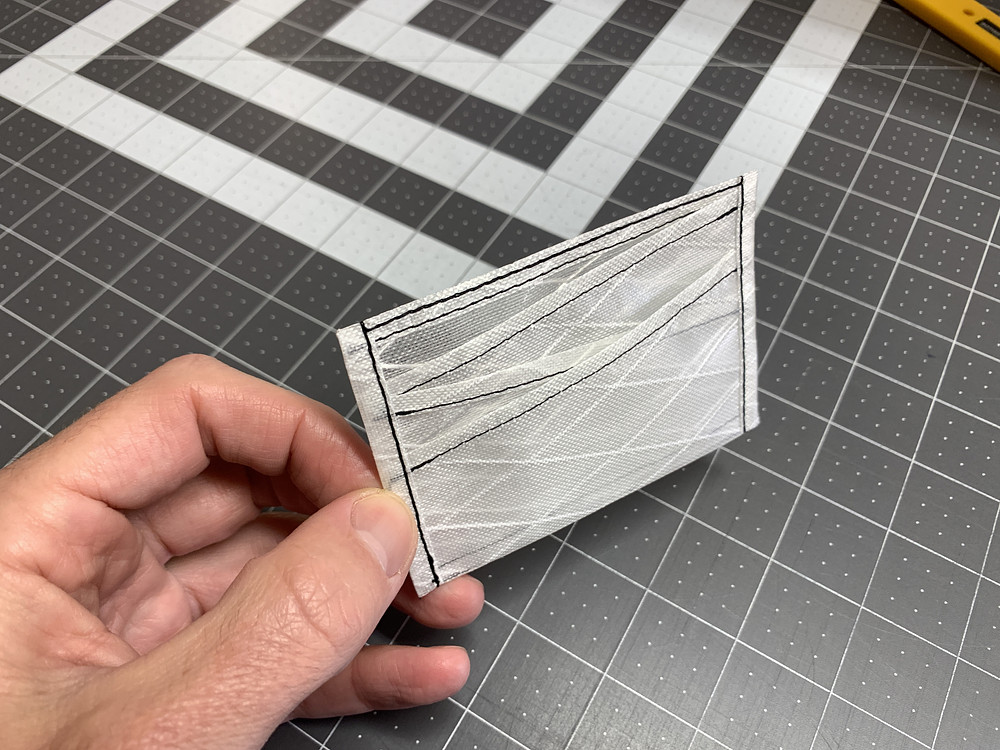
A minimal wallet that has three pockets and can hold some cash and a few cards. The middle pocket's bottom sits higher than the front and rear pockets so that it's easier to grab cards from it.
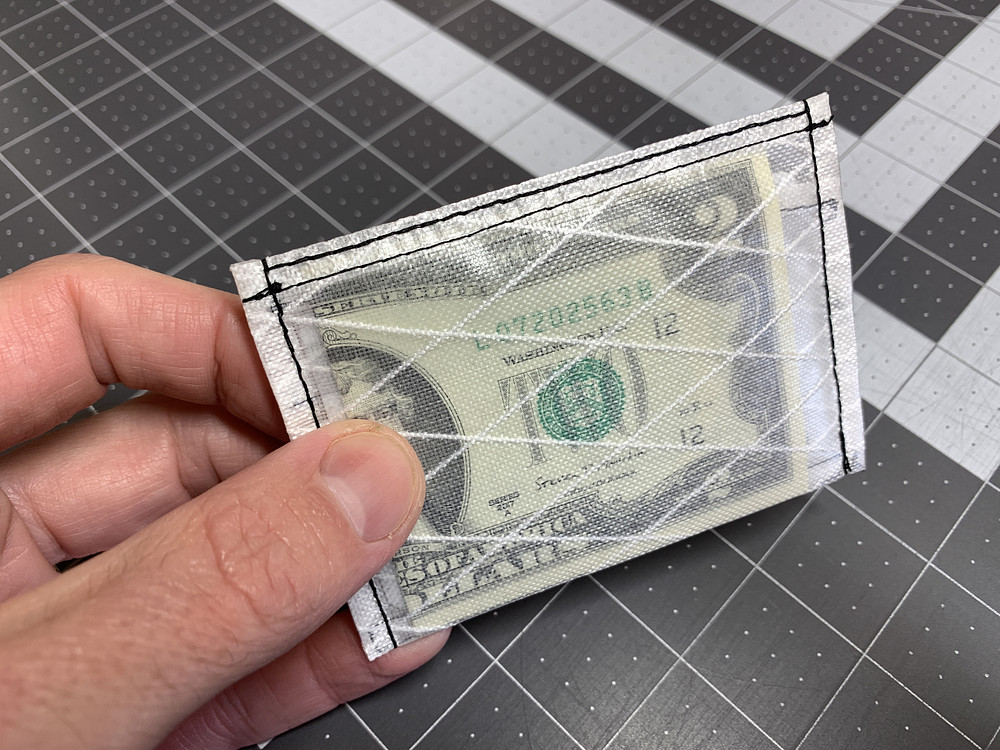
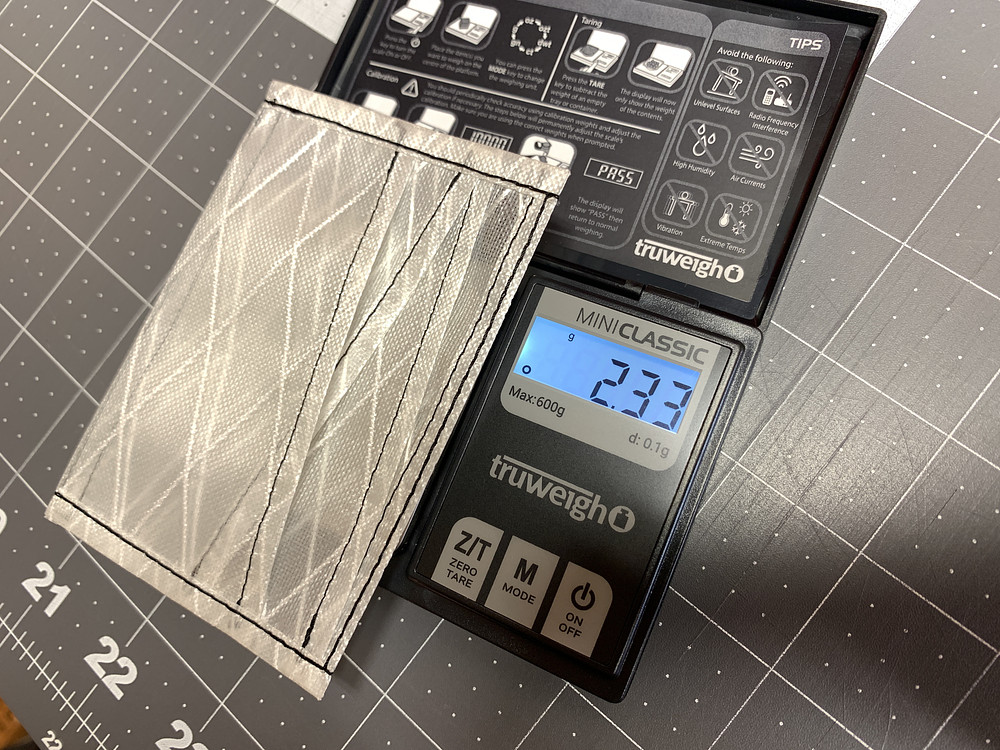
I use a wallet made from this pattern every day, and I usually carry about 5 dollar bills in the rear pocket, 4 cards in the middle pocket, and 2 cards in the front. The wallet will be a bit stiff after sewing but breaks in with a bit of use.
I use a wallet made from this pattern every day, and I usually carry about 5 dollar bills in the rear pocket, 4 cards in the middle pocket, and 2 cards in the front. The wallet will be a bit stiff after sewing but breaks in with a bit of use.
Also available as a longer-form video tutorial (about 4 mins)
Pattern
Download PDF (8.5x11" US Letter format)
Jump to:
Step 1: Materials
1. Free pattern available in PDF format via the "Download PDF" button above
2. 11" x 5" piece of fabric. Something that is thin, doesn't fray and stretch much will make this project easier. In this tutorial, X-Pac UX10 fabric is used.
3. Thread. If it matches, it'll better hide any imperfections, but contrasting can also be a fun look. Contrasting black thread was used to better show the details on this tutorial.
2. 11" x 5" piece of fabric. Something that is thin, doesn't fray and stretch much will make this project easier. In this tutorial, X-Pac UX10 fabric is used.
3. Thread. If it matches, it'll better hide any imperfections, but contrasting can also be a fun look. Contrasting black thread was used to better show the details on this tutorial.
Step 2: Cutting
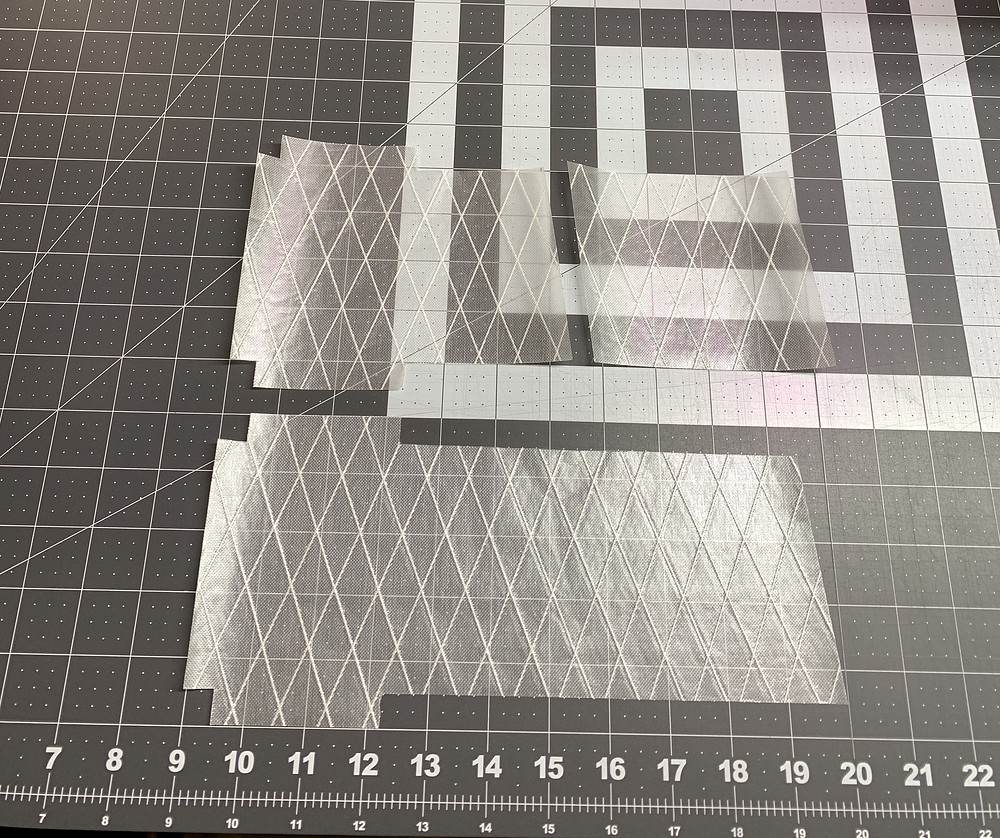
Print the pattern, making sure that it prints at 100% scale. There's a 1x1" square on the pattern that you should measure once printed to ensure it's actually 1x1".
Next, cut out the pieces. They can be aligned next to each other and cut from the same 11x5" piece of fabric, then cut matching the pattern cut lines to make the 2 panel pieces. Or the two pieces can be cut from different pieces of fabric. I usually use the first method.
Trace and cut out your pattern on your fabric. The notches on the corners are 1/2" x 1/2" and should be cut as precisely as possible. If cutting something tough-to-cut like X-Pac UX10, I use a razor knife with a fresh sharp blade for the precise corners. For the rest, I use a rotary cutter.
The edges where they cut in are 1/2" in. This is so that the excess 1/2" flaps can fold over twice and then overlap the other panels by 1/4", and get sewn very close to the edge of that 1/4" double rolled hem edge.
Next, cut out the pieces. They can be aligned next to each other and cut from the same 11x5" piece of fabric, then cut matching the pattern cut lines to make the 2 panel pieces. Or the two pieces can be cut from different pieces of fabric. I usually use the first method.
Trace and cut out your pattern on your fabric. The notches on the corners are 1/2" x 1/2" and should be cut as precisely as possible. If cutting something tough-to-cut like X-Pac UX10, I use a razor knife with a fresh sharp blade for the precise corners. For the rest, I use a rotary cutter.
The edges where they cut in are 1/2" in. This is so that the excess 1/2" flaps can fold over twice and then overlap the other panels by 1/4", and get sewn very close to the edge of that 1/4" double rolled hem edge.
Step 3: Double Rolled Hems on Angles
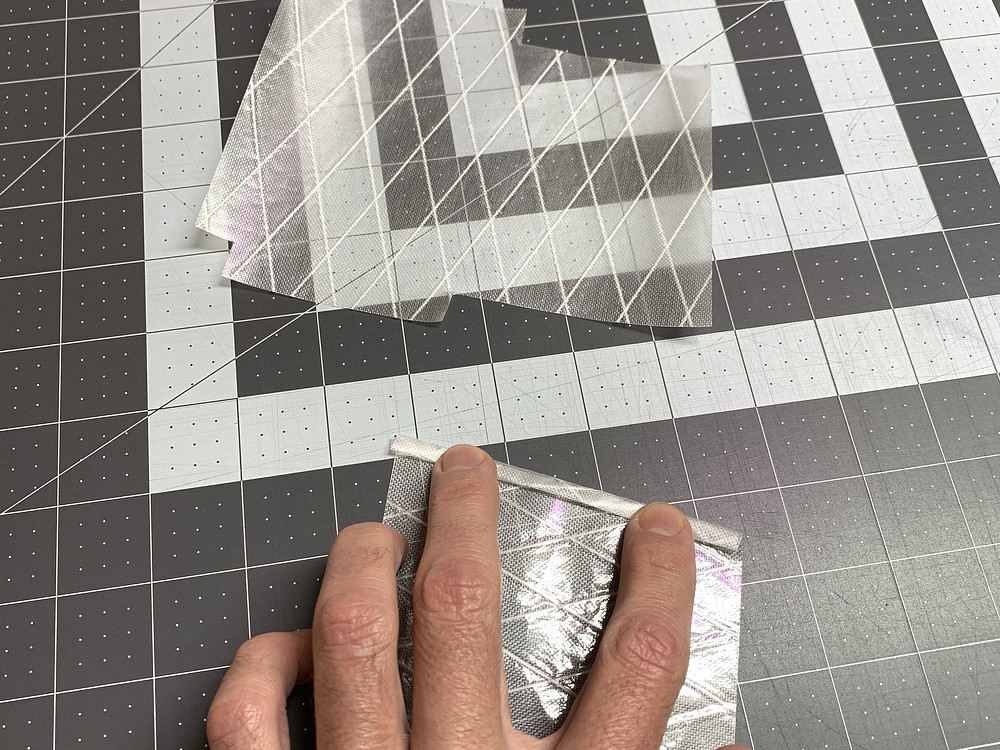
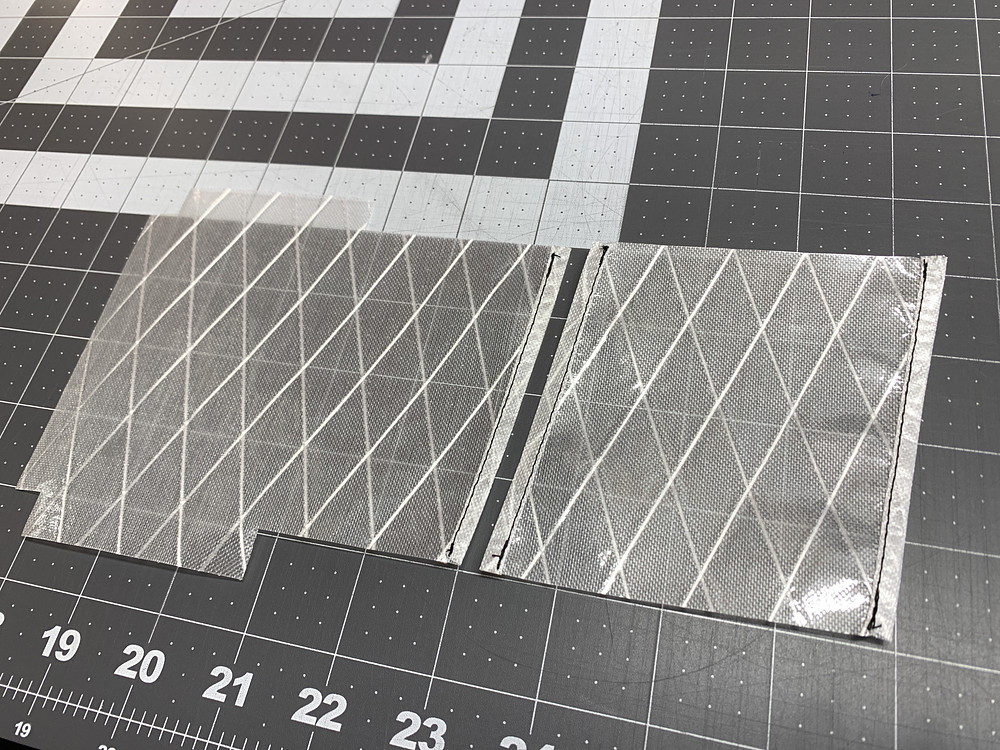
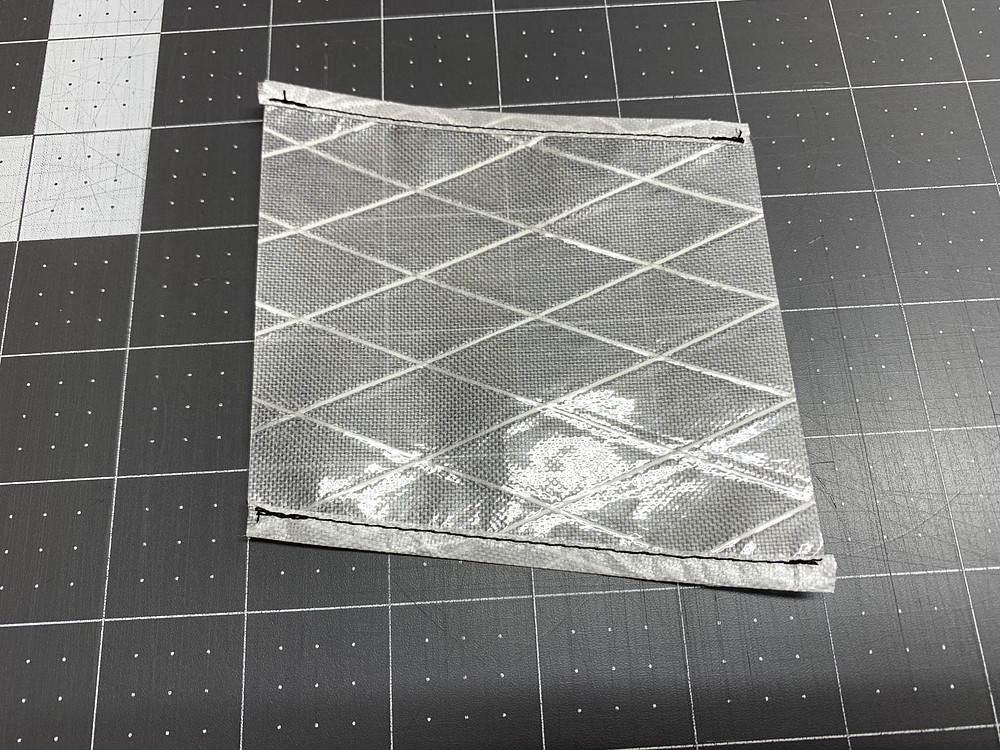
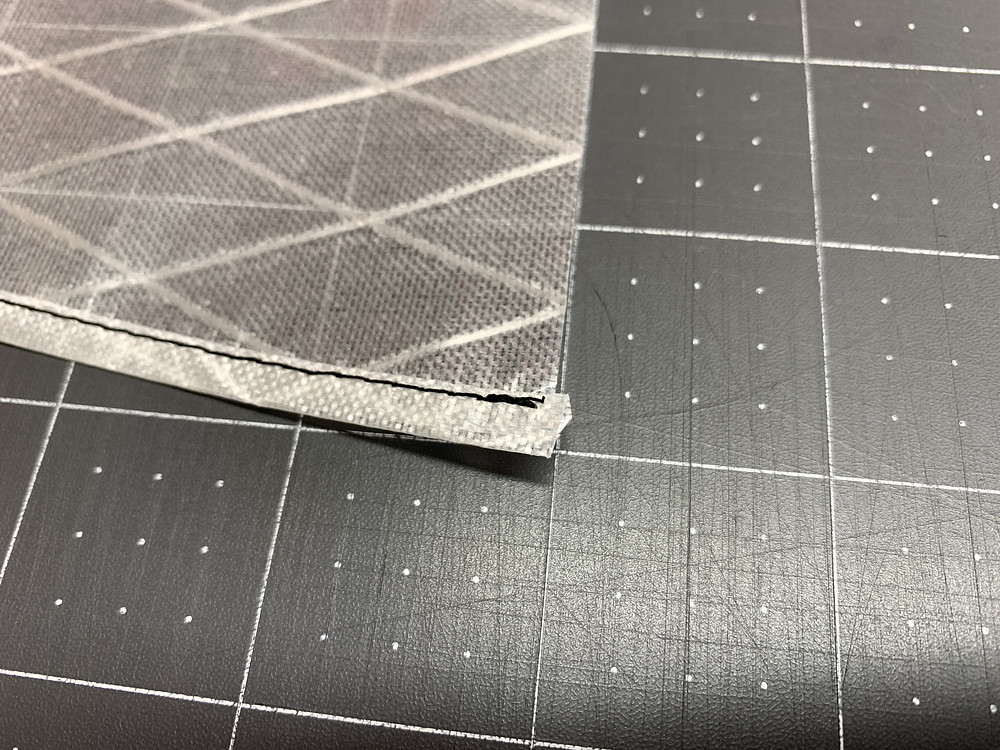
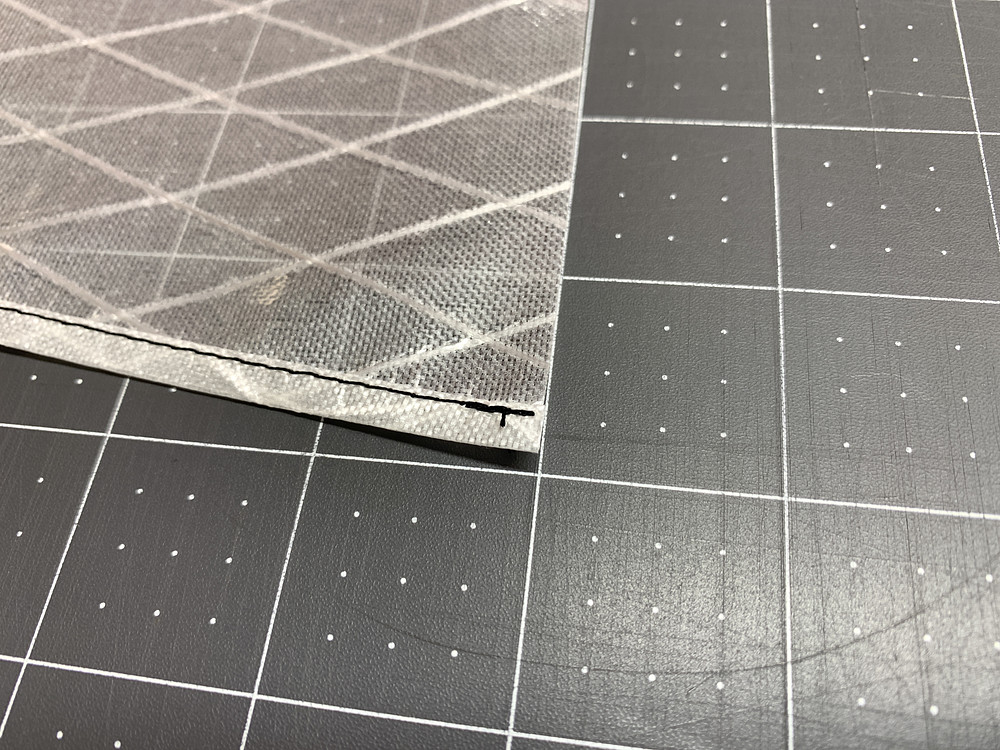
Fold the angled edges over twice, once at 1/4" and then over again, to create a 1/4" double rolled hem. Then sew close to the edge of the hem to secure it in place. Don't sew all the way over the edge where the hem extends past the pattern edge, as that part will be cut off next.
Once they're sewn, the ends will stick out a bit further. Cut these ends off so that the panel is exactly 4" wide again like it was before rolling the hems.
Once they're sewn, the ends will stick out a bit further. Cut these ends off so that the panel is exactly 4" wide again like it was before rolling the hems.
Step 4: Fold Pockets
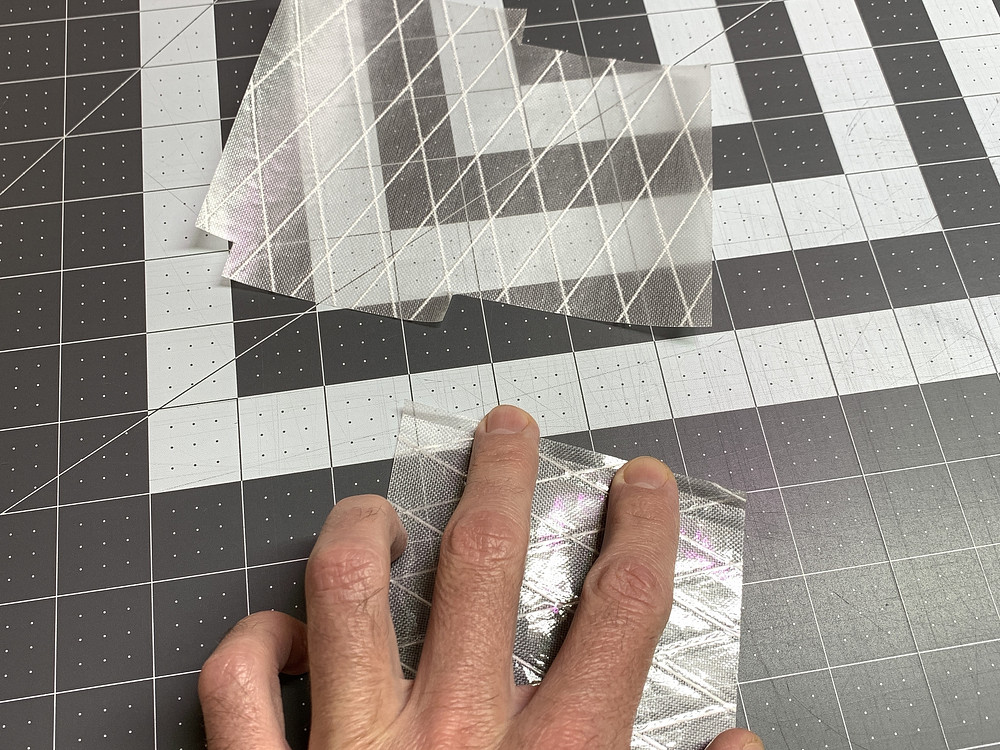
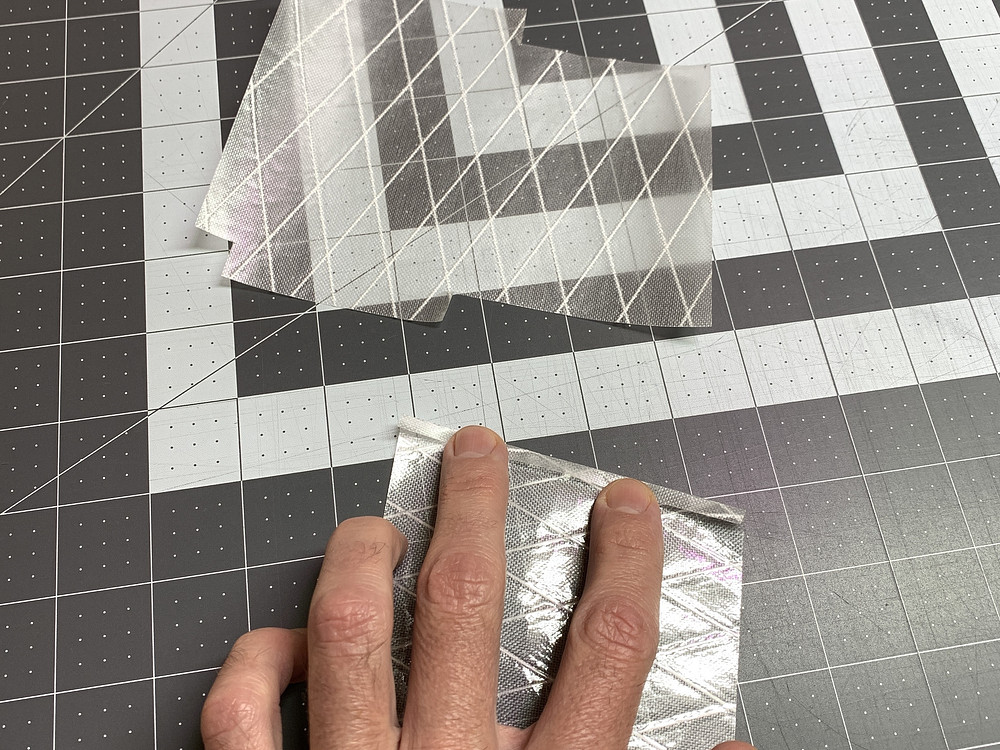
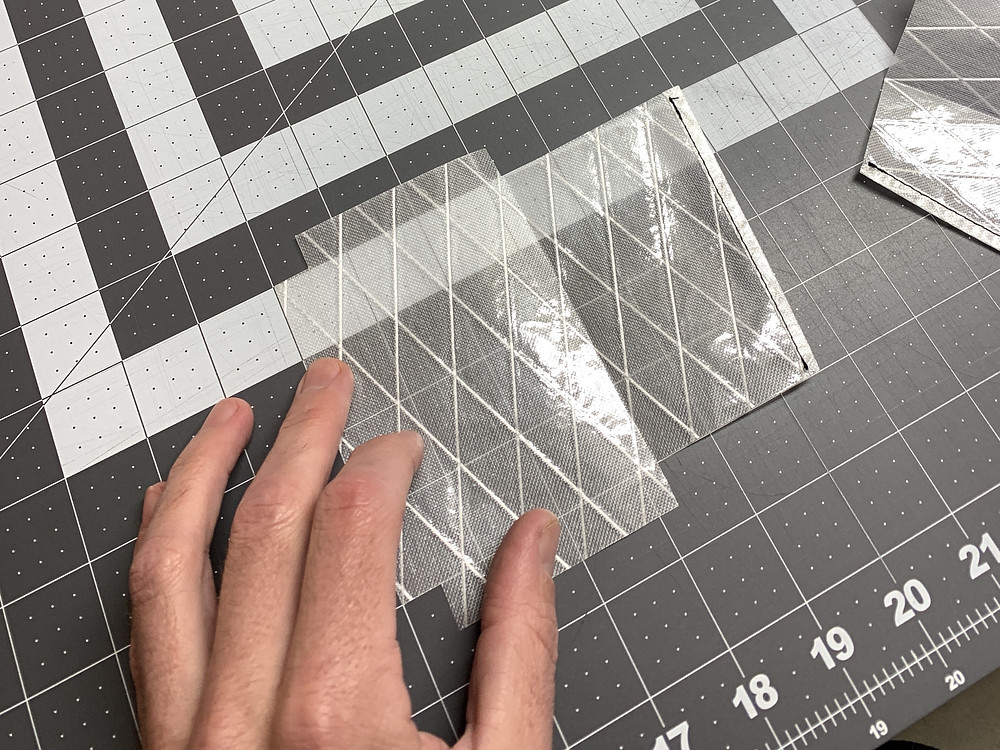
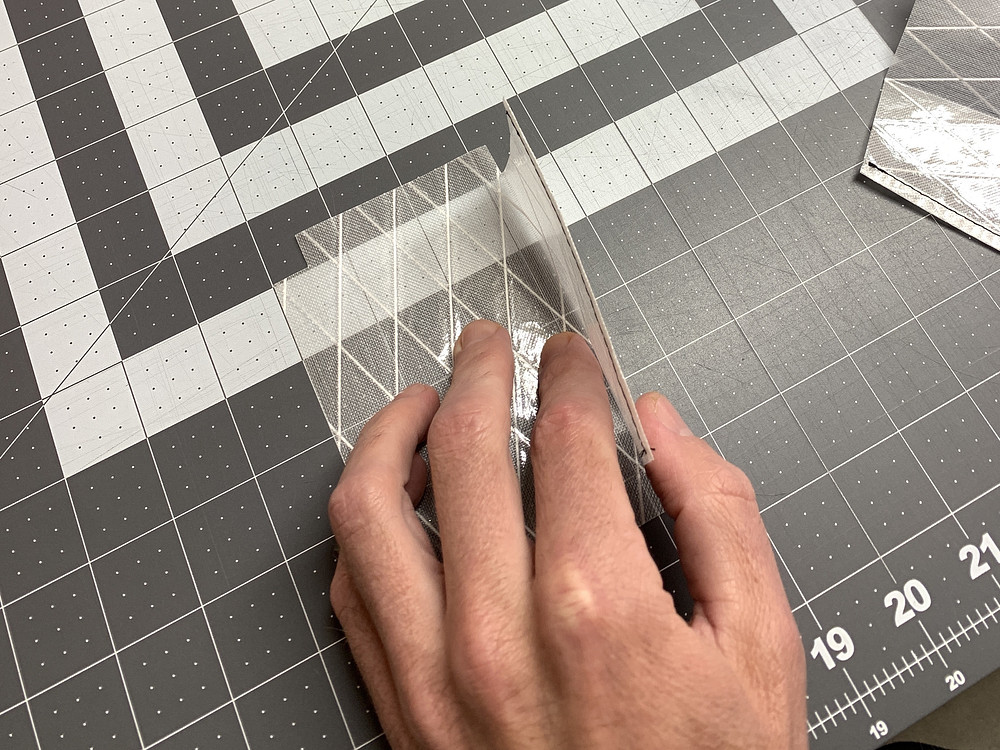
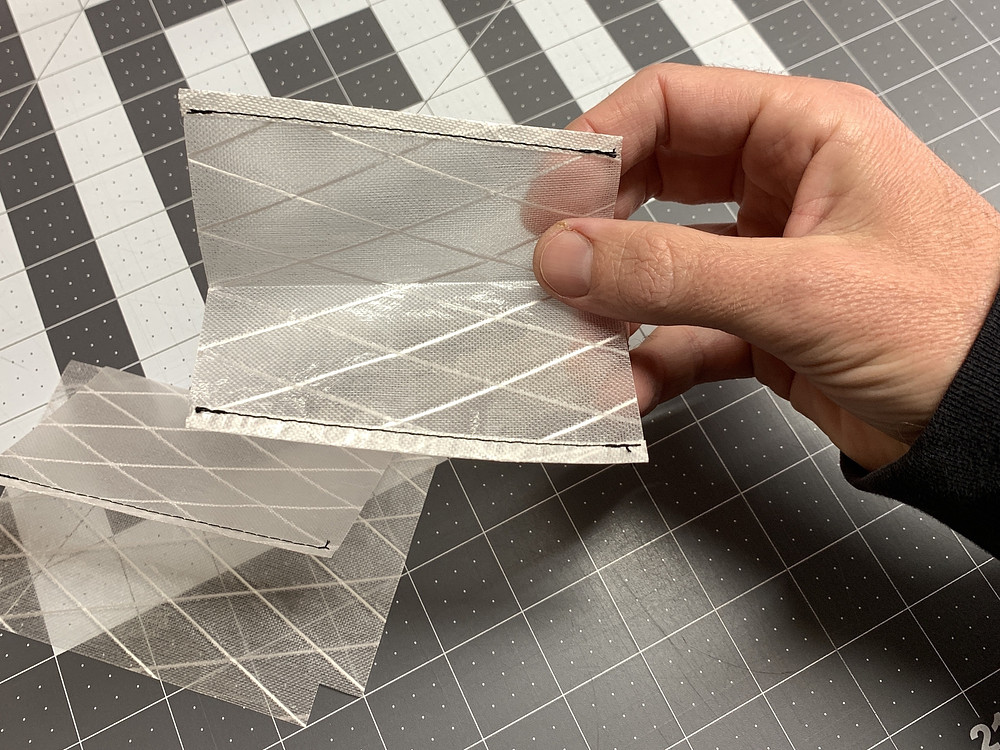
The pockets get folded next. On the larger panel, the fold line is right where the panel cuts in near the middle. On the smaller panel, the fold line is approximately in the middle, but you can line it up on your other panel and see where exactly you want the pockets to sit.
Press and crease your folds. X-Pac UX10 used in this tutorial holds a fold and creases really well.
Press and crease your folds. X-Pac UX10 used in this tutorial holds a fold and creases really well.
Step 5: Sew Panels Together
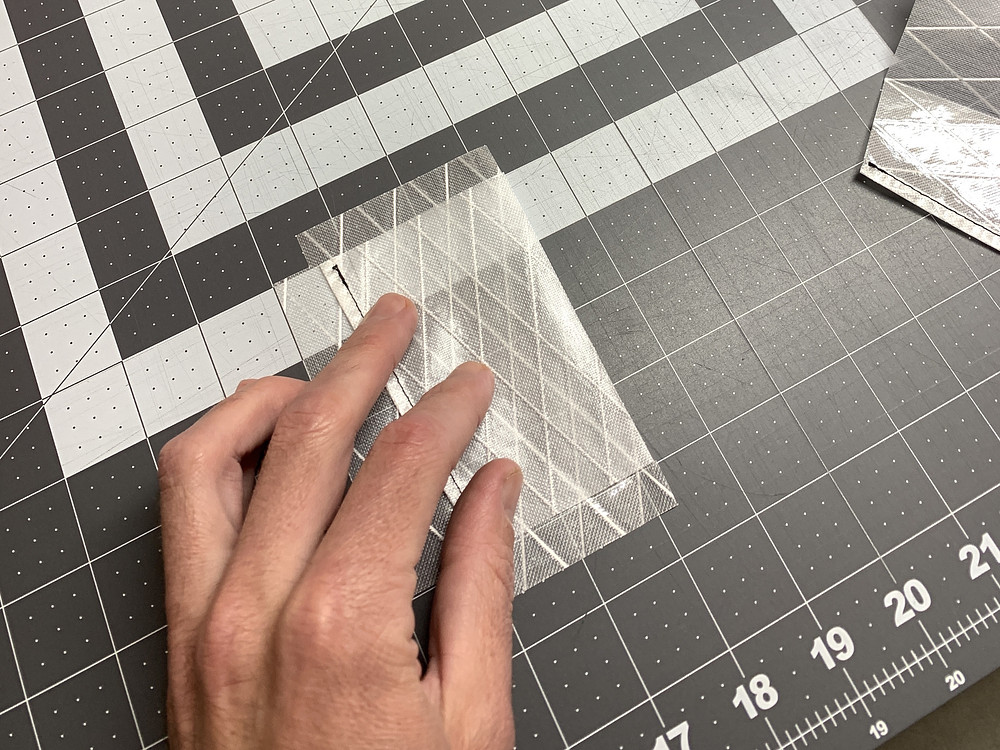
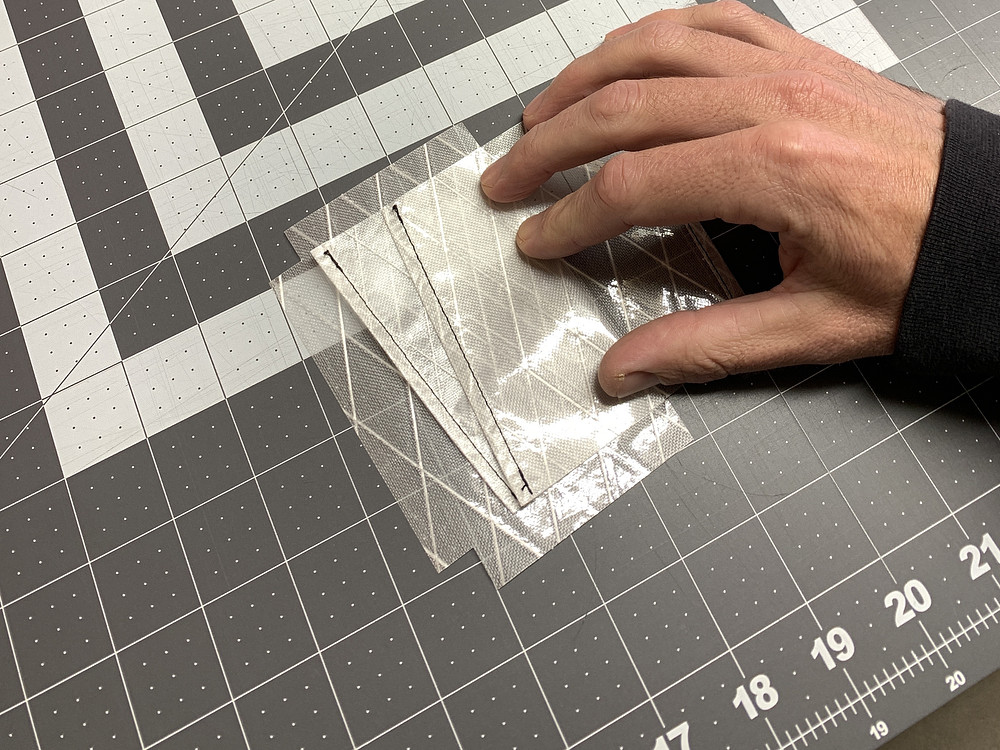
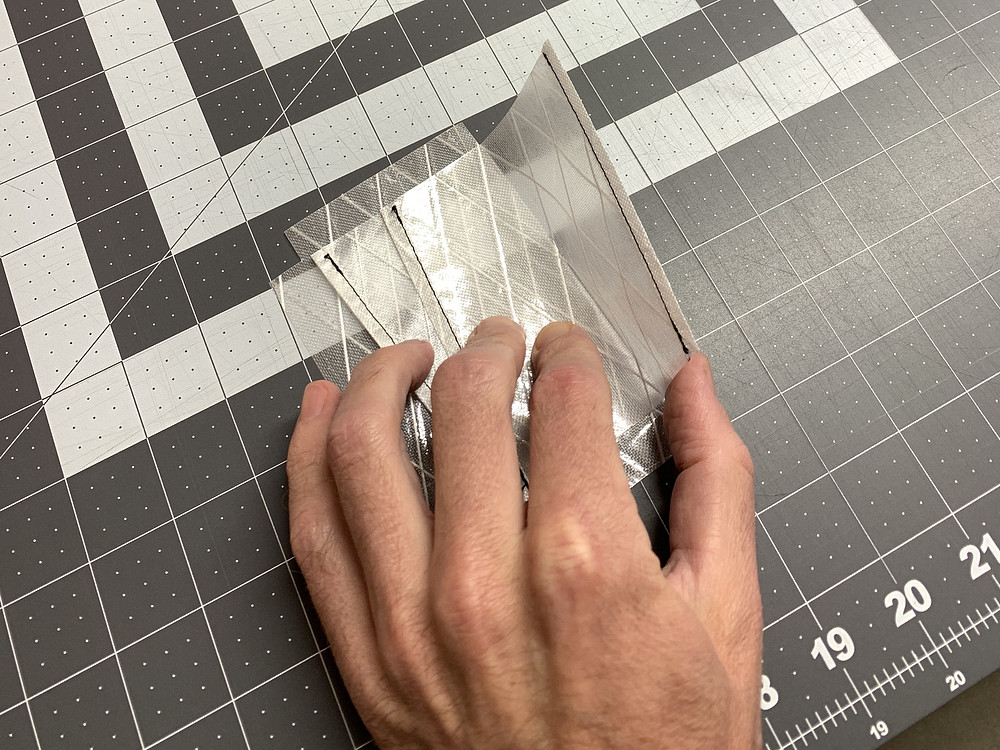
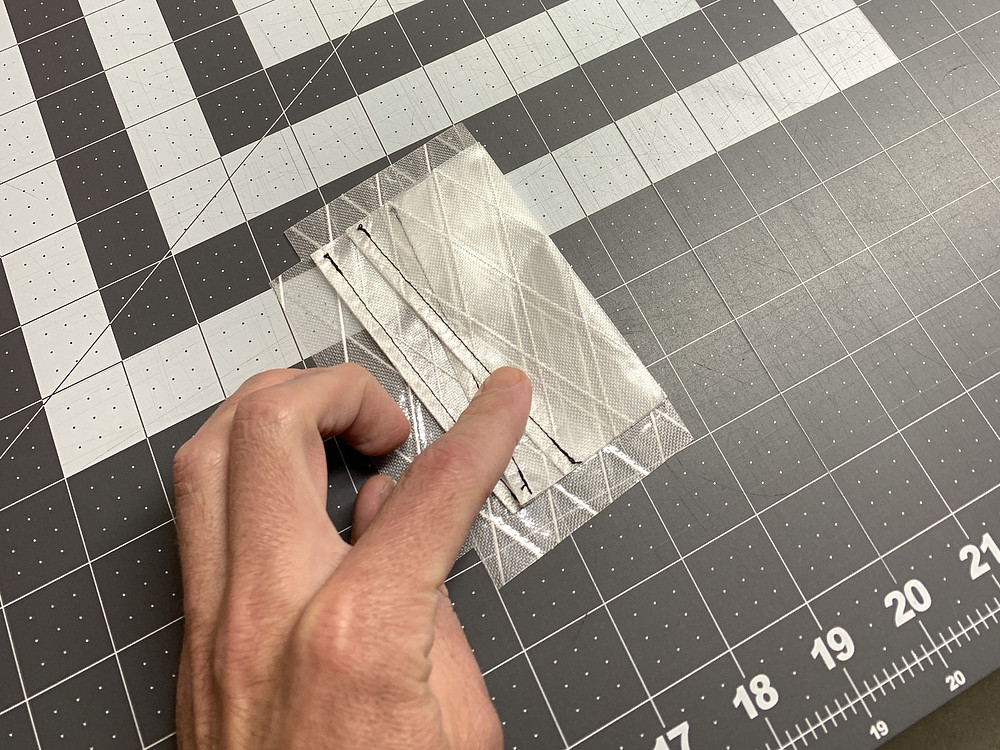
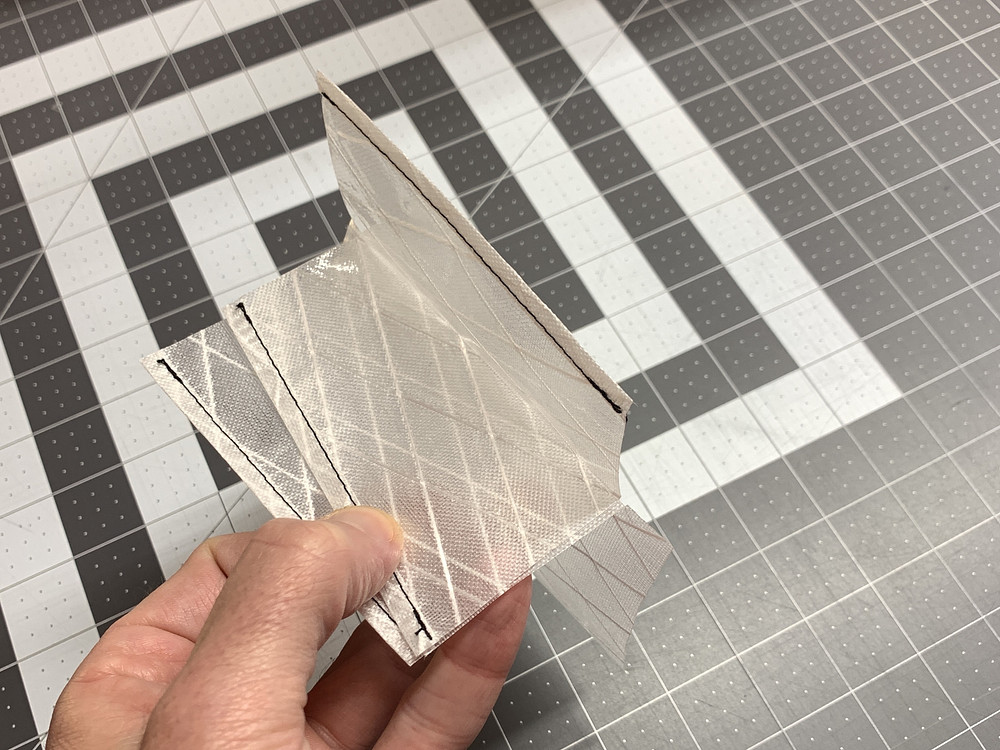
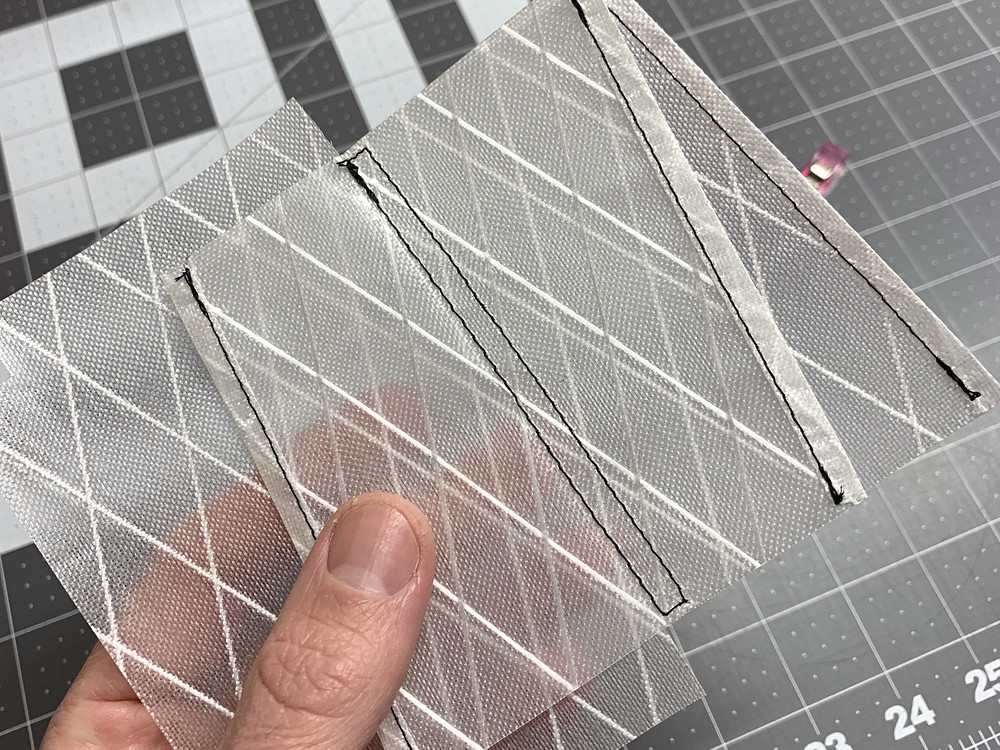
The two panels get sewn together in the middle, to create the middle pocket.
It can help to clip the panels together, with the front and rear folded back. Then sew one line of stitching close to your fold line, just inside of the wallet dimensions from the fold line. When you get to the end, turn the corner, and run another line of parallel stitching about 1/4"-3/8" further up from the first. This will make the bottom of the middle pocket higher than the front and rear pockets, so cards put in there will stick up higher than ones in the front pocket and be easier to grab.
It can help to clip the panels together, with the front and rear folded back. Then sew one line of stitching close to your fold line, just inside of the wallet dimensions from the fold line. When you get to the end, turn the corner, and run another line of parallel stitching about 1/4"-3/8" further up from the first. This will make the bottom of the middle pocket higher than the front and rear pockets, so cards put in there will stick up higher than ones in the front pocket and be easier to grab.
Step 6: Sew Top Double Rolled Hem
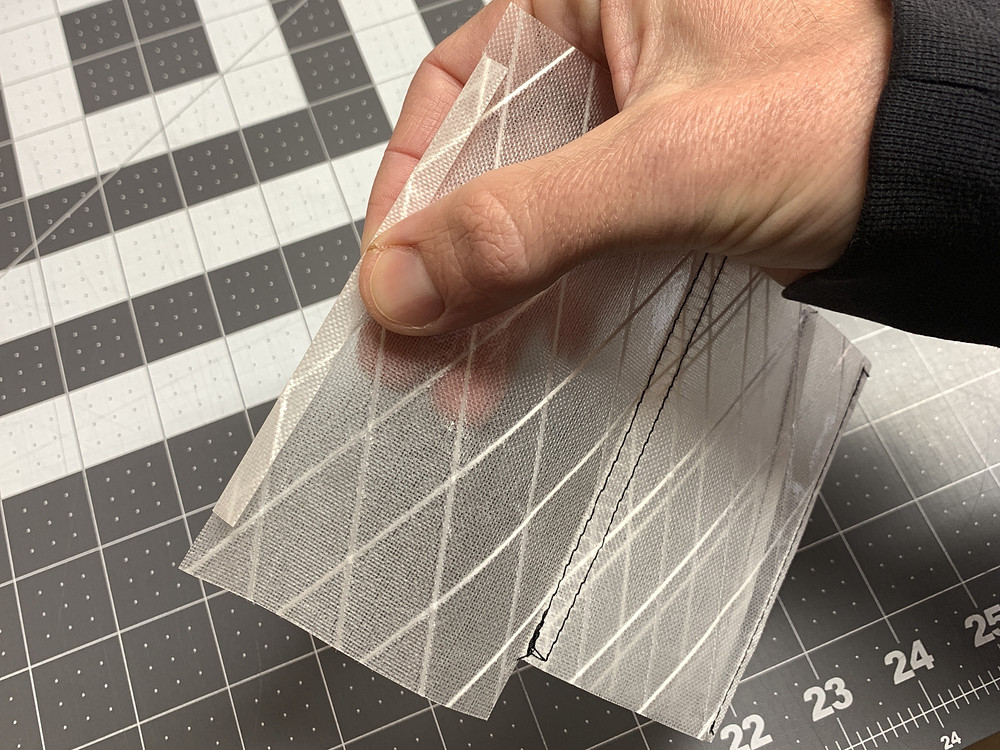
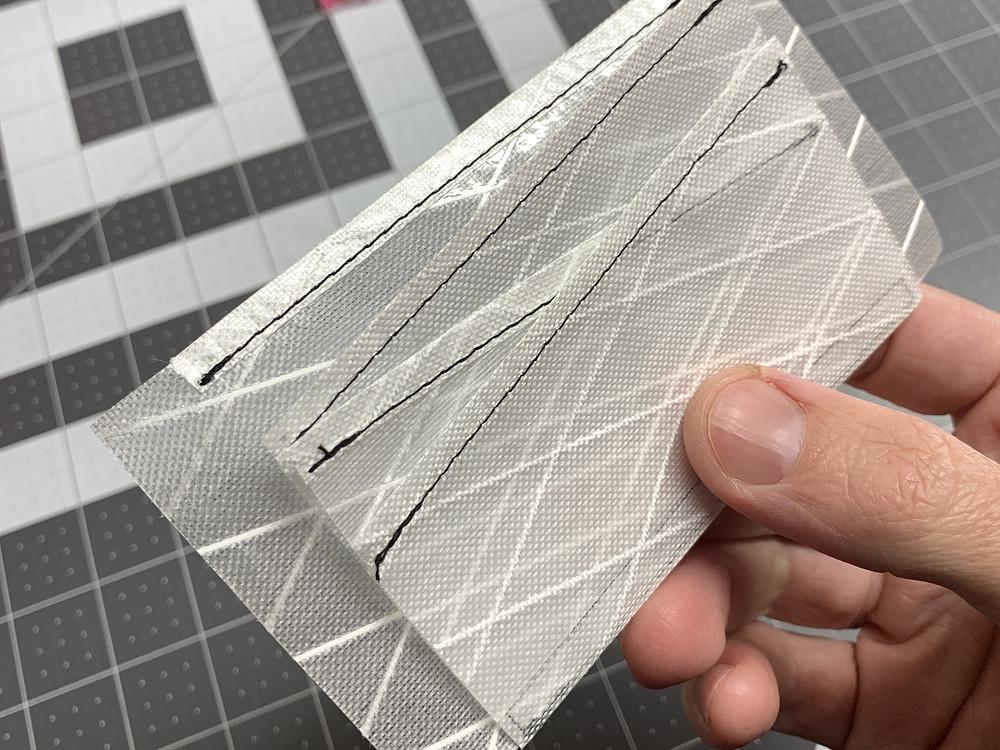
Sew the double rolled hem with the 1/2" flap at the top of the wallet, similar to the other double rolled hems we sewed earlier. This could have also been done earlier, when sewing the other double rolled hems.
Step 7: Fold Edges and Sew Final Seam
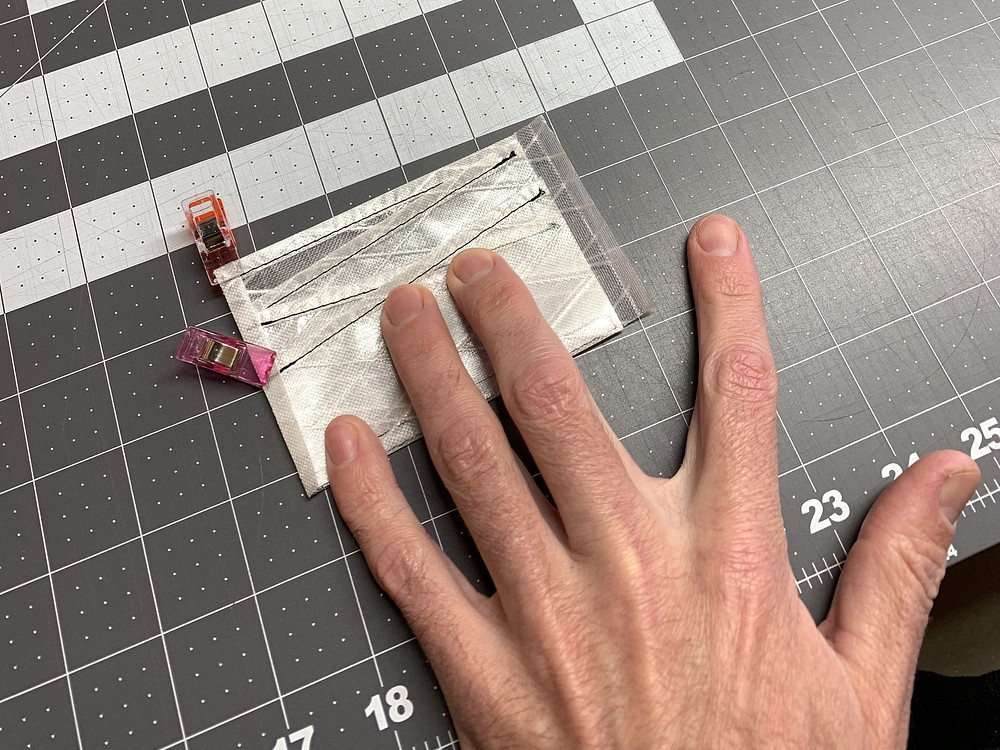
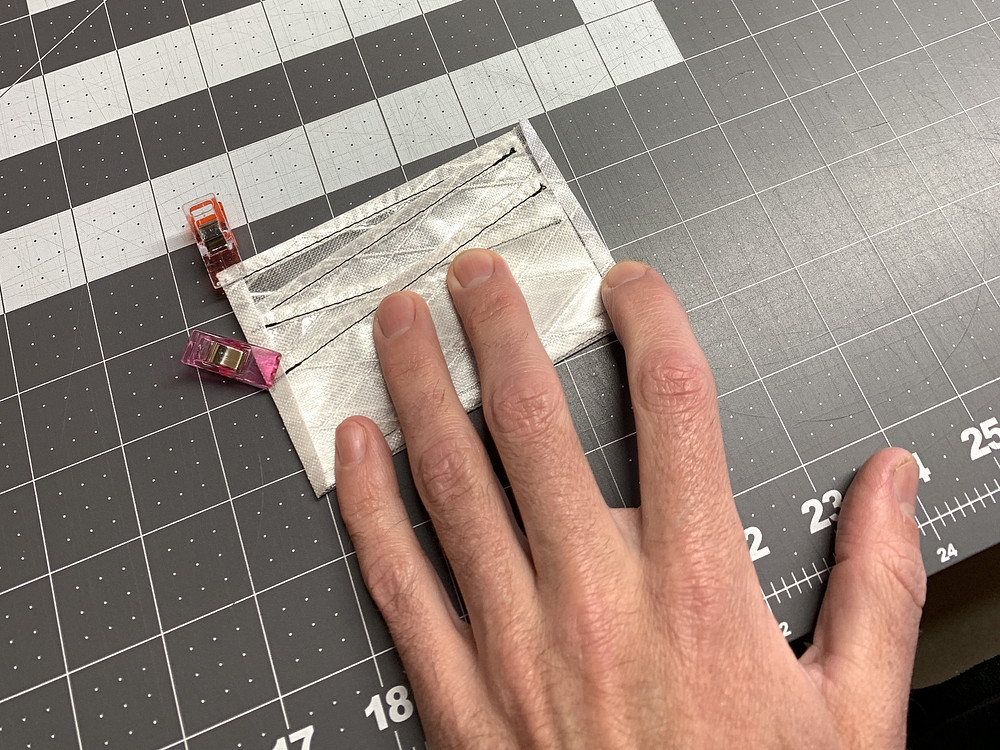
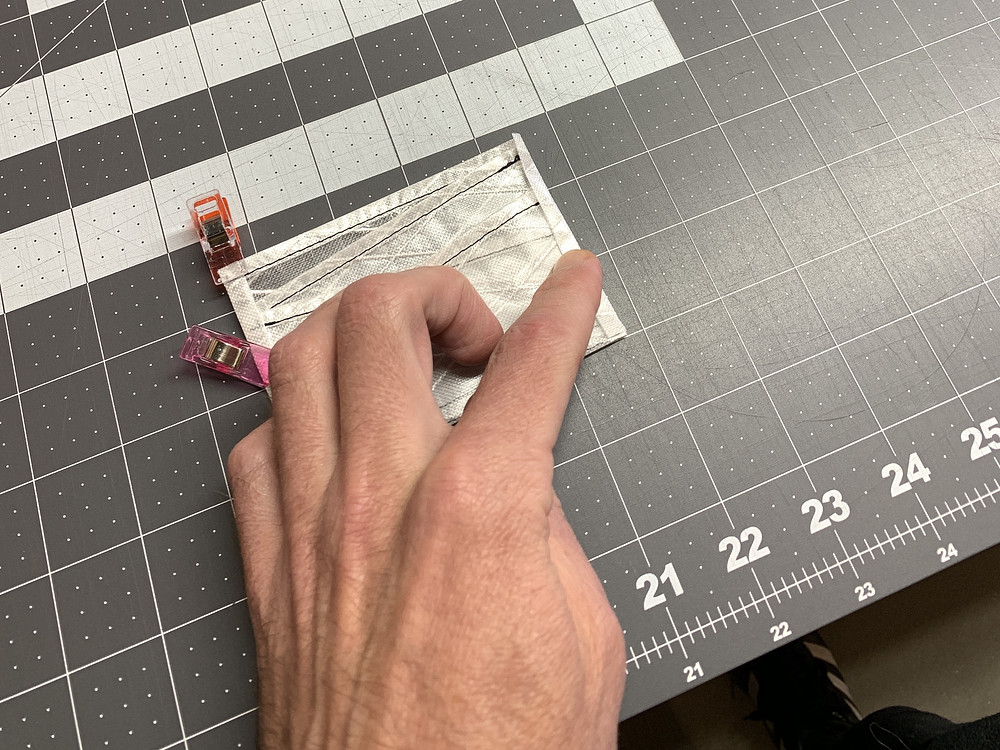
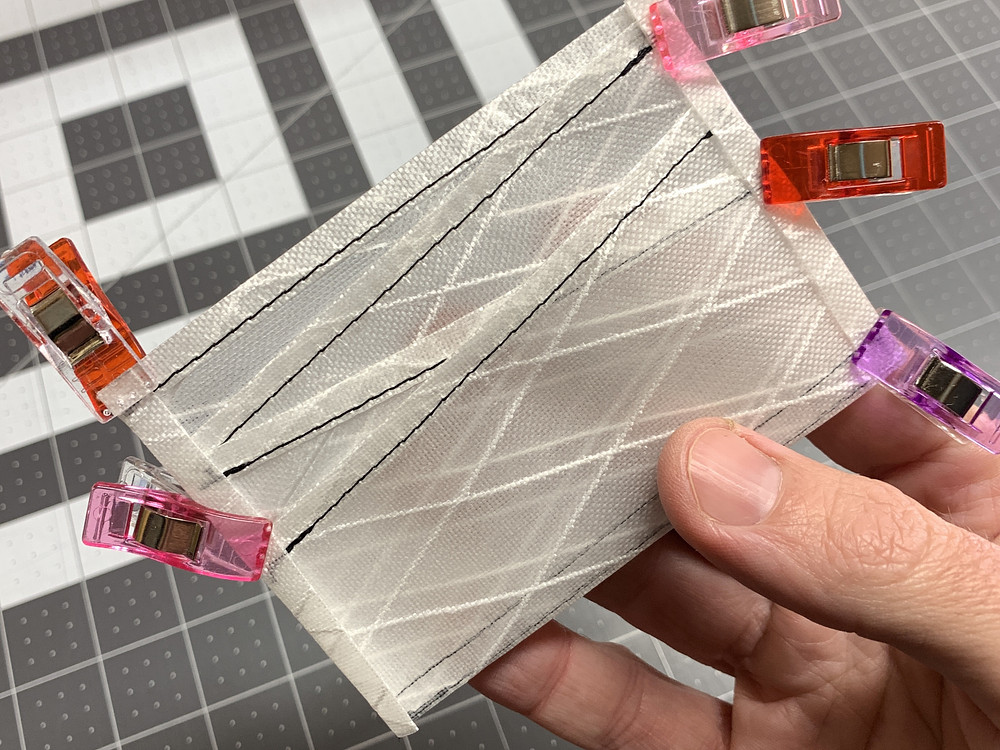
Fold the pockets up so it resembles a wallet and everything is on top of the bottom panel with the flaps. Then fold the flaps in once at 1/4", and again over themselves to form another 1/4" double rolled hem. Clips can help to hold everything in place here.
Now you can sew the two double rolled hems on the sides, stitching close to the edge of the hem.
You can sew across the bag at the top at this point if you want to do this all in one line of stitching, which I did in this tutorial. Or you can sew each side individually. Either way, it's a good idea to run a couple lines of stitching for strength here.
Once you're done sewing, trim and burn your thread tails, and you're done.
Your wallet will be a bit stiff and harder to pack stuff into at first, but will break in and work better with use. I usually carry about 5 dollar bills in the rear pocket, 4 cards in the middle pocket, and 2 cards in the front.
Now you can sew the two double rolled hems on the sides, stitching close to the edge of the hem.
You can sew across the bag at the top at this point if you want to do this all in one line of stitching, which I did in this tutorial. Or you can sew each side individually. Either way, it's a good idea to run a couple lines of stitching for strength here.
Once you're done sewing, trim and burn your thread tails, and you're done.
Your wallet will be a bit stiff and harder to pack stuff into at first, but will break in and work better with use. I usually carry about 5 dollar bills in the rear pocket, 4 cards in the middle pocket, and 2 cards in the front.
Step 8: Options / Variations
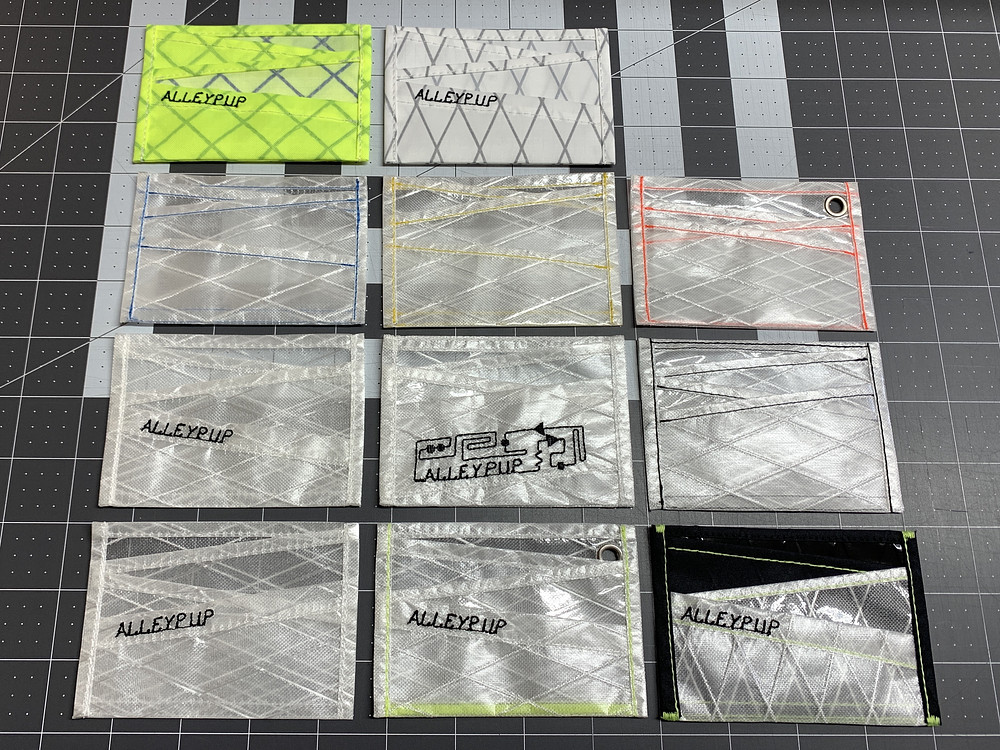
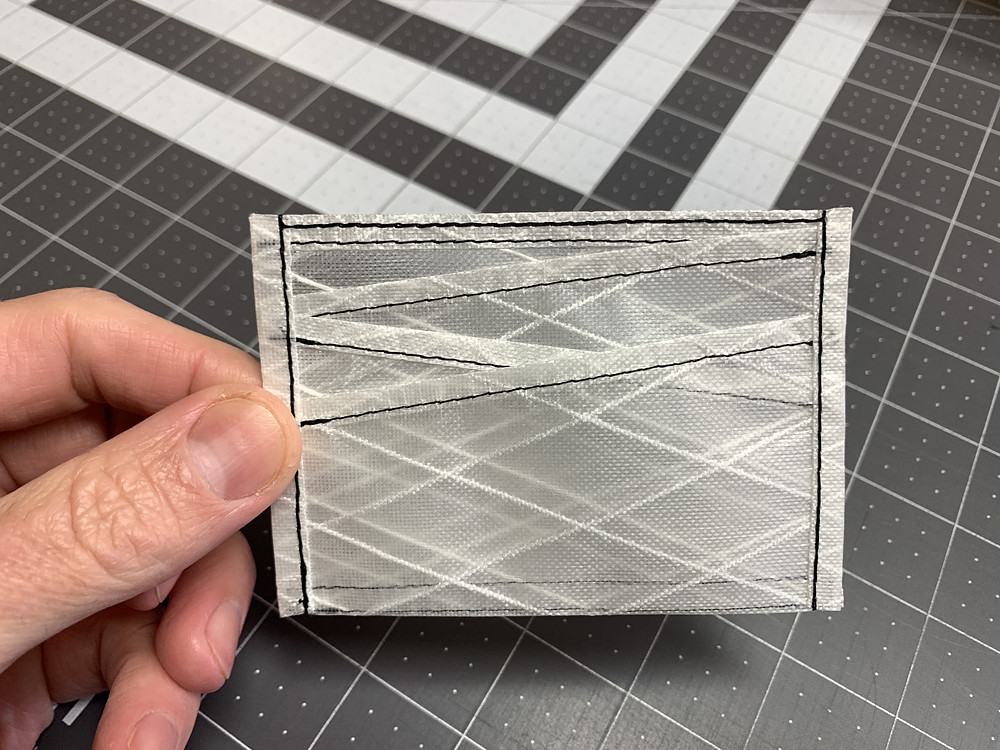
If you make the smaller parallelogram panel longer, you can do a larger double rolled hem that can cover up any decorative stitchwork on the back so it's smooth where the cards go in. I usually fold the hem and mark where it'll be, then unfold and do my decorative stitching in that area, then re-fold and stitch the double rolled hem. The wallets that say "ALLEYPUP" are all done in this way.
If you make the angled part of the larger panel a bit shorter, or do a slightly larger double rolled hem, it can sit lower than the top double rolled hem of the back panel when it's folded up, so then you can stitch the entire final 3 rolled hems (both sides and the top) of the wallet at the same time, instead of having to sew the top double rolled hem ahead of time.
You can do different colors/fabrics for the two panels to get a fun two-tone look.
Bartacks/overcasting on the corners can also be done to cover up any edges and add strength. Be careful not to extend past your seam on the sides so you don't close up the pocket any more.
The pattern could be made a bit wider, or longer, to make the wallet bigger and have a larger capacity.
There's lots more you can do, but this tutorial gives you the basics.
If you make the angled part of the larger panel a bit shorter, or do a slightly larger double rolled hem, it can sit lower than the top double rolled hem of the back panel when it's folded up, so then you can stitch the entire final 3 rolled hems (both sides and the top) of the wallet at the same time, instead of having to sew the top double rolled hem ahead of time.
You can do different colors/fabrics for the two panels to get a fun two-tone look.
Bartacks/overcasting on the corners can also be done to cover up any edges and add strength. Be careful not to extend past your seam on the sides so you don't close up the pocket any more.
The pattern could be made a bit wider, or longer, to make the wallet bigger and have a larger capacity.
There's lots more you can do, but this tutorial gives you the basics.
More Photos
(these photos are not associated with any specific step)
Tools Used
Tags
Comments
Nothing yet.